Download
1 / 11
110 likes | 236 Views
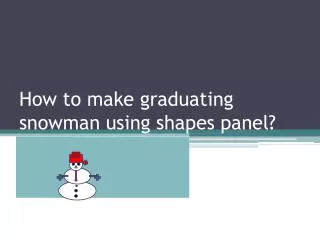
Learn how to design a delightful graduating snowman using Microsoft Office's shapes feature. This step-by-step guide walks you through the process in Word or PowerPoint. Start by creating oval shapes for the snowman's body and head, then add eyes and buttons. Customize with a red tie and arms made from rectangles. Complete your snowman with a carrot nose made from a triangle and a graduation cap with a tassel. Perfect for celebrating graduation in a creative way! Just follow these easy steps to make your own snowman.

E N D
Step Uno - Open your Microsoft office (Word, PowerPoint)
Step Dos - Click on your “INSERT” panel, then click your “SHAPES” panel. This should show when you click “SHAPES”
Step thres - Click on the “oval” shape, and make yourself 3 different sizes, for thee head (smaller shape) , middle body (medium), and bottom body part (biggest)
Step cuarto Stack your oval pieces from small (top) to big (bottom)
Step cinco - Use your oval shapes panel again, to make the eyes and buttons.
Step ses - Click on the shapes panel, click on “DOWN ARROW”. This will be for the tie, on the snowman. Then change the fill, and outline color to red
Step ciete - Next you will make the arms using the rectangle shape panel, and the star shape, for the hands.
Step ocho - Next we have the “carrot nose” using the triangle shape. When you make the triangle nose, make sure you change the color fill too orange but keep the outline black, so that it looks like a carrot almost.
Step nueve - Lastly you are making the graduation cap, and the tassel. Using the rectangle shape, make yourself two (small, big) boxes that makes the hat. Place it on top of the snowman's head. Then to make the tassel, you use the scribble shapes panel, and use the star shape for the end of the scribbled line.
The end !! There goes your graduating snowman.. Dedication to class of 2013