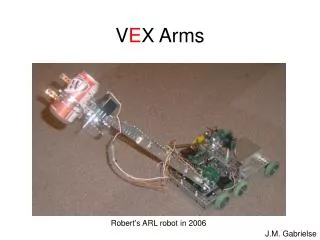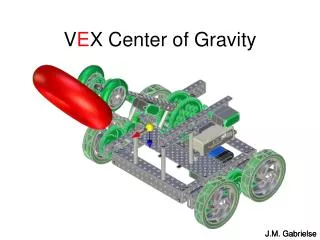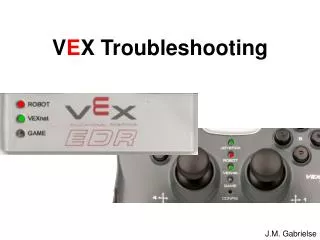
V E X Robotics Design System
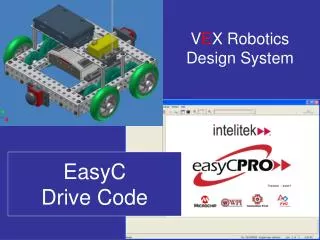
V E X Robotics Design System. EasyC Drive Code. Outline. The Programming Kit Understanding the Controller Your 1 st EasyC Program Common Problems. The Programming Kit. EasyC v2 for V E X robots only EasyC Pro is for V E X & 2004-2009 FRC USB to serial port adapter really SLOW!


V E X Robotics Design System
E N D
Presentation Transcript
VEX Robotics Design System EasyC Drive Code
Outline • The Programming Kit • Understanding the Controller • Your 1st EasyC Program • Common Problems
The Programming Kit • EasyC v2 • for VEX robots only • EasyC Pro is for VEX & 2004-2009 FRC • USB to serial port adapter • really SLOW! • use a serial cable if your computer has a serial port • dongle & telephone cables • for connecting the robot to a computer EasyC CD USB to serial adapter dongle telephone cable
VEX Controller(Transmitter) • 6 channels • x-axis of right joystick (0-255) • y-axis of right joystick (0-255) • y-axis of left joystick (0-255) • x-axis of left joystick (0-255) • right back button (0, 127, 255) • left back button (0, 127, 255) • multiple frequencies (replaceable crystals)
Type in descriptions of what you’re going to plug into each port.
Type in descriptions of what you’re going to plug into each port.
Select an RC Control block. Note: Arcade = 1 joystick drive Tank = 2 joystick drive The number of motors should match your robot.
Select the numbered slot you plugged your left motor into.The labels from the Controller Configuration automatically appear.
Select the numbered slot you plugged your right motor into.The labels from the Controller Configuration automatically appear.
For Arcade change the Forward/Reverse Channel to 2(the y-axis of the right joystick)
For Arcade change the Rotate Channel to 1(the x-axis of the right joystick)
You are done writing your program. Congratulations!
Your program is finished downloading whenthe bar goes down (erases old code)and goes back again (loads new code).
“My code won’t download!”(Is your robot on?) The BATT POWER light should be green. The POWER switch should be ON. Make sure to turn your transmitter on too.
“My code won’t download!”(Did you use a fresh battery?) What color is the BATT POWER light on the controller? charging station controller battery robot battery mounting straps • green: okay battery • red: dead battery
“My code won’t download!”(Is the programming cord hooked up?) • The telephone cord should be plugged into the port labeled SERIAL on the robot controller. • The other end of the telephone plug should be plugged into the dongle. • The other end of the dongle should be attached to the computer (either by the USB to serial adapter or a serial cable). USB to serial adapter telephone cable computer dongle
“My code won’t download!”(Is the correct port selected?) • Step 2: • Pick a COM Port • Try to download your code again • Step 1: • Go to the Build & Download menu • Select Loader Setup • Step 3: • Keep trying all the available ports until you find one that allows you to download
“My robot doesn’t drive right!”(How did you plug the motors up?) Everything should be plugged in according to the Controller Configuration
“My robot doesn’t drive right!”(Did you use servos instead of motors?) • check the label • motors spin continuously (360° of rotation) • servos spin back and forth (120° of rotation)
“My robot doesn’t drive right!”(Do you need to invert any of your motors?) • Test drive your robot with all it’s wheels off the ground • Look to see if any motors need to spin in the other direction • Check Invert Direction to make a wheel spin in the other direction. • Build & Download your modified code