Download
1 / 19
220 likes | 249 Views
Learn how to start planetary imaging with basic equipment and software, capturing stunning images without the need for expensive gear or advanced skills. Discover tips on atmospheric conditions, image capture, stacking, and processing. Enhance your skills with step-by-step guides and valuable resources.

E N D
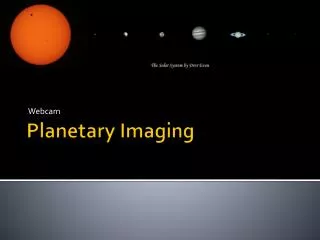
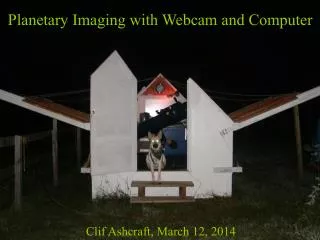
Planetaryimaging Martin Rodriguez mrodri2@hotmail.com
Planetary vs. deep sky for the beginner • Easier • Cheaper • Dark skies less important • No need for precise tracking and polar alignment, not even equatorial mounts • Less picture processing
Basic equipment • Telescope • Refractors • Newtonians, Dobs • SC
Basic equipment • Planetary camera • Cheap webcams • Planetary cameras • DSLR • Live view • Avoid high resolution video format, try to have 1:1 pixel resolution • Not possible with all DSLR cameras • Eyepiece projector
Basic software • Software • Capturing • Firecapture: http://www.firecapture.de/ • Backyard EOS: https://www.otelescope.com/store/category/2-backyardeos/ • Sharpcap: https://www.sharpcap.co.uk/ • Stacking (lucky imaging) • Autostakkert: https://www.autostakkert.com/ • Registax: https://www.astronomie.be/registax/ • Processing • Photoshop, PixInsight, etc
Optional equipment • Focuser • Tracking • Barlow • The optimal magnification will depend on the quality of seeing and camera pixel size • Eyepiece projection • Other software • PHD2, WinJupos, etc
Atmospheric conditions • Seeing and atmospheric stability • Close to the shore and humid • High pressure systems, right before a cold front • Nights with relatively stable temperatures • High in the sky if possible • Away from heated roof tops or asphalt • Close to dawn and twilight
General concepts • Acclimation • Collimation is key • Focusing • Stars, moons • Software • Adjust as needed, repeatedly
Capture of images in Firecapture • Set the size of the frame • Region of interest (ROI) • 640 x 480 pixels vs higher depending on size of the planet • If higher more memory and size of the frame, but resolution is similar • Turn gamma neutral (500 or unclick), may need to go up on gain • Adjust as needed, histogram about 1/3 – 2/3 of the way • Rate usually 30-50 fps, try to use fast rate if possible • Set duration • Consider rotation of the planet • Start capturing video
Rotation speed • Jupiter 1-2 min • Saturn 2-5 min • Mars 3-5 min
Stacking of images • Autostakkert for stacking • Registax for processing
Additional things to consider • Pixel size of the camera and magnification • Filters • Monochrome vs color
Magnification and pixel size • Magnify the image so that it is large enough to be sufficiently sampled by the pixel size in your camera to record fine details • How much to magnify will also depend on how good seeing is
Magnification and pixel size • Image scale of 0.25 arcsecs/pixel for very good seeing • Under excellent conditions up to 0.1-0.2 arcsecs/pixel • As a general rule f/ratio should be 3-7x pixel size • ZWO ASI 290 MC: 2.9 microns • Canon 70D 4.1 microns www.starizona.com http://celestialwonders.com/tool/imagescalecalc.html