Download
1 / 75
770 likes | 1.07k Views
The Erosion Control Inspection. So, You Have to Do an Erosion Control Inspection. Who’s protecting these inlets!!. What’s a wattle and where did the contractor put them?. The Basics of an Inspection. Why you have to do an inspection When you have to do an inspection

E N D
So, You Have to Do an Erosion Control Inspection. Who’s protecting these inlets!! What’s a wattle and where did the contractor put them?
The Basics of an Inspection Why you have to do an inspection When you have to do an inspection How you do an inspection
The Basics of Why You Have to Do an Inspection Required by Trans 401.10 Determines if the BMP’s have been properly implemented, installed and maintained Identifies corrective action that is needed
The Basics of When You Have to Do an Inspection Once per week Within 24 hours after every precipitation event of ½” or more during a 24-hour period At the beginning and end of each stage After installation of BMP’s At the completion of the project
The Basics of How to Do an Inspection The prime contractor should be invited to accompany the inspector when doing inspections The invite must be sent at least 1-hour in advance of the inspection Use forms WS1072 and WS1074 from pantry software to complete the inspections
Form WS1072 Erosion control diary/inspection form Pantry software You all should have one
Form WS1074 Erosion control order form Pantry software Used if corrections or changes are needed Prime contractor is not required to make changes unless an order is sent You all should have one
What Do You Do With All This Paperwork Keep all inspections and orders in the field office, with the ECIP, in a binder This needs to be available to the public
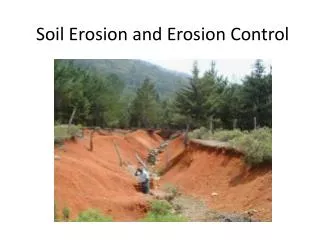
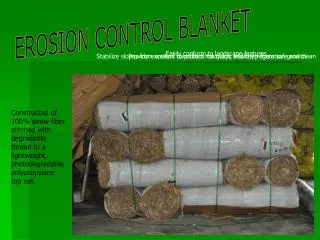
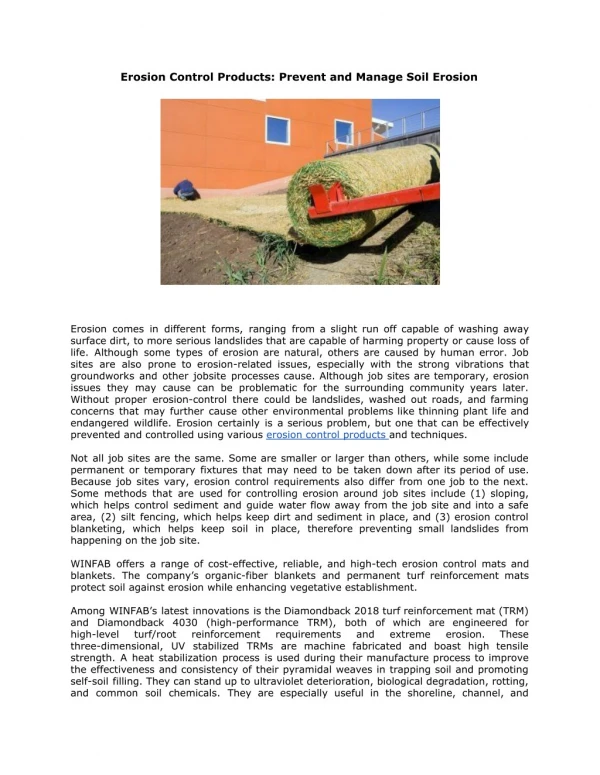
Typical Best Management Practices(BMP’s) Silt Fence Ditch Checks Erosion Mat Mulch Inlet Protection Turbidity Barrier Grading Practices
Silt Fence SDD 8e9-6 Needs to be entrenched Joints should be twisted or overlapped Post spacing, 3’ max or 8’ max if using woven geotextile fabric Fabric should face the flow Should go up and over a culvert
Ditch Checks, Types Erosion Bales Straw Wattles
Ditch Checks, Types Silt Dikes Bio-Logs
Ditch Checks, Types Rock Bags
Ditch Checks SDD 8e8-3 Entrenched, 4” for erosion bales and 2” for all other types Minimum of 10” height above the flow line Erosion bales should be double row
Erosion Mat, Types Erosion Mat Class I Type B
Erosion Mat, Types Erosion Mat Class II Type B
Erosion Mat, Types Erosion Mat Class III Type B
Erosion Mat Should not be stretched Should be laying flat on the soil Properly overlapped and shingled Properly anchored Must be entrenched on the leading edge
Mulch • Three methods available for installation • Netting • Tackifier • Crimping
Mulch, Netting Method Uniform depth of ½” to 1-1/2” Anchored with netting or twine secured to pegs or staples Begin at top of slope and proceed downwards
Mulch, Tackifiers Spread by machine to uniform ½” to 1” depth ½ to 3 tons per acre A spray on non-asphaltic tack anchors the mulch
Mulch, Crimping Uniform depth of ½” to 1-1/2” Anchored with a mulch tiller designed to crimp mulch into the soil Crimped a minimum of 1-1/2” and a different anchor method must be used if 1-1/2” is not possible
Inlet Protection SDD 8e10-2 Four types, A,B,C,D
Inlet Protection Type A Type b
Inlet Protection Type C Type D
Turbidity Barrier SDD 8e11-2 Should be 2’ higher than Q2 elevation or estimated high water elevation, whichever is greater Should be anchored with sandbags Post spacing 10’ max
Grading Practices Leave existing vegetation in place as long as possible Limit exposed areas Topsoil and restore areas as soon as grading is completed Staging