Download
1 / 13
130 likes | 327 Views
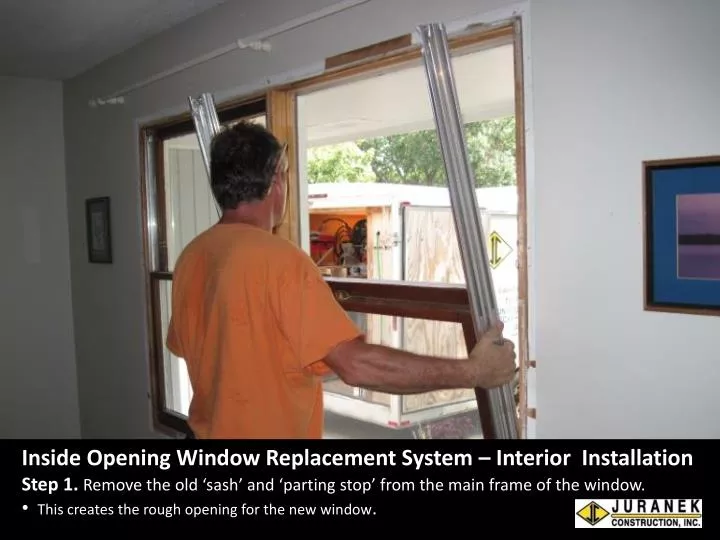
Inside Opening Window Replacement System – Interior Installation Step 1. Remove the old ‘sash’ and ‘parting stop’ from the main frame of the window. This creates the rough opening for the new window. Inside Opening Window Replacement System – Interior Installation

E N D
Inside Opening Window Replacement System – Interior Installation • Step 1. Remove the old ‘sash’ and ‘parting stop’ from the main frame of the window. • This creates the rough opening for the new window.
Inside Opening Window Replacement System – Interior Installation • Step 2. Build the new window to fit the opening • Install sealants on the ‘blind stop’. • Foam wrap the unit, and seat the unit in the opening against the ‘blind stop”.
Inside Opening Window Replacement System – Interior Installation • Step 3. Reinstall the existing trim and coverings • The window is ready to reinstall the existing trim, or upgrade to new if desired.
Inside Opening Window Replacement System – Exterior Installation • Step 1. Remove the storm window, the ‘blind stop, the old ‘sash’ and ‘parting stop’ from the main frame of the existing window. • This creates the rough opening for the new window.
Inside Opening Window Replacement System – Exterior Installation • Step 2. Build the new window to fit the opening • Foam wrap the unit, and seat the unit in the opening against the ‘interior stop”.
Inside Opening Window Replacement System – Exterior Installation • Step 3. Reinstall the existing trim and coverings • The window is ready to reinstall the existing trim, or upgrade to new if desired.
Inside Opening Window Replacement System – Exterior Installation • Step 4. Reinstall the existing trim and coverings • The window is ready to reinstall the existing trim, or upgrade to new if desired.
Inside Opening Installations - Changing window styles • Step 1. Remove existing storms and prime sash. • The interior trim may need to be removed to allow for the installation.
Inside Opening Installations - Changing window styles • Step 2. Cut the ‘mull’ out to create one opening • The mull is where the two main frames are tied together. • This will create the ‘rough opening for the new window design.
Inside Opening Installations - Changing window styles • Step 3. Reinforce the sill to accept the new units. • The seam in the sill needs to be reinforced to support the weight of the new units properly
Inside Opening Installations - Changing window styles • Step 4. The new opening accepts multiple styles • The new center picture window opens up the room and gives the home a new look.