Download

1 / 3
0 likes | 10 Views
Find reliable roofers in the Netherlands and Belgium with Dakdekker Lokaal. Compare roofers, contact them directly, and arrange your roof maintenance today!<br><br>Dakdekker Lokaal<br>support@dakdekkerlokaal.com<br>https://dakdekkerlokaal

E N D
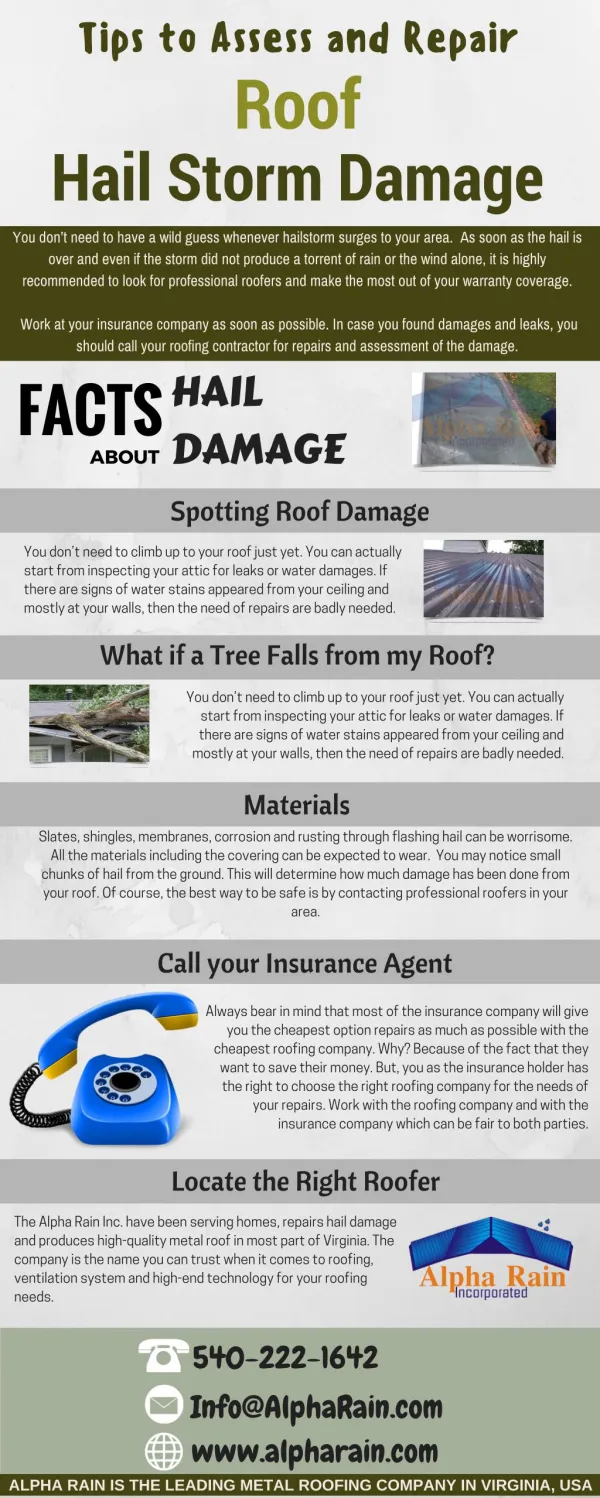
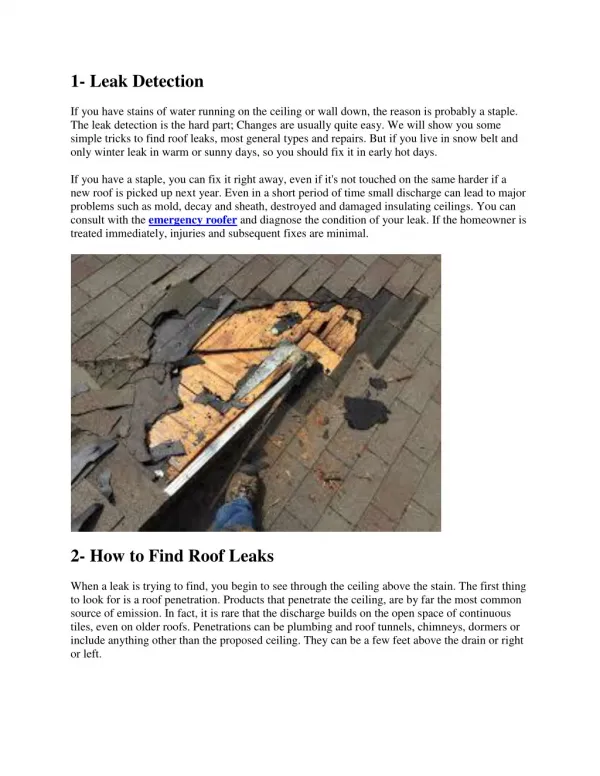
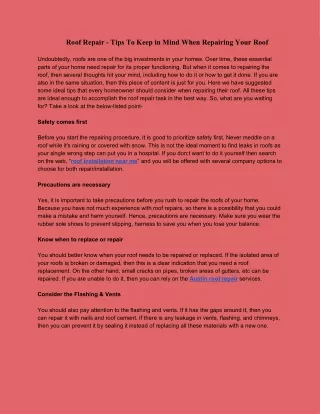
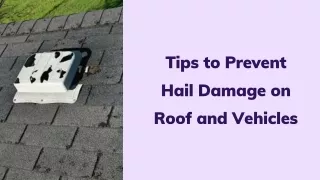
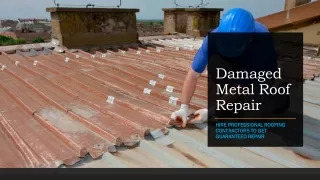
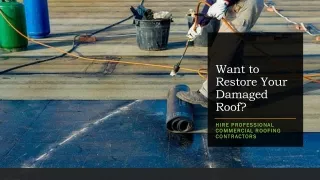
Introduction Hailstorms can wreak havoc on your roof, causing significant damage that may lead to leaks and further structural issues if not addressed promptly. One of the most vulnerable components of a roofing system is the flashing, which is designed to prevent water infiltration at critical points such as joints, valleys, and around chimneys. If you've experienced hail damage, understanding how to repair or replace flashing is crucial for maintaining your home's integrity. In this comprehensive guide, we’ll cover everything you need to know about fixing hail-damaged flashing on your roof, alongside expert tips and essential maintenance advice. Fixing Hail-Damaged Flashing on Your Roof: Repair Tips When it comes to fixing hail-damaged flashing on your roof, it's essential to assess the extent of the damage first. Most commonly made from metal or PVC, flashing can bend, crack, or even detach completely due to hail impact. Here’s a step-by-step approach to tackling this issue: 1. Assess the Damage Before diving into repairs, take the time to inspect your roof thoroughly. Use binoculars or a sturdy ladder (if safe) to examine: Areas where flashings are installed Signs of bending or gaps between flashing and roofing material Any visible cracks or holes 2. Gather Necessary Tools and Materials You'll need some basic tools and materials for the repair process: Ladder Hammer Roofing nails Metal flashing (if replacement is needed) Sealant (preferably silicone-based) Safety gear (gloves and goggles) 3. Remove Damaged Flashing Carefully detach any damaged sections of flashing using a hammer and pry bar. If it’s stubbornly stuck, gently tap around the edges until you can lift it off without damaging surrounding materials. 4. Clean the Area Once removed, clean the area beneath the flashing thoroughly. Remove any debris or old sealant with a putty knife. 5. Install New Flashing (If Needed) If replacing damaged flashing: Measure the length needed. Cut new metal flashing accordingly. Fit it into place over any joints or seams. Secure with roofing nails—ensure they penetrate both the roof and underlying structure. 6. Seal Joints Properly After installing new flashing, apply a high-quality sealant along all edges and joints where water might penetrate. 7. Inspect Surrounding Areas Finally, after repairing or replacing flashing, check surrounding shingles or tiles for potential damage that could lead to leaks down the line. Understanding Roof Flashing Types Flashing comes in various types based on its location and purpose:
1. Valley Flashing Valley flashings are used where two sloped roofs meet; they direct runoff water away from seams. 2. Step Flashing Step flashings are essential around walls that intersect with sloped roofs; they weave between shingles for enhanced protection. 3. Continuous Flashing Also known as apron flashing, this type runs along horizontal surfaces beneath shingles—primarily used around chimneys. How Do I Choose The Right Roof Coating For Waterproofing? Choosing the right roof coating can significantly enhance waterproofing capabilities while improving energy efficiency: Consider Your Roof Type: Different coatings work better with specific materials—metal roofs benefit from reflective coatings while flat roofs may require elastomeric options. Climate Consideration: If you live in an area with heavy rainfall or snow accumulation, opt for thicker coatings that provide superior protection against moisture. Durability: Look for coatings that offer extended warranties; this indicates their longevity against wear and tear. Application Method: Some coatings are easier to apply than others; consider whether you'll be doing it yourself or hiring professionals. Environmental Impact: Eco-friendly options are available that utilize sustainable materials without sacrificing performance. Can I Install Rain Diverters On A Corrugated Roof? Absolutely! Installing rain diverters on a corrugated roof can help manage runoff effectively:
Position diverters at low points where water tends to pool. Ensure they’re angled correctly so that water flows away from critical areas. This installation enhances drainage efficiency while protecting against potential leaks caused by heavy rainfall. How Do I Calculate The Load Capacity Of A Pitched Roof? Calculating load capacity involves several factors: Determine Dead Loads: This includes weight from roofing materials (e.g., tiles), insulation, etc. Calculate Live Loads: Consider snow accumulation based on local climate data. Use Structural Engineering Tables: These provide insights into standard load capacities based on roof slope and material types. Always consult a structural engineer if unsure about calculations—safety first! What Are The Costs Of Roof Vent Installation In The Netherlands? The costs associated with roof vent installation in the Netherlands typically range between €200–€800 depending on: Type of vents selected (static vs powered) Complexity of installation Local labor rates Investing in proper ventilation can dramatically increase your home’s energy efficiency while prolonging roof life— definitely worth considering! How Do I Repair Cracks In Roof Fascia Boards? Repairing cracked fascia boards is essential for preventing further deterioration: Clean cracked areas thoroughly. Use wood filler for small cracks; larger cracks may require replacing sections entirely. Sand smooth after drying before painting over to protect against moisture ingress. Regular inspections will help catch these issues early before they become significant headaches! FAQs Q1: What should I do if my roof has multiple damaged areas? A1: It’s best to address each area systematically; prioritize more severe find dutch roofing services damages first but ensure you plan for overall restoration efficiently. Q2: How often should I check my roof after severe weather events? A2: Inspect your roof at least twice yearly following major storms; immediate checks post-storms help identify urgent repairs before they escalate! Q3: Can hail damage void my roofing warranty? A3: Yes! Most warranties have specific clauses regarding storm damage; always review terms carefully and consult with your provider post-damage incidents. Q4: Is it necessary to hire professionals for all roofing repairs? A4: While some minor repairs can be DIY projects—like cleaning gutters—significant damages warrant professional assistance to ensure safety standards are met! Q5: How can I prevent future hail damage? A5: Regular maintenance including inspections during storm seasons helps mitigate risks; consider upgrading roofing materials resistant to impacts if you live in hail-prone areas! Q6: How do I choose a reputable contractor for repairs? A6: Look for licensed contractors with solid reviews online; assess their previous work portfolio thoroughly before making decisions! Conclusion Fixing hail-damaged flashing on your roof doesn’t need to feel overwhelming! Armed with knowledge about assessing damage properly, choosing appropriate materials, and understanding repair techniques makes all the difference in maintaining your home’s integrity long-term! Always prioritize safety during inspections & repairs—but don’t hesitate either way when it comes time for necessary upkeep—the earlier you tackle issues like these leads directly towards fewer headaches down road ahead!