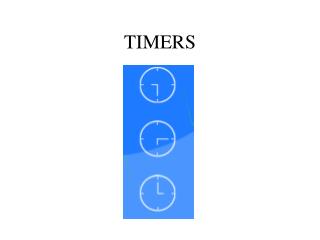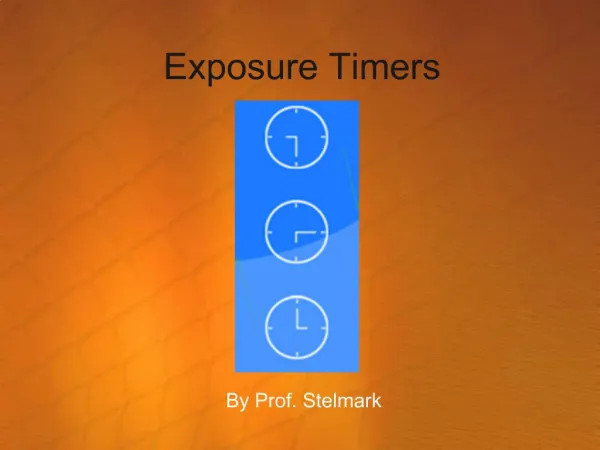
Timers Tutorial
Follow this step-by-step tutorial to create animated timers in PowerPoint with shapes and hyperlinks for engaging presentations. Enhance your slides with custom animations and action buttons. Learn how to make circular or rectangular timers and design a time's up slide. Impress your audience with professional timer effects.

Timers Tutorial
E N D
Presentation Transcript
Timers Tutorial Submitted by Graham Shaw
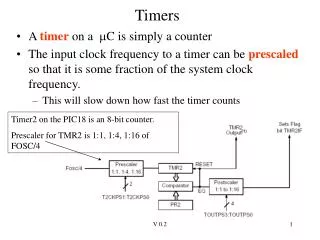
First of all to start, you need a shape that will be your timer. The recommended shapes are circular or rectangular [see below]
Next, you have to start animating the shapes. Click Slide Show > Custom Animation. Follow the screenshot below, then right click on the timeline and click “show advanced timeline.” Set it to 20.0 seconds and to start with previous.
You should now have a shape that looks like this. But you still need it to be recognized as a timer so… Play > … Create a new slide and decorate it as you want for the time’s up slide…
Go back to the previous slide and… …Create an action button or time’s up image that hyperlinks to the time’s up slide. Once you have done that, right click and select Action settings then follow the screenshot on the left. Finally, add an entrance effect to the time’s up image and set it to After Previous…
For a rectangular timer just change the animation to wipe from left or right.
With a bit of imagination, you can create timers that looks like this…
End of tutorial. Press ‘Esc’ to quit.For more PowerPoint tutorials and animations, visit PowerPoint Heaven at http://pptheaven.mvps.org