1 / 14
140 likes | 149 Views
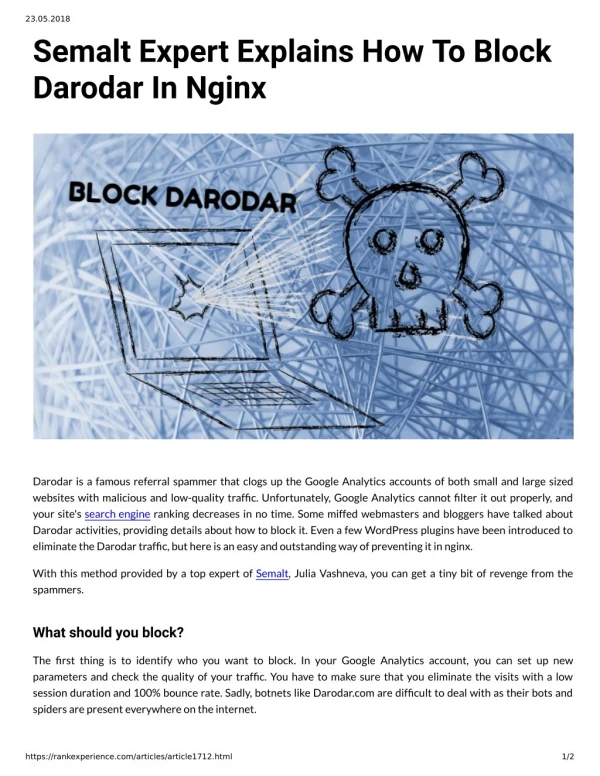
Varnish Cache is cache module for improving website speed and performance with caching. Here's how to install varnish cache for NGINX in CentOS, Redhat, Fedora.#nginx #linux #unix #varnish <br><br>Visit https://ubiq.co/tech-blog/install-varnish-cache-nginx-centos/

E N D
Install NGINX on CentOS If you have already installed NGINX in CentOS, skip to the next step. Else open terminal and run the following commands to install NGINX. # yum install nginx If you get a yes/no prompt, enter ‘y’ or ‘Y’ to complete installation. Run the following command to start NGINX and enable it to autostart during system boot. # systemctl start nginx # systemctl enable nginx
Add EPEL Repository Some of Varnish cache dependencies require EPEL repository setup. Run the following command to install it. # yum install -y epel-release
Install dependencies Install the dependencies required for varnish cache. # yum install pygpgme yum-utils
Add Varnish Cache Repository (⅓) Open the following file # vi /etc/yum.repos.d/varnishcache_varnish5.repo and copy paste the following code in it. Make sure you replace /el/7 with your Linux version. In this case, we have used 7 for CentOS 7. [varnishcache_varnish5] name=varnishcache_varnish5 baseurl=https://packagecloud.io/varnishcache/varnish5/el/7/$basearch repo_gpgcheck=1 gpgcheck=0 enabled=1
Add Varnish Cache Repository (2) gpgkey=https://packagecloud.io/varnishcache/varnish5/gpgkey sslverify=1 sslcacert=/etc/pki/tls/certs/ca-bundle.crt metadata_expire=300 [varnishcache_varnish5-source] name=varnishcache_varnish5-source baseurl=https://packagecloud.io/varnishcache/varnish5/el/7/SRPMS repo_gpgcheck=1
Add Varnish Cache Repository (3) gpgcheck=0 enabled=1 gpgkey=https://packagecloud.io/varnishcache/varnish5/gpgkey sslverify=1 sslcacert=/etc/pki/tls/certs/ca-bundle.crt metadata_expire=300
Install Varnish Cache Run the following command to install varnish cache in CentOS. Enter y or Y or yes in case you see any prompts. # yum -q makecache -y --disablerepo='*' --enablerepo='varnishcache_varnish5' # yum install varnish
Configure NGINX to Work with Varnish By default, NGINX listens to port 80. In this step, we will make Varnish listen to port 80 and NGINX listen to port 8080 so that NGINX is running behind Varnish cache. Open NGINX configuration file at /etc/nginx/nginx.conf # vi /etc/nginx/nginx.conf If you have configured separate virtual hosts for your website (e.g www.website.com), such as /etc/nginx/sites-enabled/website.conf then open its configuration with the following command # vi /etc/nginx/sites-enabled/website.conf Look for the line in server block listen 80; and change it to listen 8080;
Configure Varnish to Work with NGINX By default, Varnish listens to port 6081. We need to make it listen to port 80. Open varnish configuration file. # vi /etc/varnish/varnish.params Update VARNISH_LISTEN_PORT from 6081 to 80 as shown below.
Setup NGINX as backend proxy Open /etc/varnish/default.vcl file to configure NGINX as backend proxy. # vi /etc/varnish/default.vcl Update the .port value in backend block to have 8080 value. This will point varnish cache to NGINX. backend default { .host = "127.0.0.1"; .port = "8080"; }
Restart NGINX and Varnish Cache Restart NGINX and Varnish cache to apply changes # systemctl restart nginx # systemctl start varnish # systemctl enable varnish # systemctl status varnish
Test Varnish Cache with NGINX Run the curl command to send a request to your server. # curl -I http://your_server_or_ip
Thank You Visit for details https://ubiq.co/tech-blog/install-varnish-cache-nginx-centos/