Download

1 / 7
80 likes | 88 Views
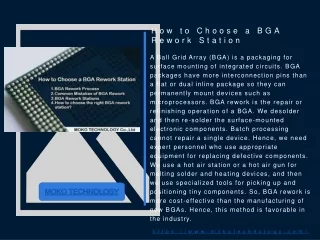
Ball Grid Array (BGA) rework stations are used to repair malfunctioning printed circuit boards in surface-mount devices (SMDs). This device goes by a few different names; some of them include SMD rework station and SMT rework station in addition to BGA rework station.u00a0Technicians who work with printed circuit boards often use a BGA rework station to repair damaged circuit boards.

E N D
BGA Rework and Repair Process: A Comprehensive Guide
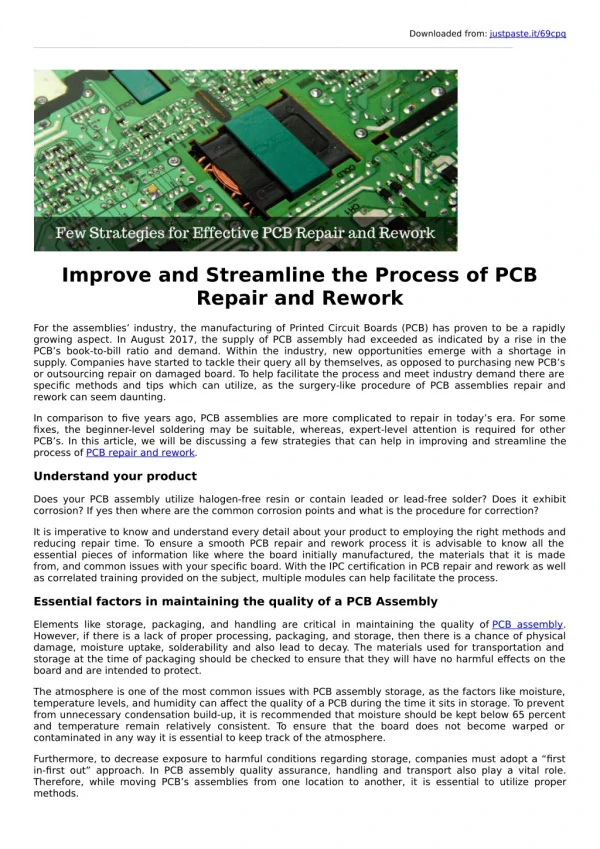
Printed Circuit Boards (PCBs) are an integral part of nearly every electrical and electromechanical device and must be meticulously planned, produced, and assembled. These boards feature a variety of components on them that work together to keep the device's circuits active. PCBs must be small enough to fit into increasingly tiny electronic devices while still accommodating a large number of components. Through-hole and surface-mounting BGA technologies are the primary means of accomplishing this. The BGA rework process aids in achieving precision and making effective use of available board space when mounting components. BGA ReworkStation Ball Grid Array (BGA) rework stations are used to repair malfunctioning printed circuit boards in surface-mount devices (SMDs). This device goes by a few different names; some of them include SMD rework station and SMT rework station in addition to BGA rework station. Technicians who work with printed circuit boards often use a BGA rework station to repair damaged circuit boards. Before installing new parts, it's crucial to thoroughly check them all and replace any that are damagedor missing.
ReworkingBGA: Detailed Steps You'll need a clipper, a warm air gun, flux solder, and some scrap iron strips in addition to a thick iron wire, like that found in a wire clothes hanger. Broken shipping pallets can be reused for this purpose. • Step 1 You'll need accurate measurements for the BGA chip you have. Once the necessary length has been determined, a square can be formed from the strip by hammering and clamping the ends together. You may also use tweezers to bend the strip, or a combination of pliers, wrench, and grip to get the job done quickly and easily. Your patch should be slightly bigger than the actual BGA chip you own. It will allow heat to escape from under the chip rather than being trapped on top of it. • Step 2 At this point, you'll need to use the iron wire at your disposal to create a clip. After making your clip, set it aside for a later time; you'll need it to keep the various parts together.
• Step 3 Once you've finished drinking the soda, it's time to break open the can with some kind of cutter or shears. Now, place the can on its side and cut a square hole in its side. To ensure a close fit between the hole and the square framework constructed in Step 1, the opening must be square. Utilizing tin foil on your soda can, you may shield your circuit board from the chip's heating process and keep the other components safe from damage. You should have no problems with the heater if you have adhered to the instructions. • Step 4 At this point, it's crucial for the soldering flux to penetrate the BGA chip itself. A little bit of paint and making sure you've covered all your bases will improve your case. • Step 5 Your next step is to roll a very little piece of tin solder into a ball. After then, hide your ball; you'll need to keep an eye on it as it heats up again.
• Step 6 In order to prevent the circuit board from moving around during soldering, you need to fasten it to your workbench. Put the chip on a heat-resistant pad and lift it off the table so you can heat it from below. Doing so will maximize the benefits of the heat. The next thing to do is to take the square frame and the aluminum foil you prepared earlier and use the wire clip you made to hold them together. Drop the metal sphere into the BGA chip's hole. The board needs to be in a position where it can't roll away once the tin solder ball has melted. • Step 7 It's finally heating up, the most thrilling part of the process. Bring out the hot air gun and turn it on to a low heat setting to warm things up. Now is the time to utilize both top and bottom heat to finally melt that blob of tin. As soon as it melts, turn up the heat for at least 30 seconds more. A bright metal ball will develop when the tin has melted entirely; if you don't take the precautions we've outlined, the ball will roll away.
If you hold the gun perpendicular to the board, above the chip, with an appropriate distance between the chip and the hot air pistol, the tin ball is more likely to stay on your chip rather than fall to the floor. • Step 8 And finally, the board needs to be cooled. After the heat has been removed from your board, a complete redesign is necessary. This way, it won't end up in the trash and then the landfill, where its useful life would be drastically cut short.
https://www.livepositively.com/@scarlettwatson/bg a-rework-and-repair-process-a-comprehensive- guide/new=1