Download
1 / 8
80 likes | 82 Views
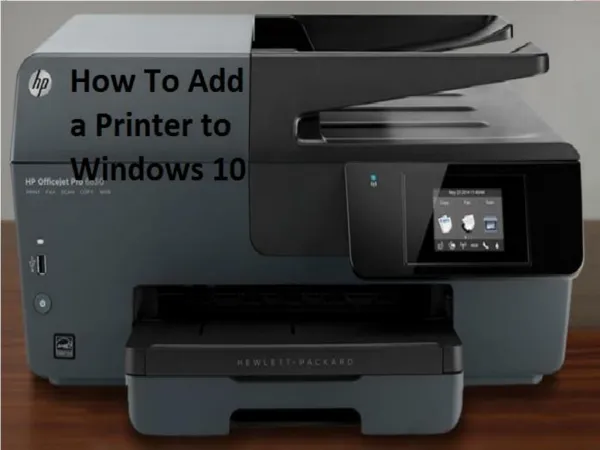
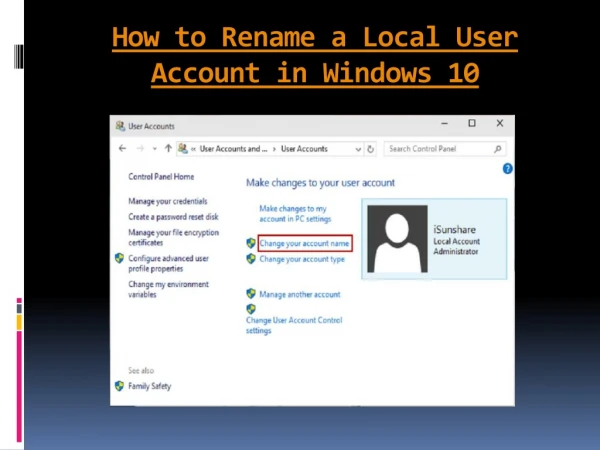
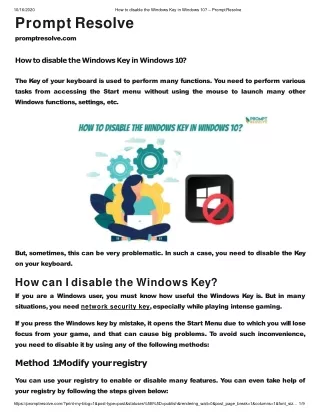
Based on the manufacture name, series, and model number, the installation process assigns a default name when someone adds a new printer in Windows 10.

E N D
How to Rename the printer in windows 10 Rename the printer
How to Rename the printer in windows 10 Based on the manufacture name, series, and model number, the installation process assigns a default name when someone adds a new printer in Windows 10. There are plenty of reasons to change the name of the device to something different. For example, if the users want to update the name to identify the device better if the user prints to multiple printers in a different location.
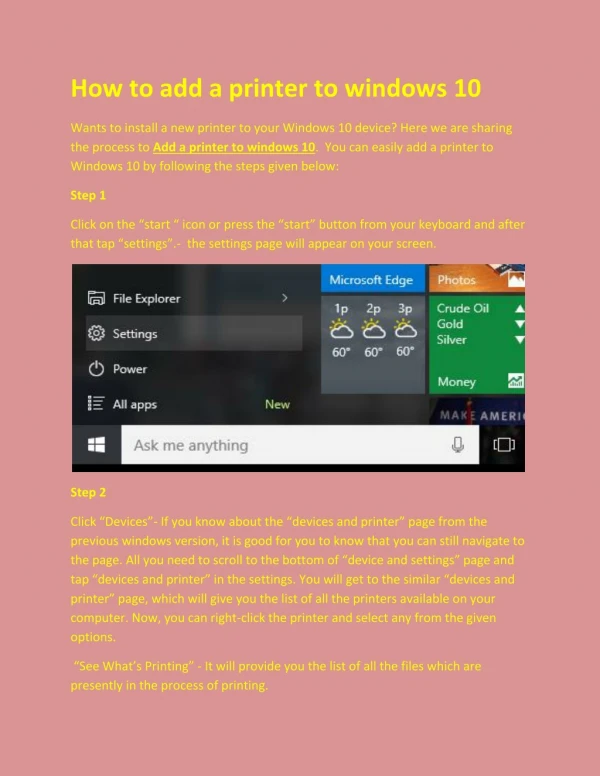
Solution 1: How to rename printer using settings • Open the settings. • Click on the option of devices. • Now click on the option of printers and scanners. • Now select the option of the printer which is present under the printer and scanner section. • Now click on the option of the manage button. • Click on the options of printer properties. • Click on the option of the general tab. • Now specify a new name for the printer. • Click on the option of the apply button. • Click on the option of the OK button.
Solution 2: How to rename printer using the control panel • Click on the option of the control panel. • Click on the option of hardware and sound. • Click on the option of devices and printers. • Now right-click on the option of the printer and select the option of printer properties. • Now click on the general tab. • Now specify a new name for the printer. • Click on the apply button. • Click on the option of the ok button.
Solution 3: how to rename printer using power shell • At first, open start. • Now search for Power Shell, right-click the top result, and now select the Run as administrator option. • Now you have to type the command (Get- Printer| Format-Table Name). • Now to change the of the printer type the command (Rename-Printer-Name “CURRENT-PRINTER-NAME”-New Name “NEW-PRINTER-NAME). • Once you complete the steps, the Power Shell command will change the name of the printer to the name specified by you.
Always there For You • In case of any query or if you face any problem in doing so you can connect to the support number. The team of the printer support phone number is available 24/7.