Download
1 / 12
120 likes | 144 Views
Learn to create depth in drawings through size, placement, & shading. Master the art of drawing cones in varied positions. Explore techniques for rendering volume with value contrast.

E N D
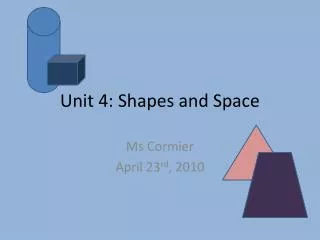
Objectives (1 of 2) • Create the illusion of space in drawing by using relative size, vertical placement on the page, overlapping of objects, and contrast in values. • Establish a foreground, middle ground, and background in drawings.
Objectives (2 of 2) • Perceive the underlying conical shape of many everyday objects. • Create an accurate line drawing of a cone whether it is standing upright or lying on its side. • Render the volume of a conical object using shading.
The Illusion of Space • Foreground: nearby • Background: far away • Middle ground: in between
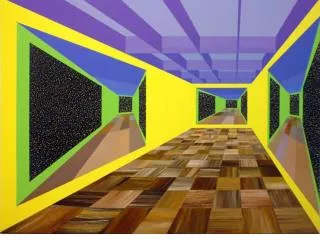
Creating the Illusion of Space (1 of 2) • Relative size: smaller says “farther” • Placement: closer to horizon line says “farther”
Creating the Illusion of Space (2 of 2) • Overlapping: partially obscured says “farther” • Value contrast: smaller range of values says “farther” • INSERT FIG 7-05
Upright Cones (1 of 2) • Draw a vertical center guide line to keep your cone from becoming lopsided.
Upright Cones (2 of 2) • Draw a horizontal plumb line to determine the shape of the ellipse.
Cones on Their Sides • Draw a center guide line from tip through the widest part of the ellipse. • Draw a perpendicular line through the widest part of the ellipse.
Volume in Cones • Areas of greatest contrast are those closest to the viewer’s eye. • Sight and measure to determine shape and angle of cast shadow.
Summary (1 of 2) • Establish the illusion of space between objects for accurate drawing. • Larger objects appear closer to the viewer’s eye than smaller objects. • Objects lower in the picture plane appear closer. • An object that overlaps another object appears closer. • Objects with a greater range of values appear closer.
Summary (2 of 2) • The cone is one of the four basic shapes. • Begin with a central guide line in order to draw a cone accurately. • When a cone is lying on its side, add a perpendicular guide line for the widest part of the ellipse. • The volume of the cone is essentially round. • Use values to suggest volume as for a sphere.