Download
1 / 13
130 likes | 239 Views
This guide details the history and modification process of the 975 series of check valves, originally produced in 1990. The original 975 featured buna-n check discs but lacked replaceable check seats and was discontinued in 1992. This document covers the differences between models 975A, 975XL, and the lead-free 975XL2 introduced in 2010. Instructions for check cover removal, valve assembly, and diaphragm replacement are included to assist with maintenance and ensure proper functionality.

E N D
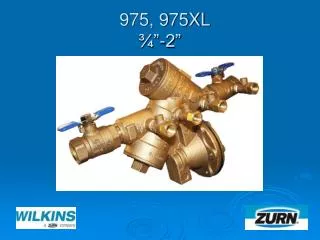
Modification Overview • Production of the original 975 began in 1990. This version had buna-n check discs and did not have replaceable check seats. Discontinued in 1992. • The 975A had bronze replaceable seats. • The 975XL (1993-Current) has plastic replaceable seats and silicone check discs. • A lead free version 975XL2 was introduced in 2010.
Check Cover Removal • Cover is threaded into body and o-ring sealed. • Cover is spring loaded. • Loosen cover with wrench, then remove by hand while holding tightly against spring pressure.
Check Valve Removal • Poppet style check valve. • The poppet and spring are free once the cover is removed.
Check Seat Removal • Check seats are threaded into body and o-ring sealed. • A “special tool” is needed for removal.
Check Disc Replacement • Remove screw and disc washer from poppet. • Reassemble in reverse order.
Check Valve Reassembly Notes • Inspect and clean the guide bore on the cover. • The stem must move freely in the guide bore. • Reassemble in reverse order.
RV Cover Removal • Cover is sealed by the diaphragm. • Cover has a slight spring load. • Hold cover firmly as the bolts are removed.
RV Stem Removal • Gently pull on the diaphragm to remove the RV stem. • The spring should fall out when the stem is removed.
RV Seat Removal • The seat is threaded into body and o-ring sealed. • A “special tool” is needed to remove the RV seat.
RV Stem Disassembly • Remove the retaining screw. • Pull the disc retainer and stem apart.
RV Rubber Replacement • The diaphragm and seat disc are free once the stem is disassembled. • Replace rubber in reverse order. • Lubricate plunger o-ring on stem.
RV Reassembly Notes • Reassemble the stem in reverse order. • Position spring in body. • Make sure diaphragm does not cover hole for sensing line.