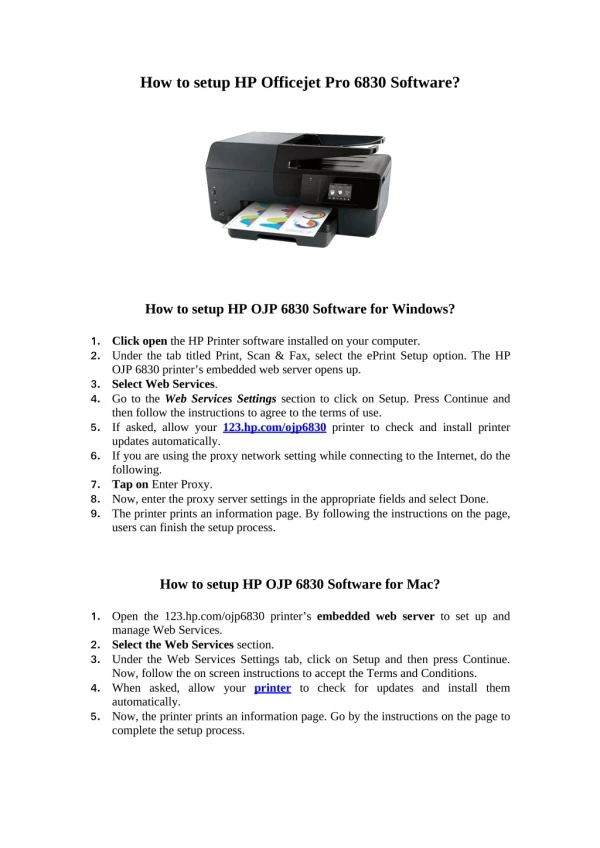
Download
1 / 3
30 likes | 48 Views
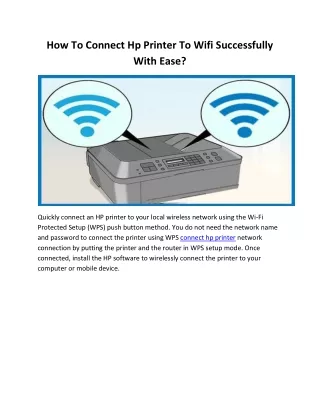
How to connect hp officejet 3830 to wifi setup - simple 8 steps to connect to wifi setup for your 123.hp.com/oj3830 printer.

E N D
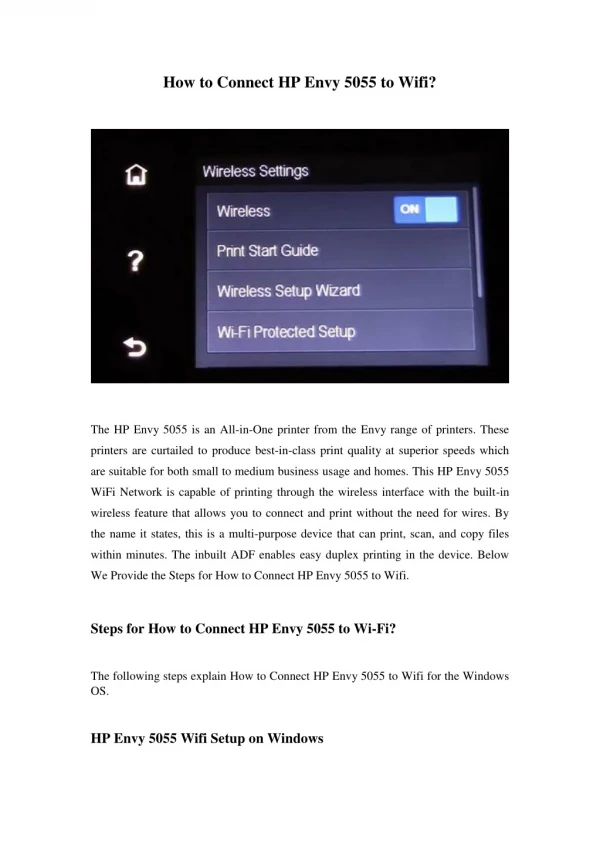
How to set up wireless printer HP Officejet 3830 Configure the HP Officejet 3830 printer hardware from the below-mentioned steps. After configuring, connect the printer to a network using various wireless methods. Choose any one of the ways to establish the network connection. An easy guide to setup wireless printer hp Officejet 3830 1.Unload the HP Officejet 3830 printer from its carton. 2.Eradicate all the packing materials around the printer. 3.Connect the power cable between your printer and system. 4.Switch on your HP Officejet 3830 printer. 5.Fill a pile of blank sheets into the input tray. 6.Slide the paper width guide for a secure alignment. 7.Install compatible ink cartridges into their slots. 8.Wait for few seconds for the printer to deliver the alignment page.
9.Install genuine full feature driver on your Windows system. Detailed instructions to configure wireless printer hp Officejet 3830 Rip the tape on top of the printer’s carton. Open the box to take the printer out of it. Place the printer on a leveled surface. Discard all the packing materials around the printer. The materials in the box are a USB cable, power cable, ink cartridges, driver installation CD, warranty card and user manual. The materials may vary based on the country/region. You can find various tapes and packing materials around the printer. It is used to avoid damage to the printer’s accessories. Discard all these tapes. Inspect the cable for any damage. If there is no damage, replace it with a new one. Attach one end of the cable to the printer’s rear and the other end to a wall socket. Switch on your printer.
Set the paper width guides to their farthest position. Mount unused plain paper into the input tray. Slide the guides for a secure alignment. Do not bend the paper edges as it may result in the paper jam issue. Do not overfill papers into the input tray. Use the SETUP cartridges in the printer’s shipment box. Tear the tape to take the cartridges out of the package. Rip the protective tape on top of it. Put the ink cartridges into their slots until they snap into place. Close the door properly. After some time, the printer delivers an alignment page. Select your compatible driver and install it. As the printer supports wireless connection, connect the printer to a network using the Wireless Setup Wizard method. Establish a network connection with the help of the network name and password. Keep note that the credentials are case-sensitive. After establishing the connection, wait for a stable wireless light to display on the printer’s control panel.