Download
1 / 3
30 likes | 55 Views
How to connect hp officejet 3830 to a computer - Learn about connect the hp officejet 3830 to computer guidelines.

E N D
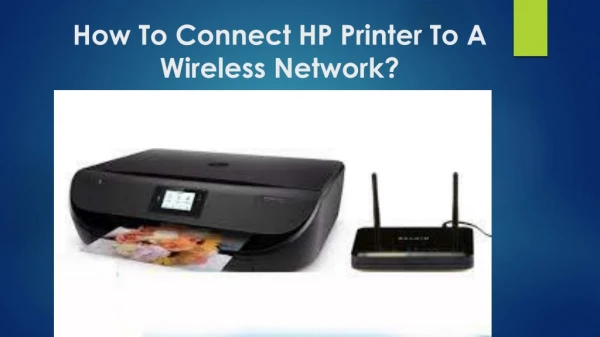
How to Connect HP Officejet 3830 to a Computer Use various options to connect the HP Officejet 3830 printer to a computer. It can be wired, wireless and USB. Initially, check the compatible network connections with the printer. Inspect the USB cable for any physical damage. Go through the succeeding instructions mentioned below to begin the connection process. What are ways to connect the HP Officejet 3830 printer to the system 1.Power up the 123.hp.com/oj3830 printer by long-pressing the Power button. 2.Use the USB cable to establish the connection between the devices. 3.Utilize a cable that is less than 3m in length. 4.Disconnect all the other devices connected to the USB hub or docking station. 5.An insufficient power supply may lead to connection failure. 6.Observe the printer name on the list of available devices. 7.Install the updated printer driver if the printer name is unavailable. 8.Go through the instructions mentioned below for detailed explanation. Methods used to connect the HP Officejet 3830 printer to the system Connect the HP Officejet 3830 printer to a wireless network with the help of a router. Read through the steps below to establish the connection. The network connection requires a wireless router or access point. Set the router to 24Ghz. Connect the system to a network where you wish to connect the printer to.
Get the network name and password ready before establishing the network connection. Tap the Wireless icon from the home screen of the printer’s control panel. Tap Settings-> Wireless Setup Wizard or Wi-Fi Protected Setup. Read through the succeeding instructions mentioned on the screen to complete the setup process. If you need to connect a new printer, access the HP Printer Software. Select the Utility option in the printer software. Click the Printer Setup and Software option. Choose the Connect a new printer option. Read through the instructions mentioned on the screen to complete the setup process. If you are connecting to a Mac system, go through the steps below. Click the System Preferences option->Print and Fax, Print and Scan or Printers and Scanners option under the Hardware section. To add the printer, select the + sign. Click the new printer from the list. If you are connecting the printer wirelessly without a router, you need to use the Wi-Fi Direct option. Ensure that the system or mobile device has the required software. Check if the Wi-FI Direct is turned on. Tap the Wi-Fi Direct icon-> Settings icon on the printer's control panel. Find the Wi-FI Direct and press on it to turn it on. Key in the network name and password from the Wi-Fi Direct Details menu. Download the HP Print Service Plugin on your mobile device. Choose the document or photo on your mobile device. Click Print to start the printing process.