Download
1 / 3
30 likes | 48 Views
A network printer can be either a wired connection or wireless<br>connection. If it is a wired network, then you will have to use an Ethernet<br>cable. In the case of a wired network, a secured Wi-Fi router can be<br>used.

E N D
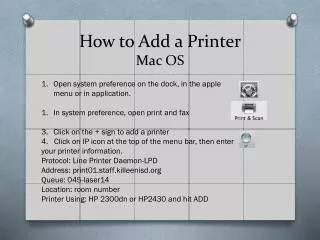
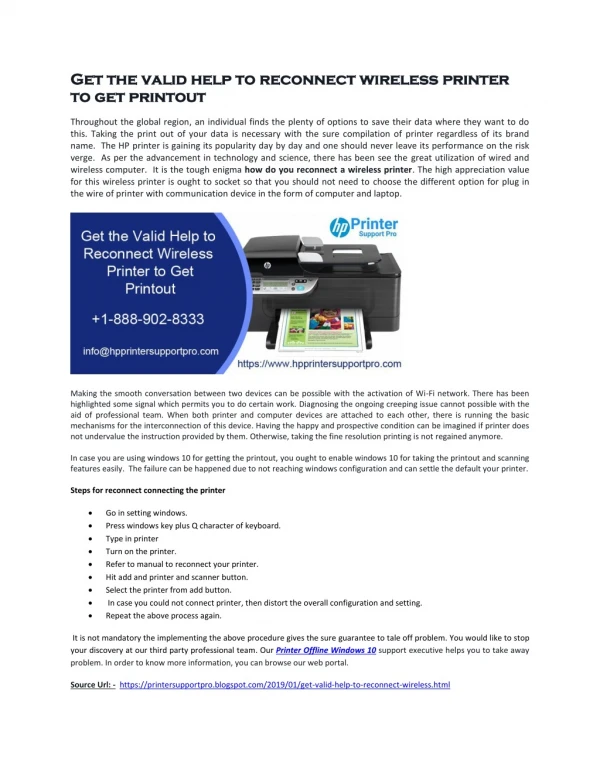
How to add a network printer in windows 10 A network printer can be either a wired connection or wireless connection. If it is a wired network, then you will have to use an Ethernet cable. In the case of a wired network, a secured Wi-Fi router can be used. Easy steps to print using network printer in Windows 10 Choose Select and search for the Advanced Print option. Select the Advanced Printer Setting option. From the listed choices select 'The printer that I want isn't listed.' Now, click Add a printer using TCP/IP address or hostname. Select the Next option to proceed further. From the Device Type list select TCP\IP device. Key in the hostname or the IP address of your printer. Tap the Next button and wait for some time. Your printer will be configured and if needed alterations can be made. Solutions to solve printer connectivity issues on Windows 10
The Windows 10 operating system throws some errors while establishing the connection between other devices. Usually, this operating system will prompt you with a warning message stating your system supports the installed driver or not. To troubleshoot, your printer error, open the Control panel of your system and choose the option Devices and Printers. Right-click on the printer that is connected and enabled. Choose the troubleshooting option. If the troubleshooting does not work, then the driver installed is not correct. You will have to install the driver that is compatible with your printer. Make sure your driver meets the specifications of your printer and the system. After installing the driver, try to troubleshoot the problem. If you have installed the driver and the issue exists still, then verify that the driver is updated. Check for updates from the device manager menu. If updates are displayed then, wait until your system completes the process. Check if the printer's name is displayed on the Devices and Printers list. If the name of your printer is not shown, then check whether the power cables and cords to the power outlet and your system are connected correctly.
Typer Services in the search box and the services dialog box will open. Click on the Print Spooler option and choose Stop---> Ok. Delete the files in the spooler folder from your system. Now from the Services dialog box click Start---> Automatic and Ok. In case it is a wireless connection, ensure that the connected network is yours. Connect your printer with the Wi-Fi network that is secured. If the printer is connected to an open Wi-Fi, then connect it with the secured network. Uninstall your printer driver and again install it. Ensure that the driver is appropriate to your printer. The final solution is to reset your printer and try printing.