Download

1 / 9
100 likes | 213 Views
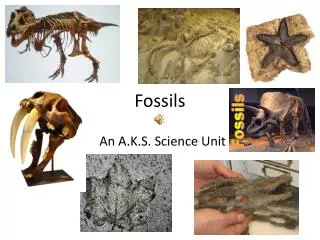
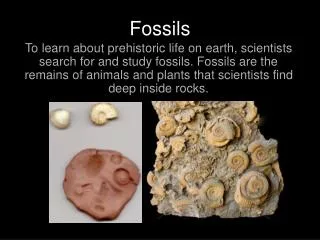
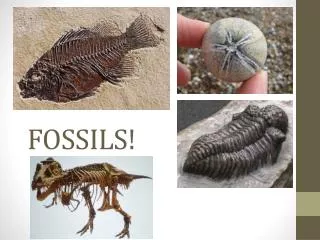
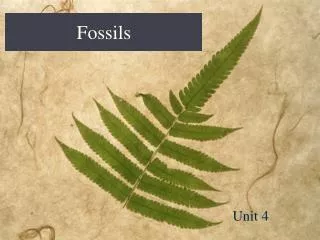
This engaging classroom experiment teaches 4th-grade students about fossil preservation methods such as molds, casts, and impressions. Using simple materials like plaster of Paris, clay, and seashells, students will create their own fossil replicas. The hands-on procedure includes forming molds and pouring plaster, allowing students to witness the fascinating process of fossil creation. Educators will find helpful tips for managing the experiment efficiently and ensuring a successful learning experience.

E N D
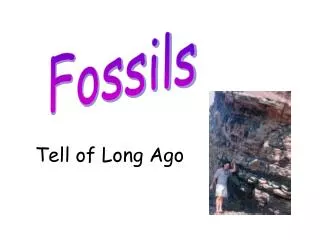
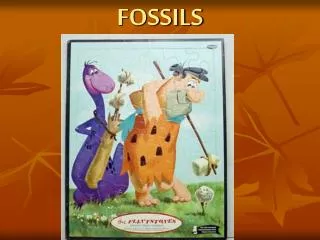
Creating Fossils 4th grade fossil experiment Robert Rathbone, rathbone@caer.uky.edu University of Kentucky, Center for Applied Energy Research 2540 Research Park Dr., Lexington, KY 40511 859-257-0231
Overview • Experiment Objectives • Materials • Procedure • General Observations and Helpful Hints • Resources
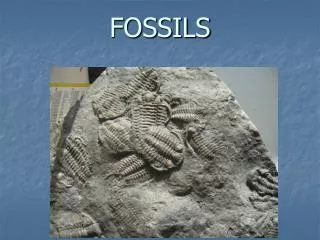
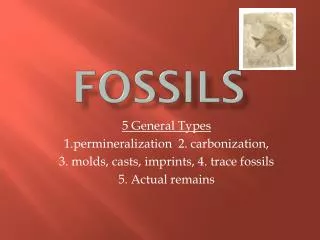
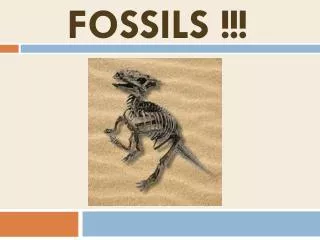
Experiment Objective To learn about various types of fossil preservation such as molds, casts, replacements, and impressions.
Materials Needed Kitchen mixer Plaster-of-Paris (2-3 tablespoons per student) Water (32 parts per 100 parts plaster) Plastic cups (1 per student) Modelling clay (1/2 stick per student) Vegetable oil Small paint brushes (1 per every 2-3 students) Seashells or other items for fossil-making Fossils to show students Rubber spatula (kitchen scraper)
Procedure 1. Take the clay and form it into a ball. 2. Paint the item to be fossilized with a small amount of vegetable oil; just enough to coat it. 3. Press the item into the clay, making sure not to press so far that the clay becomes very thin at the bottom. 4. Carefully remove the item from the clay. The imprint in the clay is called a mold. 5. Next, the teacher mixes the plaster for the students.
Procedure The teacher mixes the plaster in the mechanical mixer: • Place the plaster powder in the mixing bowl, then add water at a ratio of 32 parts water to 100 parts plaster. • Combine the materials with the spatula and allow to sit for about 1 minute. • Mix the plaster for 7 minutes; this mixing time will allow for a working time of about 12 minutes. Then the plaster will start to harden. • While the plaster is hardening, show the students other types of fossils and describe how they were formed. Let the students pick up and hold the fossils. If you don't have fossils available, contact the sources provided on the last page.
Procedure 4. After the plaster has hardened (approximately 15-20 minutes), gently remove the plaster from the clay. 5. The plaster has formed a cast of the mold. Wash the mixer promptly or it will be difficult to remove the plaster from the bowl and paddle!
General Observations and Helpful Hints Preparing the plaster using a mixer greatly accelerates the plaster set time. Increasing the mixing time decreases the set time. Alternatively, the plaster can be mixed by hand, but it will require a long time to set. It is important that the students don't disturb the plaster until it is hard, otherwise it will crack. Keep them busy with something else until it hardens! Showing the students other fossils is a good diversion. Seashells are great specimens for making fossils. Make sure that students don't use very large shells; the size should be 2 inches or less.
Resources for Fossils • State Geological Surveys • Ward's Scientific (www.wardsci.com) • Internet sites such as ebay • Local rock and mineral trade shows