Download
1 / 31
310 likes | 424 Views
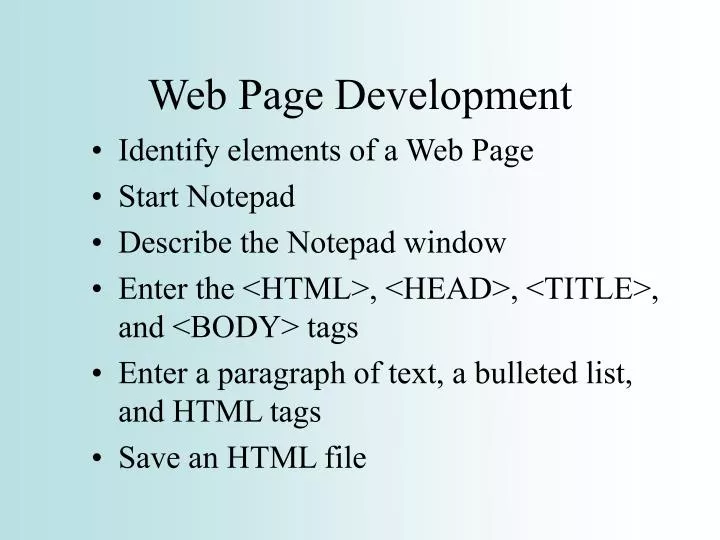
Web Page Development. Identify elements of a Web Page Start Notepad Describe the Notepad window Enter the <HTML>, <HEAD>, <TITLE>, and <BODY> tags Enter a paragraph of text, a bulleted list, and HTML tags Save an HTML file. Web Page Elements. Title Bookmarks Body Background Normal text

E N D
Web Page Development • Identify elements of a Web Page • Start Notepad • Describe the Notepad window • Enter the <HTML>, <HEAD>, <TITLE>, and <BODY> tags • Enter a paragraph of text, a bulleted list, and HTML tags • Save an HTML file
Web Page Elements • Title • Bookmarks • Body • Background • Normal text • Paragraph • Bulleted list • Headings • Images • Horizontal Rules • Image map • Hotspot • Animated images • Hyperlinks
title heading horizontal rule image paragraph body links bulleted list animated image Web Page Elements
Entering HTML Tags and Text • Four tags define the overall structure of standard Web pages: • <HTML> and </HTML> • Indicates file is an HTML document • <HEAD> and </HEAD> • Introduction to the rest of the file • Indicates the area where the title will be placed • <TITLE> and </TITLE> • Indicates the title that will display in the title bar • <BODY> and </BODY> • Indicates the boundaries of the Web page
Basic HTMl tags <html> <Title>MY PAGE</Title> <Body> ….. </Body> </html>
initial tags insertion point Entering Initial HTML Tags It is good form to be consistent when you type tags, adhering to a standard practice
all Web page content will be placed here ending BODY and HTML tags Entering Initial HTML Tags If you notice an error in the text, use the BACKSPACE key to erase all the characters back to and including the one that is incorrect
Click the Save button Saving the HTML File
Using a Browser to View a Web Page • After you save your HTML file, you may view your Web page in a browser • The HTML file displays in your browser just as it would on the Web • Windows allows you to view the page in your browser while keeping Notepad open
Color Codes In order to change text colors, you will need two things: 1. A command to change the text. 2. A color code (A hex code). The color codes, as I said above, are technically called Hex Codes.. The codes are not too user friendly, and you'll need a chart to tell you what code makes what color. See color code examples
Adding Background Color Locate the 6-character code of the color you wish to use
You have the ability to change full page text colors over four levels: • <TEXT="######"> - This denotes the full page text color. • <LINK="######"> - This denotes the color of the links on your page. • <ALINK="######"> - This denotes the color the link will flash when clicked upon. • <VLINK="######"> - This denotes the colors of the links after they have been visited. • These commands come right below the <TITLE> commands. Again, in that position they affect everything on the page. Also... place them all together inside the same command along with any background commands. Something like this: • < BODY BGCOLOR="######" TEXT="######" LINK="######" VLINK="######">
You can also use an image as a background, e.g. http://www.kean.edu/~gkolodiy/3122/blue_pap.gif <html> <Title>MY PAGE</Title> <Body background=“blue_pap.gif”> <Title>MY PAGE</Title> <Body> ….. </Body>
Headings • Used to separate text and introduce new topics • Vary in size, from <H1> through <H6> • Use the same sized heading for the same level of topic
Paragraphs • Most text on Web pages is in paragraph format • The <P> tag has an optional ending tag • When a browser finds a <P> tag, it starts a new line and adds a paragraph break • Try not to type large sections of text without having paragraph breaks
paragraph tag and text <P>Hello there</P> <P>Hello there</P> Hello there<BR> Hello there The <BR> (break) tag breaks a line of text and starts a new line, but does not add vertical spacing like a <P> tag
Creating a List • Lists structure your text in outline format • Unordered (bulleted) lists • <UL> and </UL> marks the beginning and end of unordered lists • Ordered (numbered) lists • <OL> and </OL> marks the beginning and end of ordered lists • The <LI> and </LI> tags define list items • The TYPE attribute defines the default bullet or number type
Unordered Lists <H3>Unordered Lists</H3> <UL TYPE=“disc”> <LI>First item – type disc</LI> <LI>Second item – type disc</LI> </UL> <UL TYPE=“square”> <LI>First item – type square</LI> <LI>Second item – type square</LI> <UL> <UL TYPE=“circle”> <LI>First item – type circle</LI> <LI>Second item – type circle</LI> </UL>
Ordered Lists <H3>Ordered Lists</H3> <OL TYPE=“1”> <LI>First item – type 1</LI> <LI>Second item – type 1</LI> </OL> <OL TYPE=“A”> <LI>First item – type A</LI> <LI>Second item – type A</LI> </OL> <OL TYPE=“a”> <LI>First item – type a</LI> <LI>Second item – type a</LI> </OL> <OL TYPE=“I”> <LI>First item – type I</LI> <LI>Second item – type I</LI> </OL> <OL TYPE=“i”> <LI>First item – type i</LI> <LI>Second item – type i</LI> </OL>
bulleted list tags and text Creating a Bulleted List
Go to<A href="page..htm>My page</A> Go to My page
title main heading H2 heading paragraph body ofWeb page bulleted list Your Web Page
<Table border=2> <TR> <TD>1<TD><TD>1A<TD><TD>1B<TD> <TR> <TD>2<TD><TD>2A<TD><TD>2B<TD> <TR> <TD>3<TD><TD>3A<TD><TD>3B<TD> <Table> <Table border=2> <TR> <TD>1<TD> <TR> <TD>2<TD> <TR> <TD>3<TD> <Table>
Forms (things to fill in) <FORM METHOD="POST" ACTION= " "> A One-Line Text Box <INPUT TYPE="text" NAME="name" SIZE="30"> A Bigger Text Box <TEXTAREA NAME="comment" ROWS=6 COLS=40> Input Buttons <INPUT TYPE="radio" NAME="heading of button" VALUE="button name"> Example