
Mastering the Writing Process: From Pre-write to Publish
E N D
Presentation Transcript
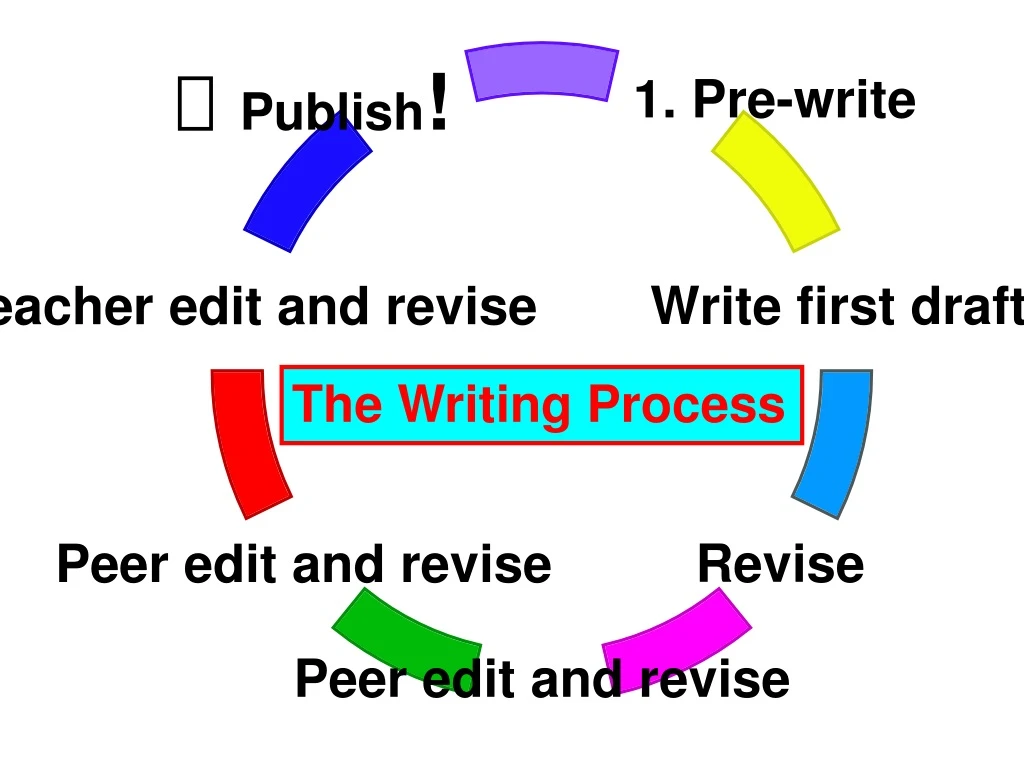
Pre-write • Think about a topic. • Brainstorm ideas. • For research, we find resources. • We take notes about the topic. • Congratulations! We already did this part!
Write first draft. • Use index card notes to write first draft. • Remember to use conventions: capital letters, ending punctuation, your best spelling skills • Write strong introduction and conclusion. • Use our research categories to organize middle paragraph. (diet, behavior, young, physical characteristics, habitat, and type)
Checklist: Revise ☺ • Look at the checklist. • Read each idea in the checklist. • If you did your best for that idea, write a ☺. • If you need to make improvements, write an “X” in the box. • Make your revisions.
Peer Editor #1 • After you revise your paper, write your name under “peer conference.” • The peer editor will: • Use the checklist. • Read your piece with you. Ask you questions. Compliment you. • Make suggestions for improvement (verbally and on checklist.)
Revise • Look at the checklist. • Read each idea in the checklist. • If you did your best for that idea, write a ☺. • If you need to make improvements, write an “X” in the box. • Make your revisions.
Peer Editor #2 • After you revise your paper, write your name under “peer conference.” • The peer editor will: • Use the checklist to see if you made the suggestions by editor #1. • Read your piece with you. Ask you questions. Compliment you. • Make suggestions for improvement (verbally and on checklist.)
Revise • Look at the checklist. • Read each idea in the checklist. • If you did your best for that idea, write a ☺. • If you need to make improvements, write an “X” in the box. • Make your revisions.
Teacher Conference • After you revise your paper, write your name under “teacher conference.” • The teacher will: • Use the checklist. • Read your piece with you. Ask you questions. Compliment you. • Make suggestions for improvement (verbally and on checklist.)
Revise • Look at the checklist. • Read each idea in the checklist. • If you did your best for that idea, write a ☺. • If you need to make improvements, write an “X” in the box. • Make your revisions. • Turn paper into teacher to see if it is ready for publishing.
Teacher • Is paper ready to publish? • If the teacher thinks that this is your best piece of work, you will publish your work and go to the author’s chair! • If the teacher has more suggestions, you will revise again before publishing.
Publish! • Suggestions: • Can you draw pictures to go with your research? • Would you like to turn your notes into a Power Point presentation? • Can you type your published piece in a Word document? • Read your published piece from the author’s chair!