Download
1 / 5
50 likes | 182 Views
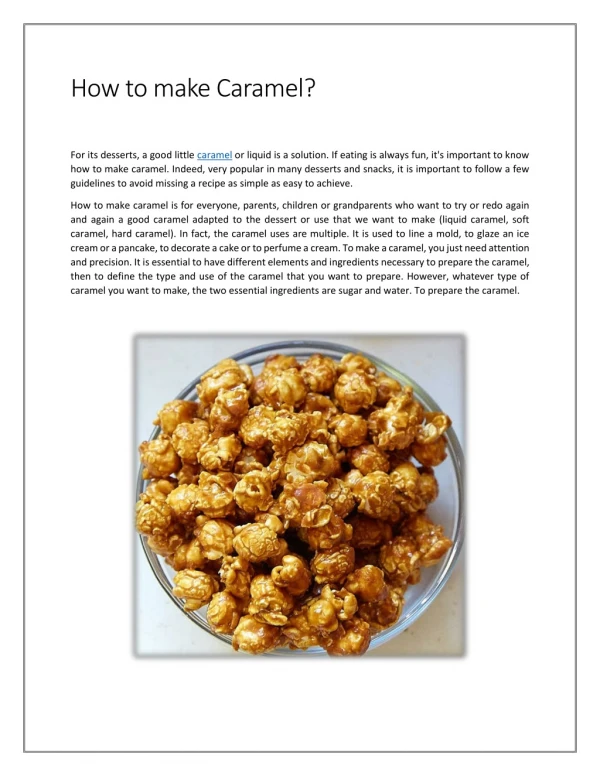
Learn the art of bow-making with this comprehensive guide to creating stunning Florist and PomPom bows. This step-by-step tutorial outlines essential instructions, such as forming loops, pinching, and securing with wire. Discover how to use ribbon effectively to create bows that are perfect for gifts, decorations, or floral arrangements. Whether you're a beginner or looking to refine your skills, these easy-to-follow methods will enhance your crafting repertoire and leave you with beautiful results.

E N D
How to Make Bows Modified by the Georgia Agriculture Education Curriculum Office September 2005
Making a Florist Bow Step 1 Step 1: 8” from one end of ribbon, pinch firmly between thumb and index finger. Step 2: Make a 5” loop (half the size of finished bow) and pinch tightly. If ribbon is one-sided, twist length to right side. Make second loop and pinch over first two pinches. Step 2
Making a Florist Bow Step 3: Repeat this process forming 4 loops on each side. Step 4: Make a center knot by forming a small loop over your thumb. Pinch and wire all loops together. Trim excess. Wire 14” lengths to back for tails. Step 3 Step 4
Making a PomPom Bow Step 1: With ribbon, form a 9” loop equal in size to the diameter of the finished bow. Step 2: Wrap remaining ribbon around loop as many times as is desired for bow. Step 3: Flatten loops and cut off triangles at end, being careful not to cut too close to the center.
Making a PomPom Bow Step 4: Bring ends together to meet in center, overlapping triangles. Step 5: Secure ribbon at center at notches with wire. Pull out loops, twist toward center, alternating sides to form pompom.