Download
1 / 11
110 likes | 115 Views
Facing difficulty in getting your website up and running ?<br><br>You will be surprised to know how easy it is, to make your own website. In this short snippet, we are going to quickly learn how to build ourselves, a free WordPress website from scratch, in 5 mins.

E N D
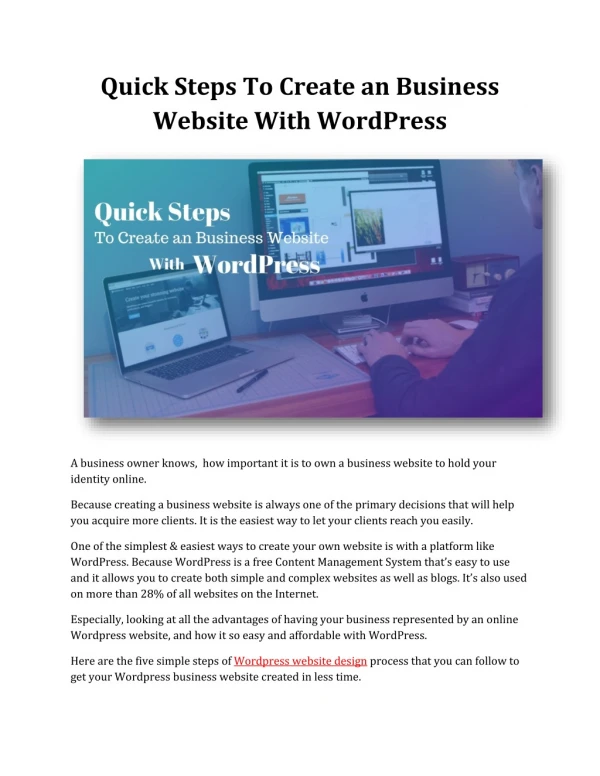
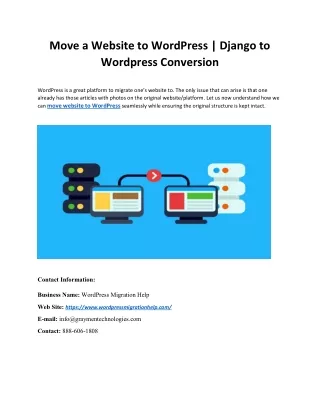
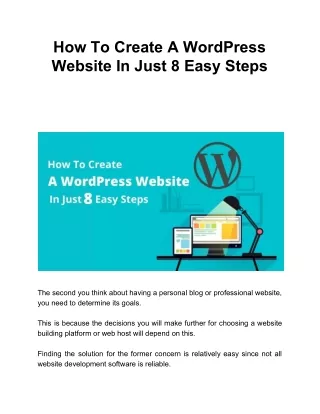
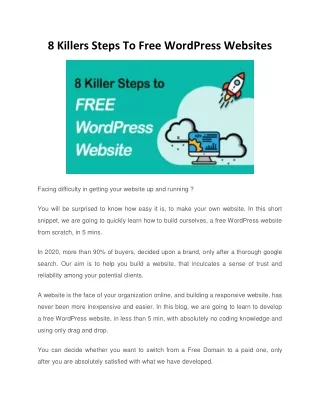
8 Killers Steps To Free WordPress Websites Facing difficulty in getting your website up and running ? You will be surprised to know how easy it is, to make your own website. In this short snippet, we are going to quickly learn how to build ourselves, a free WordPress website from scratch, in 5 mins. In 2020, more than 90% of buyers, decided upon a brand, only after a thorough google search. Our aim is to help you build a website, that inculcates a sense of trust and reliability among your potential clients. A website is the face of your organization online, and building a responsive website, has never been more inexpensive and easier. In this blog, we are going to learn to develop a free WordPress website, in less than 5 min, with absolutely no coding knowledge and using only drag and drop. You can decide whether you want to switch from a Free Domain to a paid one, only after you are absolutely satisfied with what we have developed.
We are going to keep the following in mind: We will use No coding as the use of Drag and Drop is easier. Our website will get Free Hosting We will come across Tips and Tricks to keep our website for Free So, like Julie Andrew once rightly said, Let’s start at the very beginning, a very good place to start. Step 1: The Initial Clockwork Setup 1. Open Chrome browser and in the address bar, write: www.wordpress.com. On the website, you will see a button “Start a Website” Do Not Click on This. 2. The trick is to rather go to “Plans and Pricing” on the Header and to click on “Start with Free.” This will help us make a website for free
3. In the next screen, choose a username of your liking, an email address, whose inbox you can access right away, and a password, that even God would have hiccups to guess right, and click on submit. 4. Go to the inbox to the email address that you just provided and verify your email address, by clicking on the link provided to you by WordPress, to get going with your WordPress website.
Step 2: Give your WordPress website an Identity 1. Now that you have verified your email address, go back to www.wordpress.com, and again click on plans are pricing and again click on Start with Free. 2. Give your WordPress website an identity, give your website a name. In this example, we have named our website Biorev Learn. You can name it whatever you want to. Hit continue 3. Give your website a Free Domain: A domain is an address at which your website resides, on the World Wide Web. Do not choose the domain that shows a price tag. For now, we are going to stick to biorevlearn.wordpress.com and keep the website free.
Step 3: Make your website Bounce Proof with a Free theme from WordPress 1. After hitting continue in the previous interface, you will be asked to select a theme. There are so many beautiful themes ready for you to make a responsive website, and just to let you know, at a later point in time, if you think, a particular theme is not really working out for you, you are welcome to change it at your free will. So, you are not stuck with a particular website design.
2. Choose a font that you like and hit continue. Step: 4: Choose Your Tools right. 1. You will need the following tools to make your WordPress website future proof and of course Bounce Proof. Store SEO Tools Plugins Image Storage Video Storage Ad-Free (If you want your website to be an ad-free one)
2. Warning *Siren*: Do not click on the paid plan showed upright. Scroll down, and select the free plan, and hit next, finally, click on Get Started.
Step 5: Give your WordPress Website some Louise Vuitton bells and whistles 1. To add or edit a text, click to activate the cursor on the desired location, and start writing. 2. You have a plethora of tools to make a responsive website. You can add buttons, you can remove default buttons, ad images, change images, include forms, polls, and what not! 3. To do this, just click on the “+” sign on the upper left corner, to open an ocean of opportunities to customize your website, according to your liking. 1. To change an image, click on the image that you want to change, and hit replace. Choose a photo from pexels, google photos, or just upload your own image.
Step 6: Look yourself in the mirror 1. To have a look at what your website looks like, just click on the preview. 2. In the preview tab, you can have look at what your website looks like on a PC, on a tablet, and even on a mobile device.
Step 7: Launch your website and show it to Uncle Sam 1. Close the preview window with the help of a cross in the upper right corner. 2. Click on complete setup on the upper left corner
1. Reselect the domain that we had already selected, and hit continue 2. Select the free plan, to get a free website 3. Click on launch your website Step 8: Congratulate Yourself Congratulations! You have created your own Free WordPress Website, for everyone on the world wide web to see. Conclusion Put in some great content and get going with your new website, and if you wish to have a better understanding through a video visit our YouTube channel.