Download

1 / 5
0 likes | 5 Views
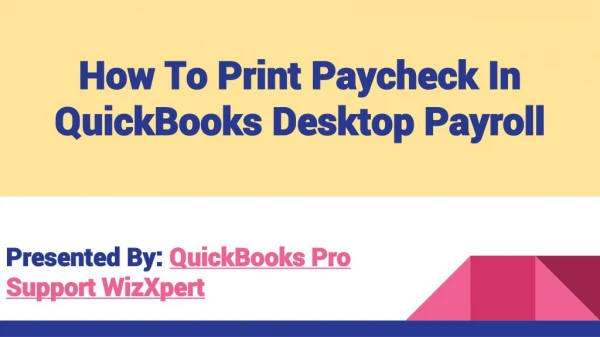
Don't miss tax deadlines! Learn to print Form 1099 and 1096 in QuickBooks Desktop quickly and correctly. Get assistance at 1-866-500-0076.

E N D
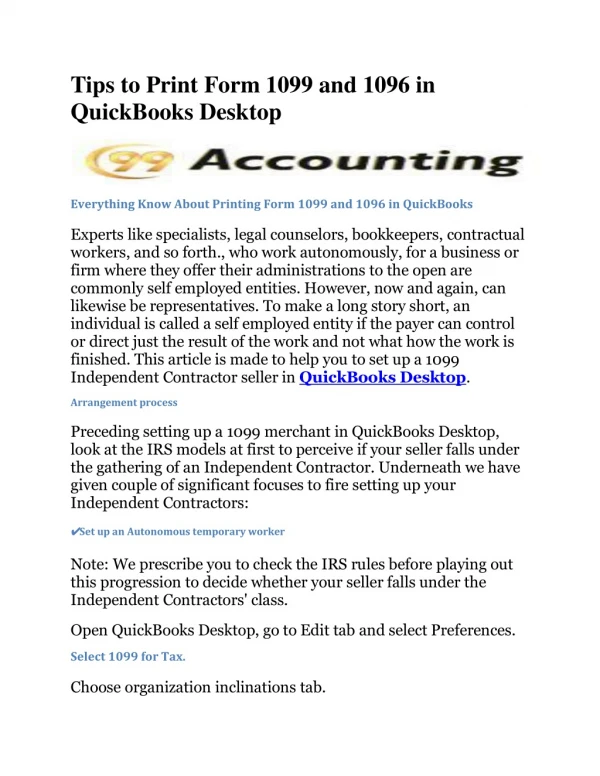
Master the process to print Form 1099 and 1096 in QuickBooks Desktop with our detailed guide, including setup, printing, and troubleshooting tips. Tax season can be overwhelming, especially when you're managing multiple vendor payments and need to generate accurate 1099 forms. If you're using QuickBooks Desktop, you're in luck – the software streamlines the entire process of creating and printing these essential tax documents. Learning how to print Form 1099 and 1096 in QuickBooks Desktop will save you countless hours and ensure compliance with IRS requirements. Learn to print Form 1099 and 1096 in QuickBooks Desktop with our comprehensive guide. Get expert help at +1-866-500-0076 for QuickBooks support. Understanding Form 1099 and 1096 Requirements Before diving into the printing process, it's crucial to understand what these forms represent. Form 1099 reports payments made to non-employee service providers, while Form 1096 serves as a summary transmittal form that accompanies your 1099s when filing with the IRS.
The IRS requires businesses to issue 1099s to vendors who received $600 or more in payments during the tax year. This includes payments for: ● Professional services ● Legal fees ● Medical services ● Rent payments ● Royalties ● Other miscellaneous income Preparing Your QuickBooks Desktop for 1099 Processing Setting Up Vendor Information Your success in printing accurate 1099 forms depends heavily on proper vendor setup. Navigate to your Vendor Center and ensure each applicable vendor has: 1. Complete tax identification information (SSN or EIN) 2. Correct address details 3. Proper vendor categorization 4. Accurate payment tracking For vendors requiring 1099s, make sure the "Vendor eligible for 1099" checkbox is marked in their vendor information screen. Configuring 1099 Preferences Access your 1099 preferences through the Edit menu > Preferences > Tax: 1099. Here, you'll establish crucial settings including: ● Company tax identification number ● Contact information for tax matters ● Default accounts for 1099 categories ● Threshold amounts for reporting Step-by-Step Process to Print Form 1099 and 1096 in QuickBooks Desktop Phase 1: Review and Verify 1099 Data 1. Navigate to Vendors Menu Go to Vendors > Print/E-file 1099s > Review 1099 Data 2. Examine Vendor Payments QuickBooks displays all vendors with payments exceeding your threshold. Review each entry carefully, checking for:
○ Accurate payment amounts ○ Proper vendor information ○ Correct box categorization 3. Make Necessary Adjustments If you discover discrepancies, return to the vendor records or individual transactions to make corrections before proceeding. Phase 2: Prepare Forms for Printing 1. Access the 1099 Wizard From the Vendors menu, select Print/E-file 1099s > 1099 Wizard 2. Choose Your Filing Method Select "Print 1099s" when prompted about your preferred filing method 3. Select Recipients Review the list of 1099 recipients and confirm which vendors should receive forms 4. Verify Form Types Most businesses use 1099-NEC for non-employee compensation, but ensure you're selecting the appropriate form type for each vendor Phase 3: Execute the Printing Process 1. Choose Printing Options QuickBooks offers several printing configurations: ○ Vendor copies (for distribution to vendors) ○ Filing copies (for IRS submission) ○ Payer copies (for your records) 2. Select Paper Type Use official IRS-approved forms or compatible laser forms. QuickBooks supports various paper formats, but ensure your selection matches your actual paper stock. 3. Print Test Pages Always print test pages first using plain paper to verify alignment and formatting 4. Execute Final Printing Once satisfied with alignment, load your official forms and print the complete batch Printing Form 1096 Summary After successfully printing your 1099s, you'll need to print Form 1096 in QuickBooks Desktop as your transmittal document: 1. Return to the 1099 Wizard 2. Select "Print 1096" 3. Verify the summary information matches your printed 1099s 4. Print on official 1096 forms Troubleshooting Common Printing Issues
Alignment Problems If forms aren't printing correctly: ● Check printer settings and paper loading ● Adjust margins in the printing dialog ● Verify you're using compatible form types Missing Vendor Data When vendors don't appear in your 1099 list: ● Confirm vendor setup includes tax ID numbers ● Verify "1099 eligible" status is checked ● Review payment amounts meet threshold requirements Incorrect Amounts If payment amounts seem wrong: ● Review individual transactions for proper account coding ● Check for duplicate or missed payments ● Ensure date ranges match your tax year Best Practices for Success Maintain accurate records throughout the year rather than scrambling during tax season. Regular vendor information updates and consistent account coding will streamline your year-end 1099 processing significantly. Order forms early to avoid last-minute supply issues. Official IRS forms ensure proper scanning and processing of your submissions. Keep detailed backups of all 1099 data and printed forms for your records. Conclusion Mastering how to print Form 1099 and 1096 in QuickBooks Desktop transforms a potentially stressful tax season task into a manageable process. With proper preparation, accurate data entry, and systematic execution, you'll efficiently generate compliant tax documents while maintaining excellent vendor relationships. The key lies in preparation – maintaining clean vendor data throughout the year makes the printing process seamless when deadlines approach. QuickBooks Desktop's integrated 1099
functionality handles the complex calculations and formatting, allowing you to focus on accuracy and compliance. Frequently Asked Questions Q: Can I print 1099s on plain paper? A: No, you must use official IRS-approved forms or compatible red-ink laser forms for filing copies. Plain paper copies can only be used for your records. Q: What if I discover an error after printing? A: You can reprint corrected 1099s by accessing the 1099 Wizard again. Mark the corrected forms appropriately and file amended returns if necessary. Q: Do I need to print 1099s for all vendors? A: Only vendors who received $600 or more in payments during the tax year require 1099s, unless they're corporations (with some exceptions). Q: How do I handle vendors without tax ID numbers? A: You cannot issue 1099s without valid tax identification numbers. Contact vendors to obtain this information before the filing deadline. Q: Can I e-file instead of printing paper forms? A: Yes, QuickBooks Desktop supports e-filing 1099s directly to the IRS, which can be more efficient for businesses with multiple forms to submit.