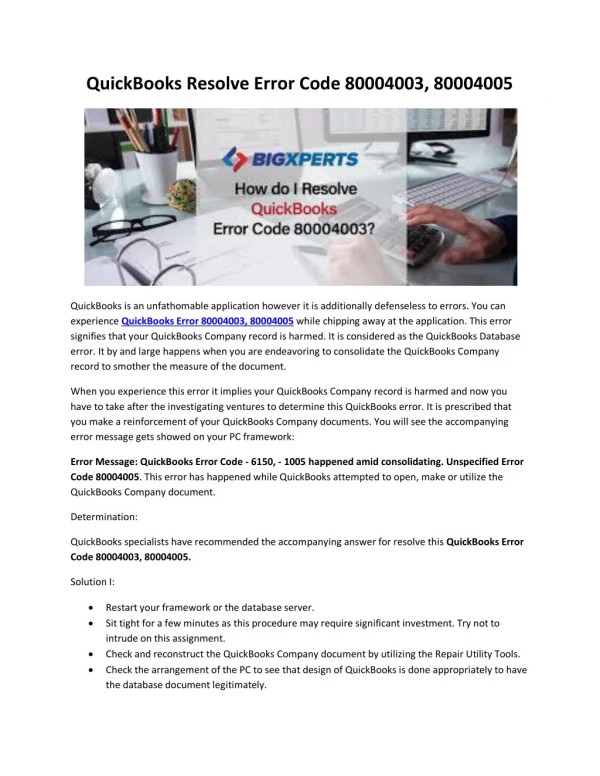
Fix: QuickBooks Activation Issues, Incorrect Validation Code Error
In this post, you will find several solutions to Fix the u2018Incorrect QuickBooks validation code or This service is temporarily unavailable. Thus, make sure to read this post carefully, To get more information about this post please below the link: https://bit.ly/3tUe2Ft
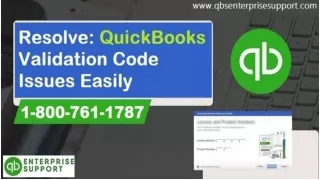

Fix: QuickBooks Activation Issues, Incorrect Validation Code Error
E N D
Presentation Transcript
Learn the ways troubleshoot QuickBooks activation errors while entering product and license numbers, or adding an activation code: When using QuickBooks, one needs to make sure that the QuickBooks Desktop has been correctly activated as this will ensure smooth functioning and task performance. However, there are times when the activation is not done properly and is caused by some common errors such as incorrect QuickBooks Validation Code and the Product number. At that time, user will face an error stating as: In this post, you will find several solutions to correct the ‘Incorrect QuickBooks Validation Code’. Thus, make sure to read this post carefully, or you can call us by means of our dedicated support helpline i.e. 1-800-761-1787. Contacting our QuickBooks error support team can help the QB users in fixing validation code issue and various other QB related bugs. Thus, do not hesitate in calling us anytime, we will be happy to help you. What do you mean by QuickBooks validation code is incorrect? At times, while generating QuickBooks validation code, you might encounter multiple issues, which includes QuickBooks validation code is incorrect, or the service is temporarily unavailable. You might stumble upon these kind of errors and find it quite difficulty get out of them that too without creating any further mess. There can be several other things that can go wrong at the time of activation, and might end up in these kind of errors. Keeping all those facts in mind, this article is crafted in a way to help in tackling these issues. Thus, read on to know the ways to get rid of QuickBooks validation is incorrect.
What to check before troubleshooting? If you get the error, “You have entered incorrect license/product numbers“ • Before you start applying any solution to resolve the error, check if the following have been carried properly: • Make sure that QuickBooks is working properly. • Check QuickBooks is activated; verify License number and the product code. • To Check the purchase confirmation email for the products which have been downloaded. • Check the bright colored sticker on the original CD envelope, if the QuickBooks was bought on CD. • Also, you need to verify that the license number and the product code tally the details provided on the QuickBooks product page. Solutions to Fix QuickBooks Validation Code Issue Checkout the below given troubleshooting methods in order to resolve the validation code is incorrect or this service is temporarily unavailable error: Solution 1: Check System Details and Time Settings • First of all you need to close your QuickBooks Desktop. • After that hit a right click on the time display in Window task Bar and then hit a click on ‘Adjust Date/Time’.
Set the date for current and Apply it and Press OK button. • Now open your QuickBooks and select Help >> Activate QuickBooks >> Start Activation. • Finally type the QuickBooks Validation Code and select Next option. • By processing these steps now you are able to activate your QuickBooks desktop. However, if still the issue persists the proceed to the next solution method. Solution 2: Reset the .ecml file Learn and then recreate the damaged EntitlementDataStore.ecml file to amend license and registration problems. You are required to enter the license number and product code in order to complete the installation process and also to validate the QuickBooks. A damaged file with damaged information hinders the software from opening and then displays the error message on the screen. In such case, removing the entitlement file and then re-entering the license information can fix the issue. The steps involved in this process are as follows: • The very first step is to shut the QuickBooks desktop software. • And then, ensure that all QuickBooks processes are closed. • Once done with that, press Ctrl + Shift + Esc keys to open the task manager. • The next step in the process is to click on the Process tab. • You need to sort the processes alphabetically by pressing on the processor name header. • For all the examples of QBW32.EXE, you are required to click on the search and end job. • You then need to open the entitlement data folder for the operating system and then your QuickBooks version.
And then, you are required to press Windows + R keys to open Run command box. • Enter the folder location C:\ Program Data\ Intuit\ Entertainment client\version 8 or 6. • The next step is to right click the entitlementdatastore.ecml and select delete option. • And Hit a click on Yes. • And then open the company file to follow the instructions. Solution 3: Reactivate MSXML • For 64-bit operating system: • Go to Start menu and type ‘cmd’. Right click ‘Run as Administrator’. • It should be noted that in Windows 8, you are supposed to press the window key and then type CMD. Followed by right clicking and selecting run as admin tab. • When you are at Command prompt, then enter cd\windows\syswow64. • Type ‘regsvr32MSXML 4.dll’ and press Enter key. • Type ‘regsvr32MSXML 6.dll’ and press Enter key. • For 32-bit operating system: • Open run window and press Windows + R keys. • After that type ‘cmd’ and press Enter key. • Now type ‘regsvr32 MSXML 4.dll’ and press Enter key. • Type ‘regsvr32 MSXML 6.dll’ and press Enter key.
Solution 4: Run the QuickBooks Install Diagnostic Tool • QuickBooks Install Diagnostic Tool can resolve the problem. The steps involved in this process are as follows: • The very first step is to download the QuickBooks install diagnostic tool and then save it to the windows desktop. • Close all open programs on the windows. • And then double click, QuickBooksDesktopInstallDiagnosticTool.exe file and open the tool. • The next step in the process is to click Yes and agree to the license agreement. • Now, select Next option to begin with the scan process. This process might take some time (up-to 20 mins). • Followed by rebooting the system. • The lasts step in the process is to run QBInstall diagnostic tool. • Solution 5: Create a new Window Admin • For Windows 10 • Select Start and Click on ‘Settings’ option. • Click on Accounts >> Family and other users. • Under Other User, Click on Add another person to this PC. • At the bottom of the page, click I do not have sign-in information for this person. • A the bottom of next page, click Add users without a Microsoft account. • Enter name of new account.
Click on ‘Finish by Default’ and set the new account as the Standard user. • On the new account, click on Account type. • Select Admin from the drop-down menu, and click on OK button. • After creating new users, sign out from Windows and sign back in as a new user. • Open QB Desktop and select Help > Activate QuickBooks > Start Activation. • For Windows 8 • Press Windows + E to open computer window. • And then, select Computer and click on open control. • Once done with that, you will have to choose user accounts and click on manage another option. • When the window opens, choose Add a new user in PC settings option. • Type in the username and domain name and also click on next. • Now, select admin access for the new user and click on ok tab. • Open QuickBooks desktop and move to the help menu. • Lastly, select activate QuickBooks and click on start activation. • For Windows 7 • If you are a Windows 7 user, then you need to click on start tab and also choose control. • Choose user accounts, followed by selecting manage user accounts. • Enter the username and domain name and click on next. • Select admin access for the new user. • Open QuickBooks desktop. • Move to the help menu and choose activate QuickBooks and click on start activation.
Solution 6: Closet all QuickBooks applications using task manager • Press CTRL+SHIFT+ESC keys together to open the Windows task manager. • Click on ‘Processes Tab’. • Then choose all the running QuickBooks applications and End all the processes that start with QuickBooks and then close the Task Manager. • Once the process is done. You need to install your QuickBooks desktop. Solution 7: Using QuickBooks Refresher tool to close and refresh QuickBooks tasks • The QB users can download the QuickBooks refresher tool and then save the file on the desktop for easy access. • After that, in QuickBooks make sure to finish all the open tasks and then close it. • Now, double click the QBRefresher.exe file to run the program. • And also carry out the on-screen instructions. • The last step is to let the tool run and wait for some time. And open QuickBooks and check if the error is fixed. Conclusion! If all the given steps are not able to resolve the QuickBooks Validation Error, contact our technical expert at QuickBooks enterprise technical support number i.e. 1-800-761-1787. Our experts are available round the clock and will help you troubleshoot this error quickly as well as seamlessly. Thus, feel free to contact us anytime, we will be happy to help you!