Download

1 / 5
0 likes | 2 Views
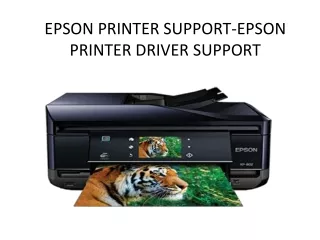
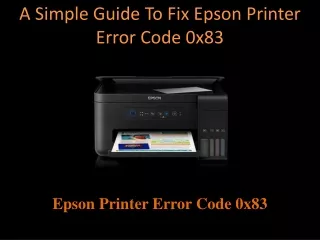
Setting up a printer does not have to be stressful. Many people worry that connecting a new printer to their computer or Wi-Fi will be complicated, but the truth is, itu2019s actually quite simple if you take it step by step.

E N D