Download
1 / 44
450 likes | 599 Views
Eclipse Environment. By Peter Kriens CEO aQute OSGi Director of Technology and OSGi Fellow. Contents. What you will learn Eclipse Overview OSGi in Eclipse Creating a bundle Running a bundle Debugging a bundle Publishing a bundle Recap. What you will learn. What Eclipse is all about

E N D
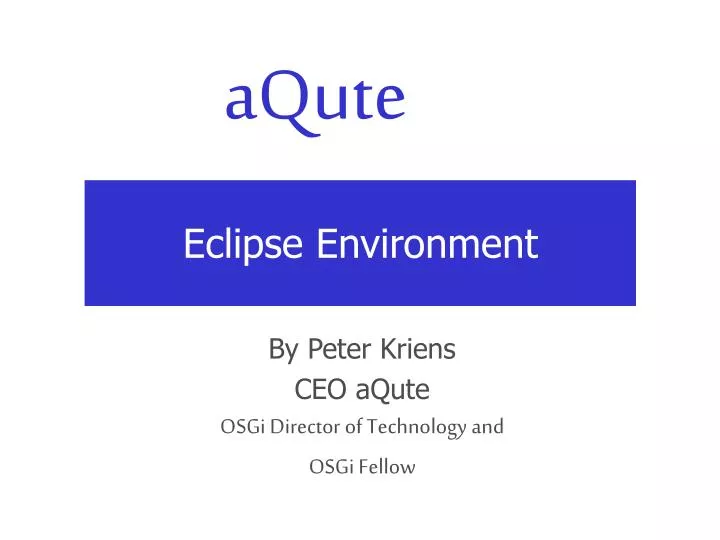
Eclipse Environment By Peter Kriens CEO aQute OSGi Director of Technology and OSGi Fellow
Contents • What you will learn • Eclipse Overview • OSGi in Eclipse • Creating a bundle • Running a bundle • Debugging a bundle • Publishing a bundle • Recap
What you will learn • What Eclipse is all about • Why Eclipse is important in relation to the OSGi Alliance • How to run, debug, and publish a simple hello world bundle
Eclipse Overview • Eclipse is an “open source” project that is developing a highly advanced Integrated Development Environment • Though open source, it is driven foremost by IBM • It is written in Java, but can be used for Java and other developments • IBM’s rich client architecture is based on Eclipse • Lotus clients!
Eclipse Goals • Extremely open architecture that allows components from different origins to provide contributions • Menus, Views, Editors, etc. • Decoupled so parts can be upgraded or replaced dynamically without disturbing other parts • Providing an integration environment for UI based applications • Today also looking at embedded applications
Eclipse and OSGi • Eclipse developed a “plugin” model for release 1 and 2 • The Equinox project developed a prototype that was based on the OSGi specifications • The project was successful so the OSGi runtime replaced the Eclipse 1+2 runtime • Eclipse R3 is a full blown OSGi environment
Setting up Eclipse to make bundles • Install Eclipse from the CD or network. • Network: \\Ziggy\Course • In not installed, install the Java SDK • Installers can be found in the download directory • If not installed, install Eclipse • Start Eclipse • Starts up with a purple screen if for the first time.
Setting up Eclipse • Bravo! You are now running OSGi on your desktop! • Click in the right hand corner to start Eclipse • We now have to get a Framework running • Copy the “workspace” directory to a directory on your hard disk, e.g. “c:\workspace” • Create new project (File:Project) • Then Next
Setting up a Framework • Name the project Framework • Select “Create project at external location” • Select the Framework project in the workspace • Click Finish • This project can be run as an application (and debugged) • It also provides the necessary libraries for our exercises
Creating a bundle • A bundle is an OSGi executable • It is a JAR file with classes and manifest • The Bundle-Activator Manifest header points to the class that should be started • This class must implement the BundleActivator interface
Back to Basics: Hello World <<interface>> BundleActivator Activator The Activator class will print “Hello World” when the bundle is started and “Goodbye World” when it stops.
Getting Started • Create new Java Project • File:New:Project • Java Project, Next
Create New Project • Project Name is “hello world” • Next
Create New Project • Click “Projects”
Create New Project • Select Framework • This will give us access to the OSGi specification class files and source code • Click “Libraries”
Create New Project • We need to add osgi.jar and servlet.jar from the Framework directory • Click “Add JAR’s” • Select “Framework” • Select osgi.jar and servlet.jar • Click “OK” • Click “Finish”
Create Package • Add Package • File:New:Package • Name, aQute.workshop.hello • Finish
Create Bundle Activator class • File:New:Class • Package, aQute.workshop.hello • Name, Activator • Interfaces • Add BundleActivator • Finish • Eclipse will open a generated source file
1.1 Write Hello/Goodbye World • Fill in the System.out.println(“...”) in the appropriate places • Save the file (File:Save or control-S) • This automatically compiles, so correct any errors
Eclipse Tips and Tricks • Renaming a class is in the Content menu, on Refactor • Handles all dependencies • Control-N gives a list of completions • Control-Shift-O cleans up your import clauses and find missing ones
Create The Manifest • We only have to define what class to start: HelloWorld • File:New:File, name it Manifest.mf • Store in root of the project
Create the Manifest • Only fill in the “Class” field. This is the Bundle Activator • Click on the “Manifest.mf” button at the bottom
Create the Manifest • Add “Manifest-Version: 1.0” at the top • Then Bundle-Activator • And 2 empty lines!!!
Create the Bundle JAR file • Select the “Hello World” project in the left pane • Press right mouse button (This is the context menu) • Select Export • Select JAR File • Next
Create JAR File • Export Destination • JAR file: Framework/load/HelloWorld.jar • This screen defines the source and destination files • Next
Create JAR file • Save the description file in /hello world/bundle.jardesc • The description can be reused many times • Next
Create the JAR file • Use existing manifest from workspace • Finish
Starting A Framework • The Framework project contains the OSGi Alliance Reference implementation • This Framework is not optimized, nor industrialized • It expires in 60 days • Contact a vendor for a real framework • To start it • Select Framework project • Select aQute.crippled.jar (this contains a framework with some utitility bundles) • In context menu, select Run:Java Application
Select Main and then OK • This will start the frame • It will start all bundles in the load directory • This is not standard but implemented in an aQute application bundle
Monitor • When the Framework is started an OSGi monitor is also started • This monitor shows some key information from the Framework • It also watches the load folder and installs any new JAR files from this folder
Monitor • A list of installed bundles, active or not active • Detailed information about the bundle • Exported packages • Imported Packages • Registered Services • Used Services • Operations • Status
Monitor • The monitor uses the OSGi event model to update the display in real time • Check this by removing the “hello world” bundle from the load directory • The monitor will show the uninstallation of the bundle
Restarting • You can restart the bundle by • In the Hello World project • select the bundle.jardesc • Right mouse: Create Jar • This works because the fileinstall bundle on the Framework will detect that the JAR file is modified in the load directory • This will automatically update the bundle in the Framework (look at the console)
Debugging a Bundle • Bundles can be easily debugged • Instead of “Run” the framework, the framework must be started in the debugger • First create a breakpoint in the HelloWorld start method (click in the left margin)
Select the “Framework” project and call up the context menu • Select Debug:Java Application • Select Main • Click OK
Eclipse does not have the sources, so you must help it! So click on “Edit Source Lookup Path” • .
Add the sources • Click on “Add” • Click on “Java Project” • Select “hello world” • Click Ok, Ok,Ok • This information can also be set in Run:Debug:source
Debug Hello World • The debugger is started • You can now edit the source (within reason) and continue the session. • E.g. change the text from “Hello World” to “Bonjour” and continue • The red circled area contains the buttons to single step or continue
What Did We Learn? • We learned how to create a real bundle • This bundle needed • An Activator class • A Manifest • These components were packed in a JAR file • This JAR file was installed and started on an OSGi Framework with the fileinstaller bundle • The console was used to see the effect of the start and stop methods • We debugged the bundle
aQute www.aQute.biz +15123514821, Peter.Kriens@aQute.biz