Download
1 / 8
0 likes | 17 Views
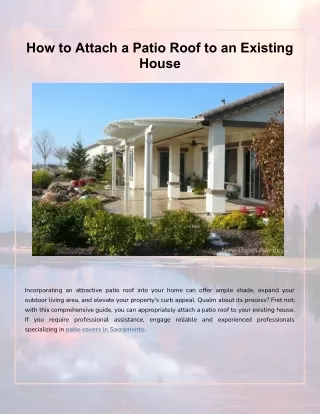
An insulated patio roof is a great addition to your home, offering numerous benefits. However, to enjoy these advantages, the installation must be done correctly. Achieving this perfection involves several steps, from the installation process itself to the subsequent tasks. In this PPT, we have discussed the essential steps in installing insulated patio roofing. For more details, visit https://stylemasterpatios.com.au/insulated-patio-roof/

E N D
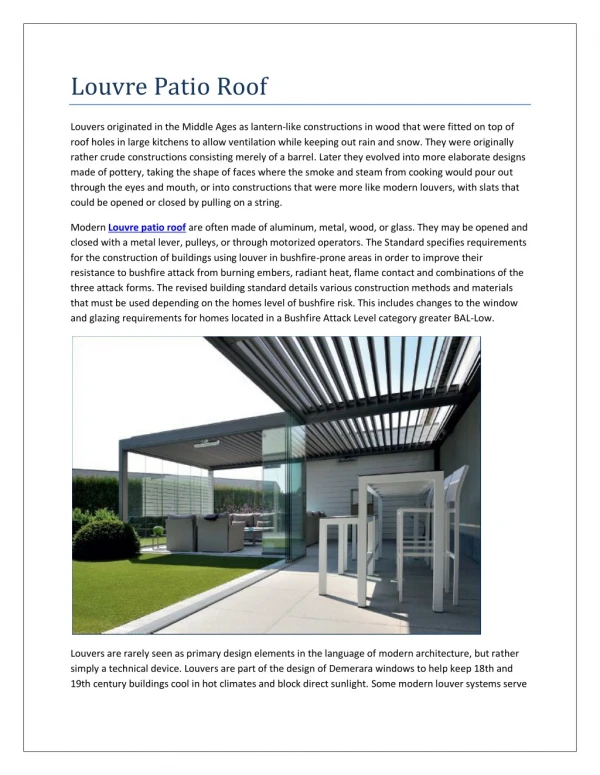
Insulated patio roofing installations come with several advantages. These advantages can be availed, only if the roof installation is done perfectly. This perfection involves several steps from the installation process to others in the line. Let us discuss the steps used in installing insulated patio roofing.
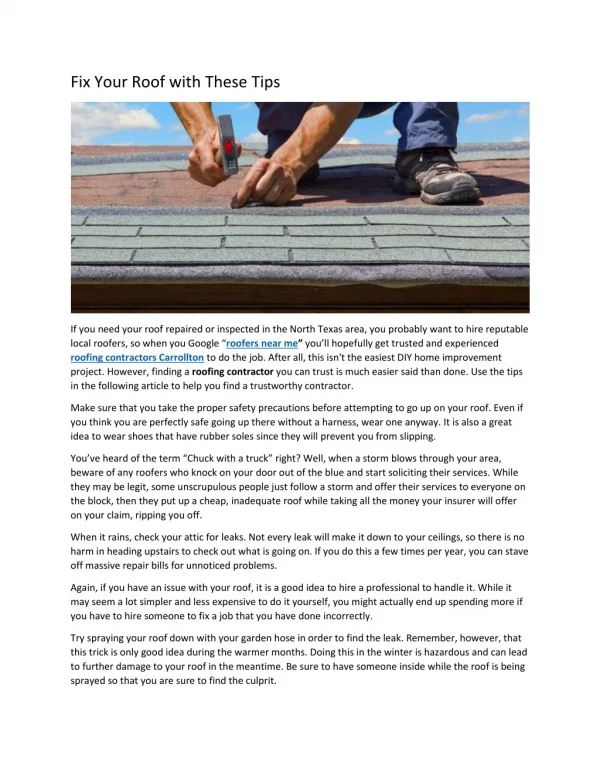
CLEANING STEP 1 • The first step is cleaning the underside of the roof with a soft acid cleaner. • The professionals will scrub the surface thoroughly and use another solution of 1 tablespoon chlorine mixed with a gallon of water for cleaning and washing roof interiors. • This cleaning is also an opportunity to inspect the roof for damages, wear and tear, etc. • Any damages found will be diagnosed immediately by the professionals.
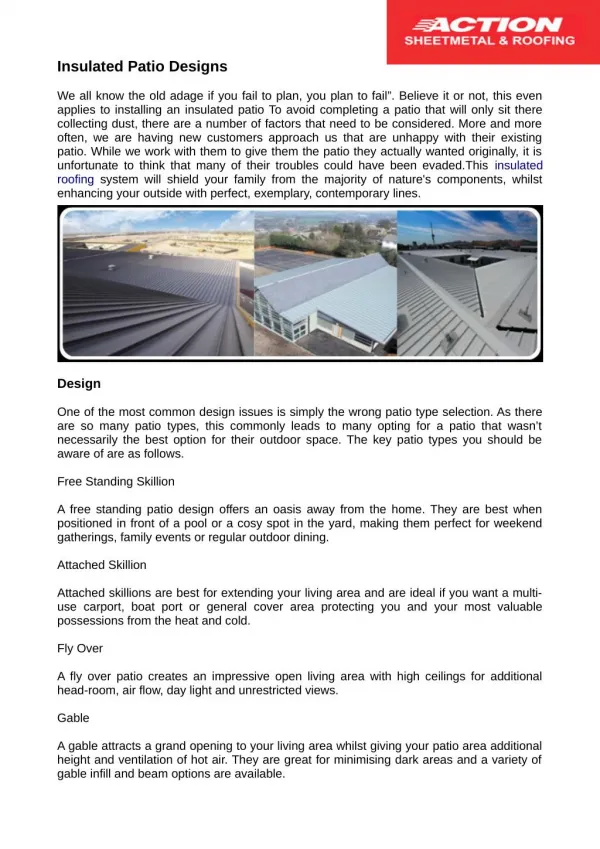
MEASUREMENT STEP 2 • The measurement process is used in installing gable roof pergola • It's an essential part of gable roof pergola plans. • This measurement will ensure that the insulation size matches the patio roof size. • During the measurement, they leave a buffer of more than an inch to let the material breathe.
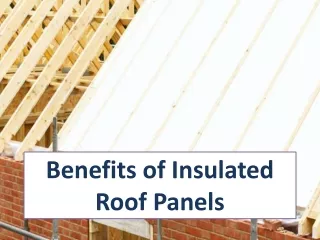
FOAM INSULATION STEP 3 • This is where the professionals will install a rigid layer of foam insulation atop the roof surface. • The main goal is to install the foam panels perpendicular to the wooden joints.
SEALING THE EDGES STEP 4 • A very critical phase is sealing the edges, and for this, they will use high-quality duct tape. • This phase is critical, as they must ensure that the insulating material is protected from water, moisture, heat and wind. • They will also use plasters and light mortars for even better results.
FINE-TUNING THE SEALING STEP 5 • This step involves inspecting the insulated patio roof again to ensure there are no flaws. • This is important because any flaw will affect the performance of the insulating material and make it ineffective. • The 'difficult to reach' areas will be covered by a spray foam for better results. • Hiring a reputed service provider with adequate installation experience for insulated patio roofing is essential. • They must also have the expertise, skills, knowledge and all the required tools and technologies for efficient insulated patio roofing installation.
CONTACT US: STYLEMASTER PATIOS ADDRESS: Unit 7 37-47 Borec Road, Penrith, Nsw 2750 WEBSITE: https://stylemasterpatios.com.au/ E-MAIL: admin@stylemasterpatios.com.au PHONE: 1300 761 201