Download
1 / 24
240 likes | 349 Views
Discover how to effortlessly create and manage your own wiki on Wikispaces with this comprehensive guide. This tutorial walks you through every step, from opening the website to setting up your account and customizing the look of your wiki. Learn how to upload files, insert images, create tables, and add links with simple instructions. With tips on managing your wiki and essential reminders for optimal use, this guide is perfect for beginners looking to establish an engaging online presence.

E N D
Website Design using wikispaces.com By ALFREDO C. MEDRANO Planning Officer II
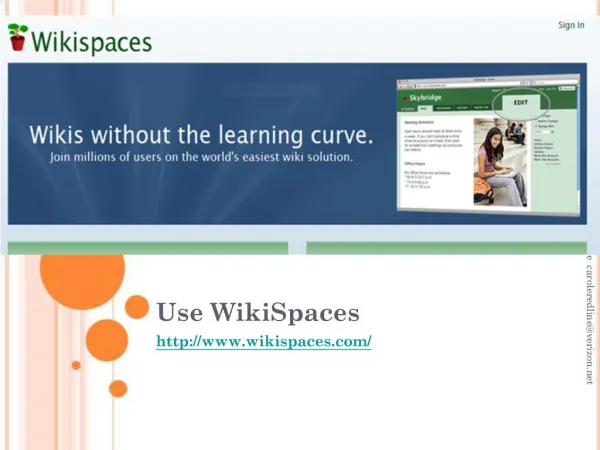
Getting Started Open the internet explorer, in the web address, type: www.wikispaces.com
Getting Started After opening the website, you will see this screen: Click Get started to create new wiki website:
Getting Started After clicking the get started you will see this screen:
Getting Started Fill up the required field to create a wiki account: It is recommended that your username should be the name of your website.
Getting Started Fill up the required field to create a wiki account: It is recommended that your username should be the name of your website.
Getting Started Fill up the required field to create a wiki account: It is recommended that your username should be the name of your website. Click join to create now your wiki account
Getting Started After clicking join, you will see this screen, help for managing the wiki, click turn off getting started.
Getting Started After clicking the turn off getting started, you will see this screen:
Managing Wiki Click Manage wiki to manage your wiki account:
Managing Wiki Click Manage wiki to manage your wiki account:
Lock and Feel (select style and add Logo) Click Themes and color to select the style of your template and color.
Themes and Color Select below the themes and color you want for your website then click apply:
Files - Uploading Click Manage Wiki to Upload Files, click files, then click upload then select the files to upload Click to upload
Editing Tools Color and Style Insert Numbering Inserting Bullet Horizontal Line Bold Underline Italic
Editing Tools Insert Files and Images Insert Widget Inserting Table Insert Character Symbol Insert Link Remove Link
Insert Link Edit the page, highlight the text you want to add link, click Insert link, then click add link. If you link websites, use external link, then type the website, ex. www.deped.gov.ph then click add link.
Inserting Images and Files Edit the page where you want to insert images / files Click the Insert Image/Files tool, then click the uploaded images, if images, use imbed files, if files use link to file
Inserting Widget (Codes) Copy the code, edit the page, then click Widgets Click Other HTML then paste the code in the box then save.
Inserting Tables Edit Page, Click insert table tool, type the column and rows and click insert table Edit Page, Click insert table tool, type the column and rows and click insert table
Saving the Page Click Save to save changes, cancel to cancel changes
Things to Remember: Click Edit page if you want to change or Edit the page Click Manage wiki if you want to Upload, Change the settings and others Click My Accounts if you want to change the password If you want to Delete Images, Click the image then click Remove Picture If you want to Delete Table click then then click table then remove table If you want to delete text, highlight the text then press delete If you want to convert images from word, powerpoint and others, copy the images then open paint brush then paste the images then save.
Things to Remember: • Use the picture manager to crop your images and convert it to web size. • It is better to convert your logo into picture or jpeg • All pictures should be converted into Web size using the picture manager. • If you have problem just contact • Alfredo C. Medrano • 077-771-6040 • 09192245932