10 Tips for Making a Good bts gear Even Better
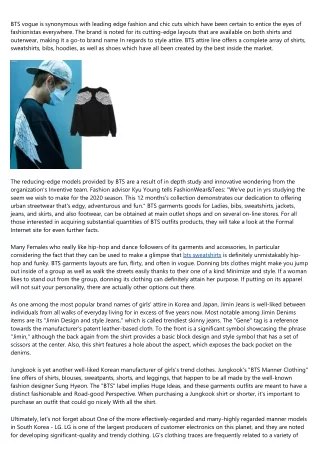
BTS manner is synonymous with cutting edge model and chic cuts which can be sure to draw in the eyes of fashionistas almost everywhere. The manufacturer is recognized for its reducing-edge designs that can be found on both shirts and outerwear, making it a go-to manufacturer On the subject of fashion apparel. BTS clothing line boasts a full number of shirts, sweatshirts, bibs, hoodies, and in many cases footwear which have all been developed by the most beneficial within the sector. The slicing-edge models provided by BTS undoubtedly are a result of considerable exploration and revolutionary wondering from the business's Resourceful staff. Trend specialist Kyu Young tells FashionWear&Tees: "We've put in several years studying the seem we wish to make to the 2020 time. This calendar year's assortment displays our perseverance to offering city streetwear that's edgy, adventurous and exciting." BTS clothes products for Women of all ages, bibs, sweatshirts, jackets, jeans, and skirts, and also footwear, can be obtained at major outlet shops and on several online retailers. For people interested in obtaining large portions of BTS clothes products, they will take a look at the Formal Web-site for even further specifics. A lot of Women of all ages who like hip-hop and dance supporters of its apparel and add-ons, Particularly considering that they are often utilised to create a glance that is definitely unmistakably hip-hop and funky. BTS apparel designs are enjoyment, flirty, and normally in vogue. Sporting bts clothes may make you stand out in a group or simply walk the streets comfortably as a consequence of their special Lower and style and design. If a lady likes to get noticed from the crowd, carrying its clothes can undoubtedly carry out her intention. If donning its clothing won't accommodate your individuality, you'll find other available choices obtainable. As amongst the most well-liked brands of females' clothing in Korea and Japan, Jimin Jeans has long been popular amongst folks from all walks of lifestyle for much more than five years now. Most notable between Jimin Denims goods are its "Jimin Type Jeans," which is named trendiest skinny denims. The "Gene" tag is often a reference for the model's patent leather cloth. To the entrance is a significant logo that includes the phrase "Jimin," although the again in the shirt has a vintage block type symbol having a set of scissors at the middle. Moreover, this shirt incorporates a hole to the facet, which exposes the back pocket with the denims. Jungkook is yet another preferred Korean brand name of ladies's vogue clothing. Jungkook's "BTS Fashion Clothing" line features of shirts, blouses, sweatpants, shorts, and leggings, which are all intended by the famous style designer Sung Hyeon. The "BTS" label means Significant Feelings, and these clothes outfits are supposed to have a definite trendy and Road-clever Mind-set. When buying a Jungkook shirt or small, it is important to invest in an outfit that can go effectively Using the shirt. Last but not least, let's not forget about Probably the most effectively-recognised and many-respected style models in South Korea - LG. LG is without doubt one of the major suppliers of buyer electronics on earth, and they're recognized for making higher-high quality and classy clothes. LG's clothing traces are often related to a variety of national holiday seasons in South Korea, such as the beginning of their initial President (Roh Moo-hyun) and the 2nd Globe War. These clothes are very attractive and stylish, and loads of them are intended by top trend designers from the region.
45 views • 2 slides