Download
1 / 11
110 likes | 286 Views
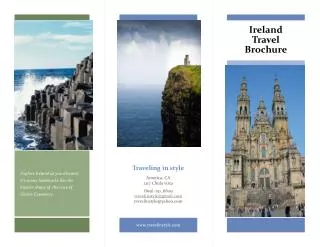
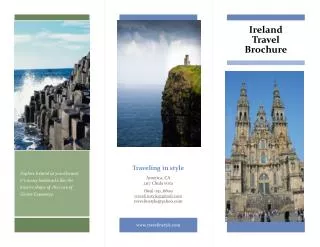
Creating a Travel Brochure. Choose the Straight Edge Informational Brochure. Choose a 3-panel display Choose to include the customer address and select the Sign-up Form. On page 1, in the right panel, edit the brochure title to Spring Break Ski Trip

E N D
Choose a 3-panel display • Choose to include the customer address and select the Sign-up Form
On page 1, in the right panel, edit the brochure title to Spring Break Ski Trip • Delete the tag line and telephone number text boxes in the lower portion of the right panel
Delete the address text box in the center of the middle panel
Enter the text from table 3-10 into the left panel of the brochure • When you are finished, click CTRL+A • Click the format menu • Click paragraph • Choose justified alignment • And type 2 in the between lines text box
With the text still selected • Click the font color button and select White
Use table 3-10 and edit the text for the middle and right panels • Click the page 2 icon
Table 3-11 displays the text for the three stories on Page 2. Enter the text and headings as shown in Figure 3-70b • Using the Clip Art task pane, search for graphics similar to the ones shown
Go back to page 1 • Click the AutoShapes button on the Objects toolbar, point to Stars and Banners, and click the Wave shape • Use the Fill Color button to fill the shape • Create a text box in the shape • Add AZM • Do the same for the middle panel • Print