Model Campsite
180 likes | 362 Views
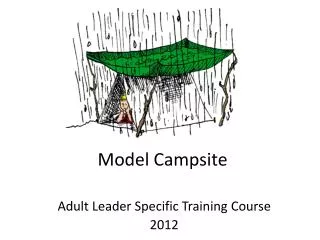
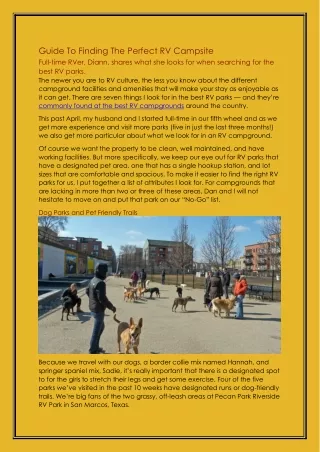
Model Campsite. Adult Leader Specific Training Course. Happy Camping !. Consider. Areas that are designated as camping sites are areas that have been pulled from nature. Use only what you need and don ’ t expand the area.

Model Campsite
E N D
Presentation Transcript
Model Campsite Adult Leader Specific Training Course
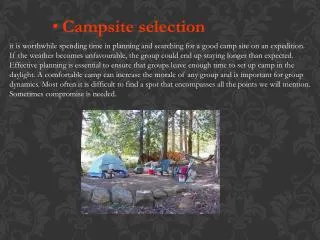
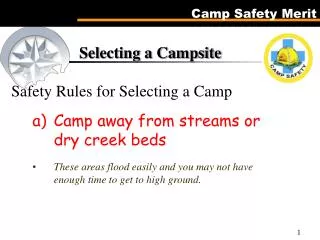
Consider • Areas that are designated as camping sites are areas that have been pulled from nature. Use only what you need and don’t expand the area. • Safety is always a consideration especially if you setup camp in the dark after a long drive. • Be sure to look for dead limbs or trees, stay out of gullies and other low lying areas. • Do not camp near lone trees, mountaintops, high ridges or other likely targets of lightning. • Consider staying away from game trails, especially if bears are present.
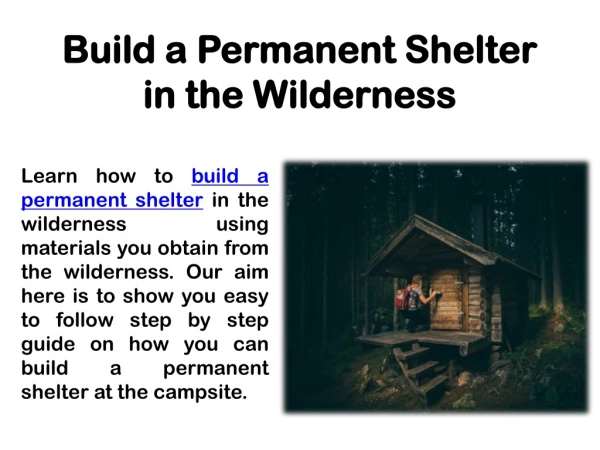
Know how to set up your tent It will make the weekend more enjoyable A little practice will pay big dividends Leave No Trace • Plan ahead and prepare • Dispose of waste properly • Travel and camp on durable surfaces • Leave what you find • Minimize campfire impact • Respect wildlife • Be considerate of other visitors
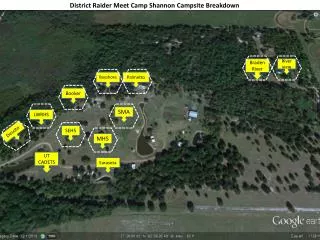
Model Campsite • Campsite – easy on the land & allows LNT • Environmental impact – use designated camping areas • Safety – especially when setting up in the dark • Dead falls (trees) • Clear of low lying areas/gullies/flash floods • Lone trees - lightening danger • Clear of game trails, especially in bear country • Campsite size & layout – efficient (use only what you need) • Cooking area 15’ – 20’ from tents • Fire area 15’ – 20’ from tents • Sleeping area • Cooking areas • Away from sleeping area • Always consider animals, hang food in “bear bags” or lock up in trailers • Trash discipline
Model Campsite - continued • Terrain • Good drainage? • Ground cover – consider if it rains (muddy) • Consider sunlight angles (shade, sunrise/sunset, conditions if it rains) • Water – drinking, cooking, cleanup, washing • Several gallons per scout per day • Campsites – 200’ away from source • Latrine away from source to prevent contamination • Stoves & Campfires • Use fire rings/existing sites • Supply of dry dead wood • Use a stove to lesson impact whenever possible • Open fires take time and require fire guard/water to extinguish • Privacy – respect privacy and solitude of other visitors “BE QUIET!” • Permission – Get permission and required permits
Model Campsite – Setting up • Dining fly – Set up first (protection for gear and cooking area) • Close to water and fire ring (but not over the fire) • Away from animals - bear country • Set up patrol cooking areas • Sleeping area • Set up after patrol dining fly and cooking areas • Pick site clear of rocks and LNT (established areas) • Consider adverse weather (wind, rain, drainage) • Sanitation • Latrines – 200’ away from water source, cooking & sleeping areas • Wash station – central location, near water • Sump – place to discard wash water/food from cooking • Identify areas for food storage – bear bags, trailers, buildings
Wash Station Process • Equipment: • Paper Towels • Your Favorite Dishsoap • A Dishcloth/Sponge/Scrubby • Tongs • Table • Three Dishpans • Hot Water • Cool Water • A splash of bleach or sanitizing tablets (optional) • Dirty Dishes
Step One: Heat The Water • Immediately after dinner is ready, we put two or three pots of water to boil on the stove while we are eating.
Step Two: Wipe The Plates • After dinner everyone takes a paper towel and wipes their plate and silverware clean of any food particles. Step Three: Set Up The Wash Tubs
Step Four: Prepare The Tubs • Tub A is for washing. We put a few squirts of dish soap in here, then fill the tub halfway with regular water. • Tub B is the rinsing tub and gets just plain water in it. We fill the tub 1/3 of the way with cool water, and the rest (about 2/3) with hot water. • Tub C is for sterilization health safety standards recommend 1 teaspoon of bleach for every 2 gallons of water
Dumping the Dishwater • First dump out the water in Tub A. • Now...dump the rinse water from Tub B into the empty Tub A (this gives Tub A a rinse with water that you already have). • Now dump Tub C into Tub B. So now Tub C is empty and clean and you are done with it. Turn it upside down with your other clean dishes to dry. • So now you have water in only Tub A and Tub B. Go ahead and dump the water from Tub A again • Now pour the water from Tub B into Tub A so Tub B is clean and empty, and Tub A is getting its final rinse with the batch of hot rinse water. Put Tub B upside down with the clean dishes to dry • Finally, dispose of the water in Tub A and turn it over to dry...and you are done! And your dishes are done too!