Download
1 / 4
40 likes | 42 Views
Are you in need of a wall oven repair? Are you not sure where to get one? You can guarantee we offer the most reliable KitchenAid wall oven repair!<br><br>Read more: https://kitchenaid-repair.com/kitchenaid-wall-oven-repair/

E N D
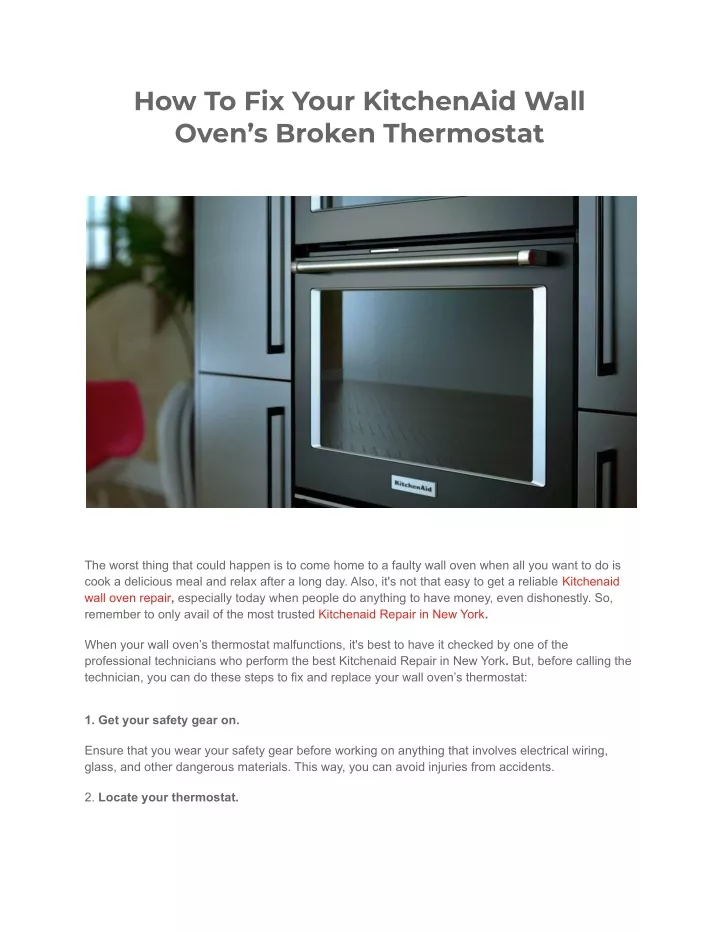
How To Fix Your KitchenAid Wall Oven’s Broken Thermostat The worst thing that could happen is to come home to a faulty wall oven when all you want to do is cook a delicious meal and relax after a long day. Also, it's not that easy to get a reliable Kitchenaid wall oven repair, especially today when people do anything to have money, even dishonestly. So, remember to only avail of the most trusted Kitchenaid Repair in New York. When your wall oven’s thermostat malfunctions, it's best to have it checked by one of the professional technicians who perform the best Kitchenaid Repair in New York. But, before calling the technician, you can do these steps to fix and replace your wall oven’s thermostat: 1. Get your safety gear on. Ensure that you wear your safety gear before working on anything that involves electrical wiring, glass, and other dangerous materials. This way, you can avoid injuries from accidents. 2. Locate your thermostat.
You’ll need to have space to work on a wall oven. The thermostat is usually at the back of the oven. If so, you’ll have to move your oven to an open area so you won’t have difficulty moving around. 3. Remove your oven door. To easily access the wirings, remove the oven door. Just locate the hinge lock and rotate the hinge lock counterclockwise. You’ll feel a release, and that's the time you know that your door is ready to be removed. 4. Take out the capillary tube. The capillary tube consists of wires that connect to an open cavity. You can pull that out to access the open cavity, where you’ll find the thermostat. 5. Remove the oven panels. Removing the oven panels will give you more room to move around and work on your oven. This way, you can properly reach the thermostat while avoiding accidents. 6. Remember to take a photo of how the thermostat is wired. Before removing the wirings from your broken thermostat, take a photo of how they are placed. Then, you can continue to place the wirings on the new thermostat. 7. Unscrew the thermostat. Now you can unscrew the defective thermostat and remove all wirings attached to it. Remember to put the screws in one place to avoid losing one or more. 8. Replace with a new thermostat. Connect the wirings on your new thermostat and screw the thermostat into place. Double-check the screws if tightly screwed on the oven. 9. Place everything back the way they were. You can place everything you removed back. Once done, you can move your oven back on the wall. 10. Turn on your oven to check if the thermostat is working. Turn on your oven and wait for a few minutes before checking the temperature. Remember that pre-heating will take time. Once you’ve reached the desired temperature, check if the thermostat is properly working. If the temperature is correct, your new thermostat is working. But, if the thermostat is still not working after you’ve replaced it, it's time to call a professional to help you with the problem.
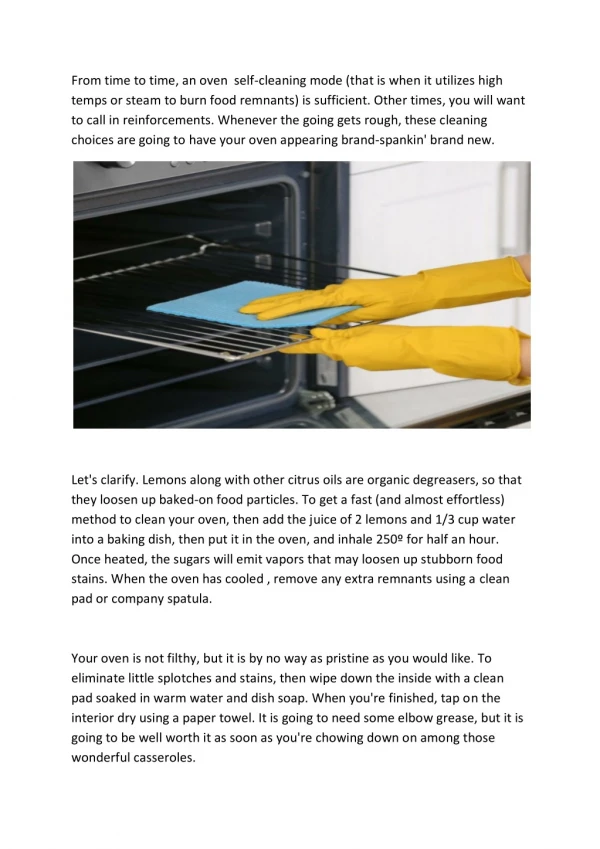
Properly care for your wall oven. To avoid malfunctions like a broken thermostat, you should check up on your ovens from time to time. You can also follow these tips to ensure your unit will last long: 1. If your oven has a self-clean feature, take advantage of that. Take advantage of your oven's self-clean feature because it will make your work easier. 2. Set up a time and day to thoroughly clean your oven. Always take the time to set up a clean schedule so you won’t skip it when the time comes. It's important to give attention to your oven, even when there is a self-clean mode. 3. Add extra steps to catch spills when baking. Add a few extra steps when you bake. You can add a drip pan to catch oils or food spills to avoid cleaning up the whole oven after baking. 4. Don’t neglect your racks. Your oven racks also catch dirt and food particles, so ensure that you clean them properly after every use. Warm soapy water can instantly remove gunk on your racks. 5. Always check on your gaskets. The gasket on your ovens acts as a seal to stabilize the temperature inside. If the gasket has a tear or won’t properly stick, you need to replace it, or it could affect your thermostat. These tips are easy to follow, so always remember them and do them once every two to three months, or more often if you regularly use your oven. These steps will help you prolong the life of your oven. What is KitchenAid Oven Combo? There are plenty of appliances today, but one of the best investments you can make is to get the KitchenAid oven combo. This appliance is an oven and a microwave in one, so you have the option to only use the microwave setting or the oven setting. This ingenious invention allows you to have two of the major appliances we use without crowding your kitchen. This combo is perfect for families with a small space but wants a microwave and an oven. So, don’t hesitate to get this amazing appliance, and you surely will enjoy using it for a long time. To ensure your unit will last long, set up a routine
maintenance and cleaning schedule, and you won’t worry about malfunctions in the future!