Download
1 / 4
40 likes | 62 Views
wood router review | We review best wood router and other tools

E N D
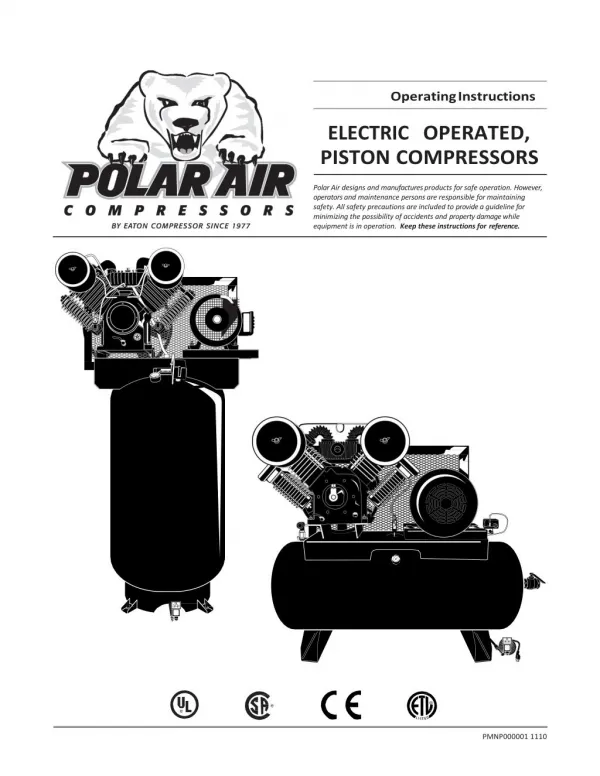
How to Use Air Compressors: The Basics Air blowers were once found in the carports or workshops of just the most devoted home crafters and mechanics, however with a wide assortment of littler blowers now accessible, they are never again devices for just experts or veteran DIYers. They can control various air-controlled (pneumatic) devices utilized for some applications. Air blowers work by putting away compacted air in a steel tank and discharging it in a controlled way to work an assortment of hardware connections, from air wrenches to sanding and crushing gear to air nailers to painting apparatuses. An electrical engine on the blower unit siphons air into a capacity tank under strain and keeps up it at sufficiently high strain to control the instruments, which associate with the tank by means of air hoses. In ordinary instrument activity, the blower's engine will kick in and shut off naturally as pneumatic stress varies in the tank. When running a paint sprayer, for instance, you will hear the electric engine kick in as the air in the tank drops, and it will close down each time the tank weight achieves its set point of confinement. The benefit of utilizing pneumatic apparatuses is that you needn't bother with an entire accumulation of devices, each with its own engine. Rather, a solitary engine driven air blower can control an entire gathering of moderately economical connections. Pneumatic apparatuses can likewise create more power than many hand-held electrical instruments.
Air blowers are sold by numerous makers, including Sears Craftsman, Porter Cable, Bostitch, DeWalt, Stanley and Makita. Precisely, air blowers utilize one of a few structure styles — some with car style cylinders that expect oil to keep them working appropriately. These cylinder style blowers will in general be higher- control models used to work bigger apparatuses. For increasingly unobtrusive employments, stomach style blowers are accessible; they utilize no oil, however make a seal utilizing an elastic stomach. The oil-less stomach blowers have turned out to be prevalent among mortgage holders, and are valuable for working air nailers, paint sprayers and other littler hardware. Here are some essential directions for utilizing air blowers, basic to all models. Stage 1 Plug in the Compressor Spot the blower on a firm, level work zone. Ensure the power turn is killed. Attachment the power rope into a grounded (three-pronged) electrical outlet. Stage 2 Check the Oil On the off chance that your blower is a cylinder type, ensure there is adequate oil in the crankcase. Check the oil level by peering into the sight measure at the base of the blower engine. On the off chance that vital, expel the oil filler top, and add blower oil to convey the dimension up to the full imprint on the check. Check the oil level after each utilization. Stage 3 Fill the Air Tank Ensure the channel valve is shut at the base of the air tank by fixing it with a flexible wrench a clockwise way. Turn the power switch on and enable the blower to run a couple of minutes. Check the implicit air measure and ensure the blower close off naturally when the gaseous tension achieves 100 to 115 psi. The weight limit of the tank will fluctuate, contingent upon the model.
Stage 4 Adjust the Air Control Valve Modify the air control valve to coordinate the greatest permitted pneumatic stress broadcasting live apparatus that you will utilize. Do this by turning the air control valve in either course until the pneumatic stress measure peruses the right gaseous tension for the apparatus. Stage 5 Connect Air Hose Interface an air hose to the blower, ensuring the length is adequate to achieve the work zone. Wrap the strung end of the air hose with two layers of Teflon tape, and afterward string the hose onto the blower fitting (situated close to the pneumatic stress measure). Fix it a clockwise way with a movable wrench. A few blowers may have snappy interface hose fittings to associate with the air tank. Stage 6 Connect the Pneumatic Tool Associate your air apparatus to the opposite end of the air hose, utilizing the speedy interface fitting. Draw back on the spring-stacked neckline on the hose, and push it solidly onto the air admission on the device. Discharge the neckline to verify the association. To disengage the apparatus, pull back on the neckline while pulling the instrument off the air hose. Stage 7 Drain Moisture After Use Channel the dampness from the air tank occasionally (check your proprietor's manual for suggestions) by extricating and evacuating the channel valve at the
base of the tank with a movable wrench a counterclockwise way. At the point when all water has depleted from the tank, supplant the channel valve and fix it a clockwise way. Powered By https://bestsawreviews.com/best-reciprocating-saw- blades-reviews/