Download
1 / 8
0 likes | 21 Views
The Netgear WiFi Range Extender boosts your existing network range, delivering coverage to hard-to-reach areas of your home or office. With easy setup and compatibility with any standard WiFi router, enjoy seamless connectivity for all your devices. Say goodbye to dead zones and experience reliable, high-speed internet everywhere.<br>

E N D
Netgear WiFi Range Extender Setup Boost your home WiFi coverage with a Netgear WiFi Range Extender. This simple setup guide will walk you through the process of unpacking, connecting, and configuring your extender for optimal performance.
Introduction to WiFi Extenders 1 2 Extend Your Reach Easy Installation WiFi extenders amplify and rebroadcast your existing wireless signal, giving you stronger coverage in hard-to-reach areas of your home or office. Netgear's intuitive setup ensures you can have your extender up and running in just a few simple steps. 3 Improved Connectivity Say goodbye to dead zones and enjoy fast, reliable WiFi throughout your entire space.
Compatibility and Device Requirements Compatible Devices Device Requirements Recommended Setup Netgear WiFi extenders work with any wireless router or gateway, regardless of brand or model. Your extender will need access to an electrical outlet and a WiFi network to connect to. Place the extender halfway between your router and the dead zone for best results.
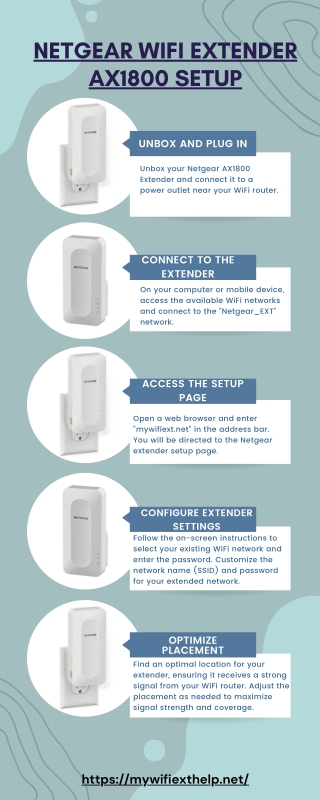
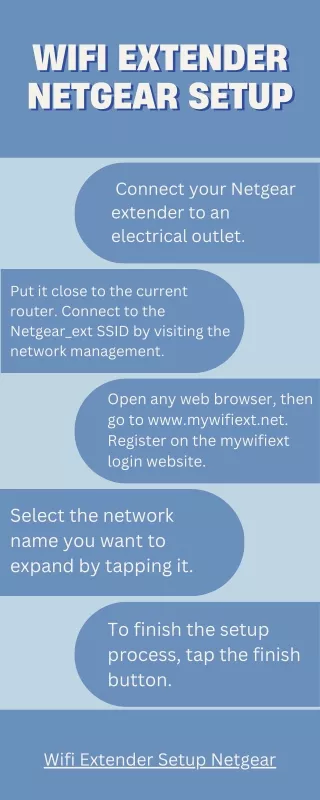
Unpacking and Hardware Setup Package Contents Physical Setup Unbox your Netgear extender, power adapter, and ethernet cable. Plug the extender into a wall outlet and connect it to your router using the ethernet cable. LED Indicators Next Steps Look for the extender's status lights to confirm it's powered on and connected. With the hardware set up, you're ready to connect the extender to your network.
Connecting the Extender to Your Network 1 Wireless Setup Use the extender's web interface or mobile app to connect it to your home WiFi network. 2 Wired Connection Alternatively, you can connect the extender directly to your router using an ethernet cable. 3 WPS Button Press the WPS button on both your router and extender to establish a secure wireless link.
Configuring the Extender Settings Network Name Security Advanced Options Internet Access Set a unique SSID for your extender's wireless network. Encrypt your extender's network with a strong password. Customize additional settings like band steering and beamforming. Ensure the extender has a stable connection to your main router.
Positioning the Extender for Optimal Coverage Placement Find a midpoint between your router and dead zone. Elevation Elevate the extender to maximize signal propagation. Line of Sight Avoid obstructions like walls, furniture, and appliances.
Troubleshooting and Support Resources Connectivity Issues Check the extender's status lights and network connection Performance Problems Optimize placement and settings for best coverage Software Updates Download the latest firmware from Netgear's website Customer Support Contact Netgear's technical support team for assistance