Download
1 / 11
110 likes | 225 Views

E N D
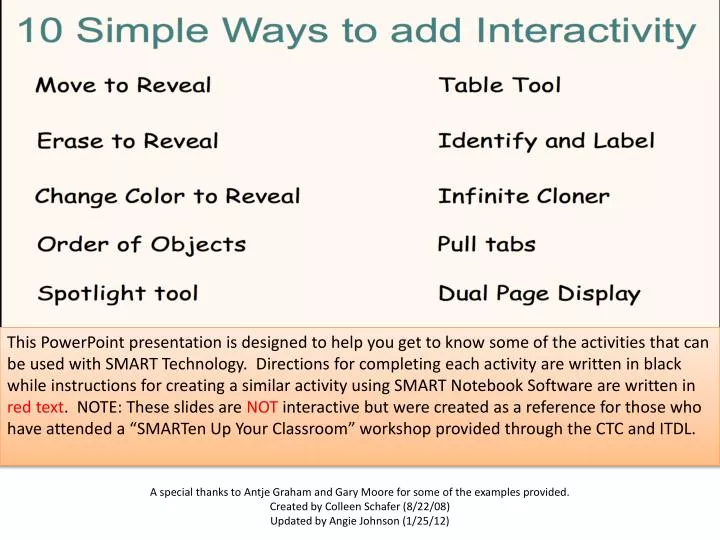
This PowerPoint presentation is designed to help you get to know some of the activities that can be used with SMART Technology. Directions for completing each activity are written in black while instructions for creating a similar activity using SMART Notebook Software are written in red text. NOTE: These slides are NOT interactive but were created as a reference for those who have attended a “SMARTen Up Your Classroom” workshop provided through the CTC and ITDL. A special thanks to Antje Graham and Gary Moore for some of the examples provided. Created by Colleen Schafer (8/22/08) Updated by Angie Johnson (1/25/12)
The answer to this question is hidden behind the image of the state. Move the image to reveal the answer! [To Create: Use the Order feature located in the dropdown menu to hide certain images and text underneath each other. Lock items you wish to remain stationary.]
Use the Pen tool to work through this math problem. When you have completed the problem, use the Eraser tool to reveal the correct answer underneath your work. [To Create: Type the answer or message you would like to reveal. Cover up the answer by scribbling over it with a Pen tool that matches the color of the page’s background.]
Use the black, blue, or red Pen tool to label the parts of the cell. After labeling, right click on the work space to “Set Background Color” – change the background color to reveal the answers. [To Create: Type your notes/answers and match the background of the page with the same color font.]
Think of this as an electronic overhead projector! Important information is covered up by a red curtain, pull the tab down to reveal information one sentence at a time. [To Create: Type text on the page. Create an object that you will use to reveal the typed text. In this case, the white box and arrow are grouped together – NOTE: The object must be a different color than the color of the font. Once the object is created, select it and choose “Send to Back” using the Order feature in the dropdown menu. Finally, change the background color to match the color of the text.]
Select the Magic Pen tool from the SMART Toolbar. Draw a circle anywhere on the board with your finger or a pen to create a Spotlight tool. To count from 0 to 9, reveal the numbers by moving the spotlight around the board by grabbing the outer edge (NOTE: Grabbing from inside the Spotlight changes its size). [To Create: Simply arrange text and images on the page. The Magic Pen tool will create a Spotlight when a circle is drawn, a Magnifier when a square is drawn, and Disappearing Ink when text or lines are drawn.]
Use the Table to sort information by dragging text and images into the appropriate rows and columns. [To Create: Use the Table tool in the SMART Toolbar to create the desired number of rows and columns. Create a bank of information to be included in the table by adding text labels and images to the workspace. NOTE: Images will automatically resize to fit within the cell!]
Cover the pink circles with the proper phase of the moon by dragging the objects to the appropriate position around the earth. [To Create: Use images, shapes and text to organize content, use the Order feature to layer each phase of the moon by selecting “Bring to Front” from the dropdown menu.]
Label the important areas by repeatedly dragging the images to the appropriate spots on the map. [To Create: After adding desired text and images to the page, select an object and choose “Infinite Cloner” from the dropdown menu. If done correctly, an Infinity Symbol will be displayed when the object is selected.]
Using a Pen tool, circle the nouns in the following sentences. Check your work by grabbing the red Pull Tab on the right and dragging it over the sentence until it overlaps the pink tab on the left. Also, pull the gold colored Tab to reveal a helpful clue! [To Create: After adding desired text and images to the page, locate the Pull Tabs available in the Graphics Gallery. Select a Tab and Group with any additional content (in this case, the circles). To Group, select all of the objects that you wish to lock together and choose “Group” from the dropdown menu.]
After reading the definitions and directions, move into Dual Page Display by selecting the appropriate icon from the SMART Toolbar. Follow the directions by dragging each symbol to the appropriate part in the text. Note: Objects may be moved from page to page while in Dual Page Display Mode. [To Create: Simply design two slides in a row that will successfully work together while in Dual Page Display Mode.]