Download
1 / 23
240 likes | 347 Views
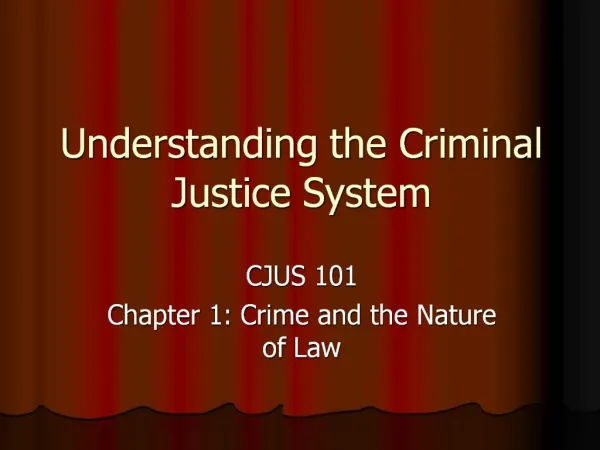
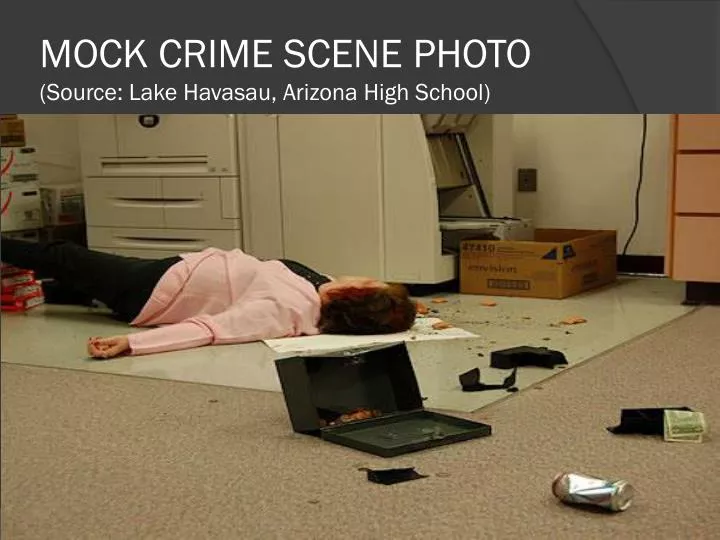
MOCK CRIME SCENE PHOTO (Source: Lake Havasau , Arizona High School). You don’t have to be an artist!. SKETCHING A CRIME SCENE. Fast, Tidy, Accurate !. Evidence needs to be collected and analyzed by technicians, so there will not be a lot of time for sketching

E N D
MOCK CRIME SCENE PHOTO(Source: Lake Havasau, Arizona High School)
You don’t have to be an artist! SKETCHING A CRIME SCENE
Fast, Tidy, Accurate! • Evidence needs to be collected and analyzed by technicians, so there will not be a lot of time for sketching • Measurements need to be made quickly, but without disturbing the evidence or contaminating the crime scene.
Where do I start? Step 1: Draw a rough outline of the area- include windows (represented by the rectangles) and doors (represented by openings in the outline)
Step 2: Measure the room or space in which the crime occurred. Label the dimensions on the sketch
Step 3 Sketch in the furniture and location of evidence using basic shapes
Step 4 Label each item in the diagram with a number or letter, then write the name in a key.
Step 5 • Label the diagram with the date, time, location, and victim’s name (if known) • Note: An unknown victim is commonly given the name of John Doe or Jane Doe
Step 6: MEASURING FROM FIXED POINTS • Make two measurements from fixed (not moveable) points to each piece of evidence • These measurements are noted on a separate document, and not on actual sketch
FINAL SKETCH A. There is never a second chance to sketch a scene, so all information must be noted before leaving B. The final sketch will be completed after leaving the crime scene. C. The final sketch will be drawn with a ruler to scale and may be done on graph paper.
Catching Errors: Can you find at least 4 mistakes?? • Write your responses on the handout
Sketch crime scene complete with label, dimensions, and key • Answer the questions on the back • If you are done or waiting, work on the vocab crossword- use your notes and returned work to help! • Both the sketch and crossword will be collected and graded • There will be time to finish both activities tomorrow- We will be stopping at 11:35 today for a quick summary of today’s lesson
Thumbs Up / Thumbs Down • Give a thumbs up if you agree with the statement • Give a thumbs down if you disagree with the statement • Wait to give the thumbs up or thumbs down until I say
A crime scene must be sketched carefully since you will never have the chance to sketch the scene again
When making measurements to pieces of evidence, you can measure from two objects like a TV and a bookshelf
When labeling objects in a crime scene, you label evidence and other items in the room with a letter or number
The sketch made in the field will stay “as is”- no changes, modifications, reproductions, or final sketches will be made
When sketching in doors and windows for the outline, it is important to include all of them, even if they are away from where most of the evidence is located.