Download
1 / 3
0 likes | 3 Views
Visualpath brings you industry-leading MuleSoft Course Online designed to elevate your career with real-world expertise, and gain hands-on skills through real-time scenarios. With 24/7 access to recorded sessions and in-depth learning, resume preparation, technical doubt clarification. Our MuleSoft Training in Bangalore worldwideu2014including those in the USA, UK, Canada, Australia, Dubai, and for more info call: 91-7032290546.<br>Whatsapp: https://wa.me/c/917032290546<br>Visit our Blog: https://visualpathblogs.com/category/mulesoft/<br>Visit: https://www.visualpath.in/Mulesoft-Training-in-hyderabad.htm

E N D
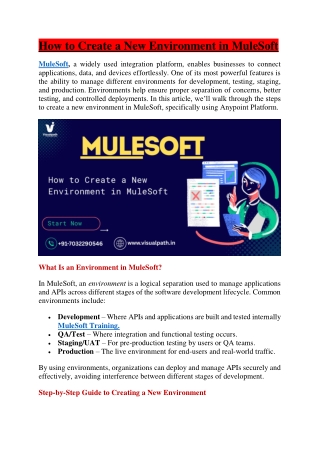
How to Create a New Environment in MuleSoft MuleSoft, a widely used integration platform, enables businesses to connect applications, data, and devices effortlessly. One of its most powerful features is the ability to manage different environments for development, testing, staging, and production. Environments help ensure proper separation of concerns, better testing, and controlled deployments. In this article, we’ll walk through the steps to create a new environment in MuleSoft, specifically using Anypoint Platform. What Is an Environment in MuleSoft? In MuleSoft, an environment is a logical separation used to manage applications and APIs across different stages of the software development lifecycle. Common environments include: Development– Where APIs and applications are built and tested internally MuleSoft Training. QA/Test– Where integration and functional testing occurs. Staging/UAT– For pre-production testing by users or QA teams. Production– The live environment for end-users and real-world traffic. By using environments, organizations can deploy and manage APIs securely and effectively, avoiding interference between different stages of development. Step-by-Step Guide to Creating a New Environment
To create a new environment in MuleSoft, you’ll need access to the Anypoint Platform and appropriate permissions within your business group. Step 1: Log in to Anypoint Platform 1.Go to https://anypoint.mulesoft.com. 2.Log in with your credentials. Make sure you are working under the correct business group. Environments are created within business groups and managed through the Access Management section. Step 2: Navigate to Access Management 1.On the top navigation bar, click on your profile picture or name and select Access Management. 2.In the left panel, click Environments. This section lists all existing environments under the selected business group. Step 3: Add a New Environment 1.Click the "Create environment" button. 2.Enter the following details: oName: A unique name for your environment, e.g., “Staging”, “DevOps- Test”, or “Sandbox”. oType: Choose from “Sandbox” or “Production”. oSandbox is used for non-production environments such as development and testing. oProduction is for live environments. (Optional) Add a description to help users understand the purpose of the environment. 3.Click Create. Once created, your new environment will appear in the list. You can now deploy APIs and applications to this environment via API Manager or Runtime Manager. Best Practices for Environment Management Use descriptive names: Make it clear what each environment is used for MuleSoft Course Online.
Set environment-specific properties: Use property files or external configuration for each environment to avoid hardcoding values. Manage access control: Limit who can deploy or view each environment by setting user roles and permissions. Monitor separately: Use Anypoint Monitoring or external tools to observe performance and logs per environment. Promote carefully: Use CI/CD pipelines to promote code through environments, reducing manual deployment risks. Final Thoughts Creating and managing environments in MuleSoft essential for building scalable and secure integrations. By clearly separating your development, testing, and production stages, you gain better control over your application lifecycle, reduce the chance of errors, and ensure smoother releases. Whether you are working on a small integration or managing enterprise-wide APIs, proper environment setup is key to success in MuleSoft's Anypoint Platform. Trending Courses: SCRUM MASTER,Azure Data Factory (ADF),Cyber Security etc. Visualpath is the Leading and Best Software Online Training Institute in Hyderabad. For More Information about MuleSoft Training Contact Call/WhatsApp: +91-7032290546 Visit: https://www.visualpath.in/Mulesoft-Training-in-hyderabad.html