Download
1 / 2
20 likes | 24 Views
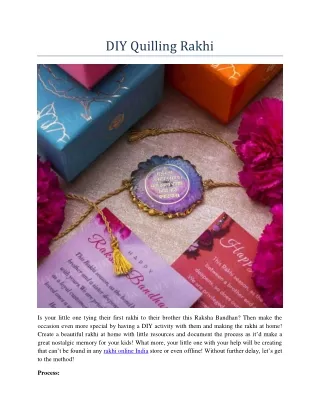
Is your little one tying their first rakhi to their brother this Raksha Bandhan? Then make the occasion even more special by having a DIY activity with them and making the rakhi at home! Create a beautiful rakhi at home with little resources and document the process as itu2019d make a great nostalgic memory for your kids! What more, your little one with your help will be creating that canu2019t be found in any rakhi online India store or even offline! Without further delay, letu2019s get to the method! <br>

E N D
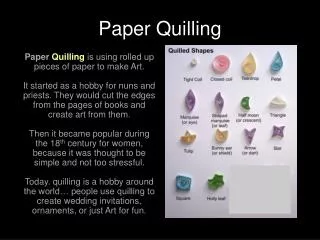
DIY Quilling Rakhi Is your little one tying their first rakhi to their brother this Raksha Bandhan? Then make the occasion even more special by having a DIY activity with them and making the rakhi at home! Create a beautiful rakhi at home with little resources and document the process as it’d make a great nostalgic memory for your kids! What more, your little one with your help will be creating that can’t be found in any rakhi online India store or even offline! Without further delay, let’s get to the method! Process:
1.Choose a color scheme and take out and assemble all your Quilling strips. If you can’t find quilling strips in the store, cut regular colored sheets at about 1 cm in breadth and you have them! Start coiling these strips up with a curling needle, or by hand. 2.Coil them tightly or loosely, according to your preference and most importantly, remember to glue the ends so that they stay. 3.Start with your first coiled up piece on a base paper that is to be stuck on the thread of the rakhi. It is advised that this paper is a little hard, so that it sits well on your brother’s wrist. 4.Create new shapes and add some newness to your design by pinching sides of loosely made quilling bits. Leaves are most commonly made in this method. 5.Keep repeating step 1 and 4 according to your design and preference. Make till you have all the pieces required to complete your design. 6.Next, get hold on a glue gun and attach these on the base and finish your rakhi design. 7.With the glue gun again, attach the thread or ribbon to the paper trinket and you are ready with your DIY Rakhi! If you want to buy rakhi online visit https://www.mypoojabox.in/collections/rakhi-online Source: https://dailypooja.weebly.com/blog/diy-quilling-rakhi