Download
1 / 22
220 likes | 258 Views
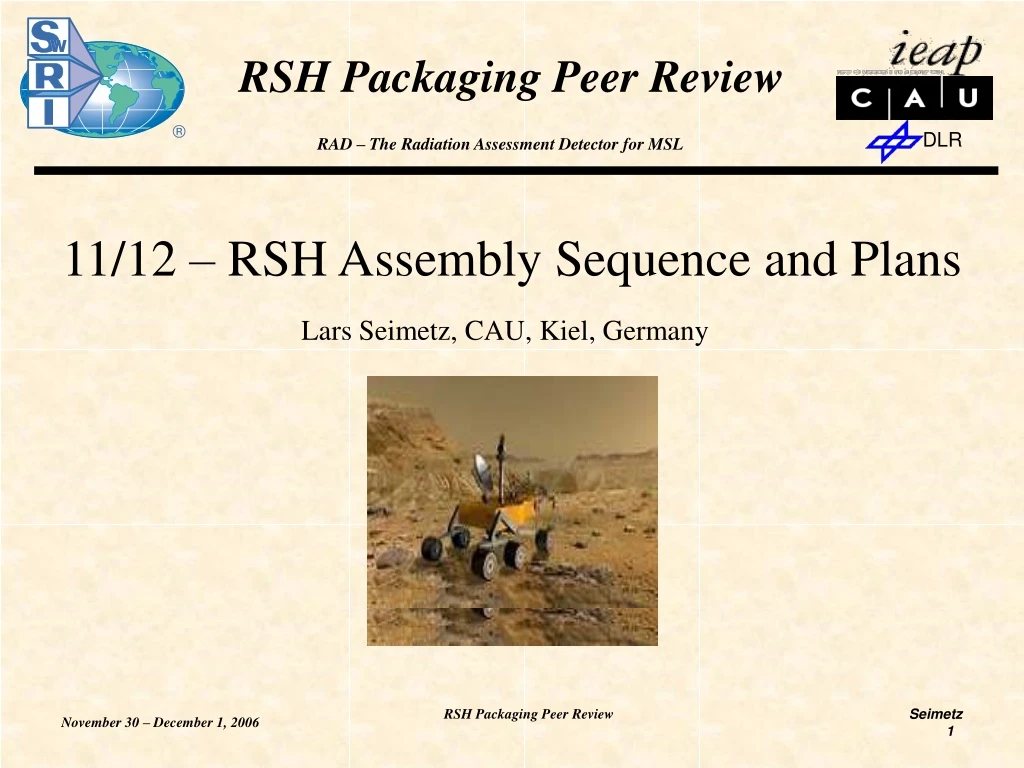
RSH Packaging Peer Review. 11/12 – RSH Assembly Sequence and Plans. Lars Seimetz, CAU, Kiel, Germany. RSH Packaging Peer Review. Please refer also to seperate Assembly-Sequence Document “2006xxxx_ls_assembly-sequence.xls/pdf”. Preparation Phase.

E N D
RSH Packaging Peer Review 11/12 – RSH Assembly Sequence and Plans Lars Seimetz, CAU, Kiel, Germany RSH Packaging Peer Review
RSH Packaging Peer Review Please refer also to seperate Assembly-Sequence Document“2006xxxx_ls_assembly-sequence.xls/pdf” RSH Packaging Peer Review
Preparation Phase -Assembly Sequence “living process”-Steps/ Procedures are currently tested and developed parallel to mounting lab-models and subassemlies RSH Packaging Peer Review
Preparation Phase Step 0.1 to Step 0.3Soldering of Flexboards Connectors onto Electronics Boards • No specially designed Fixtures besides standard Soldering-Equipment planned RSH Packaging Peer Review
Preparation Phase Step 0.4Connect D-Detectors to CSA (D-Board) • PTFE-Plate to accommodate (min) 3 removable Mounting TablesMounting Table used to transport connected Detector/Board Group to CsI for GlueingCSA Cables fixed to Mounting TableMilled-in Seat for PIN-DiodeSoft Stamps to fix PIN and Board while processed RSH Packaging Peer Review
Preparation Phase Step 0.5 to 0.7Pre-Routing and Staking of cables on SSDs • Process currently worked outSoldering Fixture maybe necessary to guide wires to solder pads“Pre-Bending” of wires maybe necessary SSD B/ SSD C SSD A RSH Packaging Peer Review
Preparation Phase Step 0.5 to 0.7Pre-Routing and Staking of cables on SSDs • Process currently worked outSoldering Fixture maybe necessary to guide wires to solder pads“Pre-Bending” of wires maybe necessary SSD B/ SSD C SSD A RSH Packaging Peer Review
Preparation Phase Step 0.8 and Step 0.9Assembling Detector Stack A and Stack BC - Parts to be “piled up” in Fixture, starting with SSD A upside down.- Same principle for BC-Stack, but adapted RSH Packaging Peer Review
Preparation Phase Step 0.10Equipping Detector D • Mounting Tables from Step 0.4 to be mounted on Glueing Fixture (Cesars Talk)Layer of Millipore located under CSA Fixation of Millipore while keeping reflective property currently investigated Investigation of Fixing-Method of CSA to CsI subject to Lab-Work RSH Packaging Peer Review
Preparation Phase Step 0.11 and Step 0.17Equipping Detector E and Bottom Anticoincidence with Detectors • “Clamped” in rotational fixtureFixture support mounts for additional toolsFixture has to fit into “Glueing Vacuum Chamber” RSH Packaging Peer Review
Preparation Phase Step 0.12 to 0.13Preparing E/F – Board with Spring Parts -Fragile Components-Coil Springs maybe staked just for assembly (Debris ??) RSH Packaging Peer Review
Preparation Phase Step 0.14Purge System • Purge System assembled with standard technical Equipment. No extra Tooling necessary RSH Packaging Peer Review
Preparation Phase Step 0.15Soldering MDM51 to Flexboard • Right now no special Fixture beside standard ESD Tools planned(Work on Prototype Flexboard might bring up need for extra Fixture) RSH Packaging Peer Review
Preparation Phase Step 0.16Staking of Flexboard to Housing Wall • Purge System assembled with standard technical Equipment. No extra Tooling necessary RSH Packaging Peer Review
Assembly Phase Step 1Assembling CsI Subassembly • Lowering the CsI-Crystal into its Aluminium-StructureLowering Aluminium-Seat over Neutron ChannelLower Neutron channel onto CsI RSH Packaging Peer Review
Assembly Phase Step 2Glue BC Stack to Top Anticoincidence • BC Stack glued using Dow Corning 93-500Alignment has to keep “manual freedom” of handling (Soft Pressure to Stack and Adjustment to Position) RSH Packaging Peer Review
Assembly Phase Step 3Assembly of Antico Subassembly • Important: Fixture has to keep ~170N Preload until Package is mounted finally into Main Housing. (At that stage the main spring will take the load) RSH Packaging Peer Review
Assembly Phase Step 4Attach F-Spring (with F-Board) to Antico-Subassembly • No special Tools necessary RSH Packaging Peer Review
Assembly Phase Step 5Equip Main Housing with Interieur RSH Packaging Peer Review
Assembly Phase Step 6 and Step 7Close lower Housing an Fix MDM Connector • Torque chosen to general technical guidelinesScrews to be tightened according to specific order in order to avoid stress. RSH Packaging Peer Review
Assembly Phase Step 11Equipping SSD Cover RSH Packaging Peer Review
Assembly Phase Step 13Mount SSD Cover to Main Housing RSH Packaging Peer Review