Download

1 / 10
100 likes | 200 Views
This guide provides step-by-step instructions on starting and managing an RF Clicker session in a classroom setting. Learn how to activate the clicker session, set up the RF receiver, identify students, and engage them in interactive assessments. Complete with details on channel selection, student ID input, and tracking student participation. Enhance classroom interaction with this comprehensive RF Clicker Session guide.

E N D
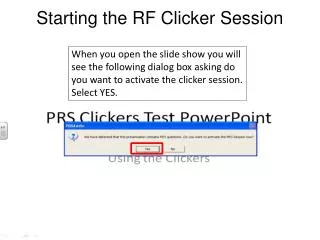
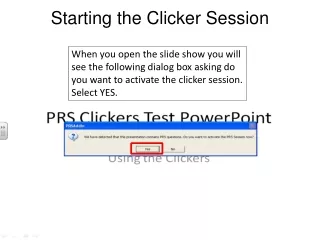
Starting the RF Clicker Session When you open the slide show you will see the following dialog box asking do you want to activate the clicker session. Select YES.
Starting the RF Clicker Session The PRS [Personal Response System] assessment application will now load. This application will record the session for review and reporting.
Starting the RF Clicker Session The assessment application will take a moment to load the class session.
Starting the RF Clicker Session The Start RF class dialog box will display with the assessment application behind it. A generic class has been setup for each building using RF clickers. Here we see CAT-CL1111 [Center for Advanced Technology Class 1111] This is a generic setup of all rooms. Click OK.
Starting the RF Clicker Session The new session dialog box will appear and at the lower portion of the page the RF [Radio Frequency] receiver will begin to search for a channel for the class. The channel that is selected will be different each day in each room. Everything is preset on the new sessions dialog box. Just click OK.
Starting the RF Clicker Session Once the assessment application is fully loaded the PowerPoint presentation will open. You will see a small Interwrite button at the upper left corner of the presentation. Click on this button to open the assessment title bar.
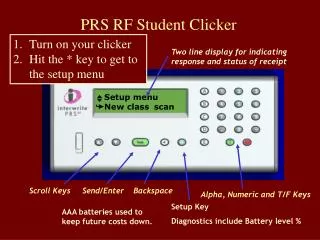
Starting the RF Clicker Session The assessment title bar will open and show the channel the students will need to enter in the clicker. The channel selection is the letter or number between the <> brackets. In this example D is the channel the students will enter with the clicker. At the title page of the slide have the students turn on their clickers.
Starting the RF Clicker Session Letter and Number answer keys On/Off Enter Key True/False selection keys Once the students turn on the clicker the screen will change to say Finding Class CAT –CL 1111 followed by a number. Each student should select the channel letter or number shown in the previous screen and press enter and wait a moment.
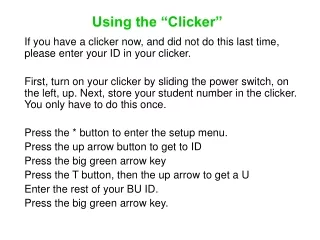
Starting the RF Clicker Session Enter Key Once the clicker has accepted the channel number or letter for the class session it will display “Enter Student ID”. Each student should be given a number or sequence of letters (perhaps their initials) to use for their identification. Have each student enter this information with the letter or number keys on the clicker then press ENTER. The clicker will accept the ID and display ANS: ready for them to select an answer.
Starting the RF Clicker Session As students join the class session with the clickers you will see the number of students in the Joined box change. Once the entire class has joined you are ready to move through your slide presentation.