Download
1 / 2
0 likes | 2 Views
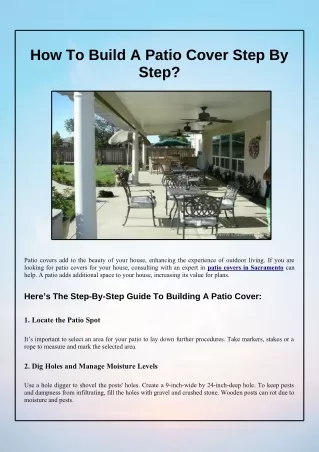
How to Build a Patio: A Step-by-Step Guide

E N D
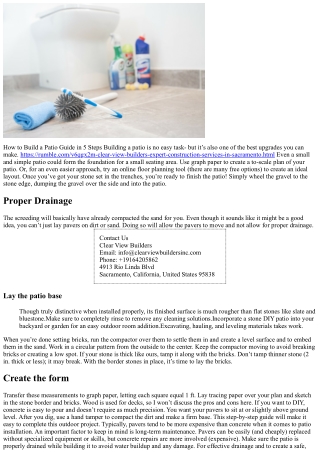
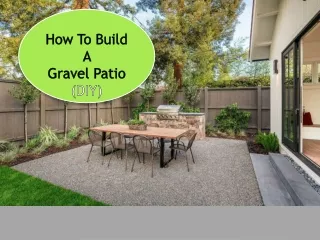
How to Build a Patio Guide in 5 Steps Building a patio is no easy task- but it’s also one of the best upgrades you can make. https://rumble.com/v6qgx2m-clear-view-builders-expert-construction-services-in-sacramento.html Even a small and simple patio could form the foundation for a small seating area. Use graph paper to create a to-scale plan of your patio. Or, for an even easier approach, try an online floor planning tool (there are many free options) to create an ideal layout. Once you’ve got your stone set in the trenches, you’re ready to finish the patio! Simply wheel the gravel to the stone edge, dumping the gravel over the side and into the patio. Proper Drainage The screeding will basically have already compacted the sand for you. Even though it sounds like it might be a good idea, you can’t just lay pavers on dirt or sand. Doing so will allow the pavers to move and not allow for proper drainage. Contact Us Clear View Builders Email: info@clearviewbuildersinc.com Phone: +19164205862 4913 Rio Linda Blvd Sacramento, California, United States 95838 Lay the patio base Though truly distinctive when installed properly, its finished surface is much rougher than flat stones like slate and bluestone.Make sure to completely rinse to remove any cleaning solutions.Incorporate a stone DIY patio into your backyard or garden for an easy outdoor room addition.Excavating, hauling, and leveling materials takes work. When you’re done setting bricks, run the compactor over them to settle them in and create a level surface and to embed them in the sand. Work in a circular pattern from the outside to the center. Keep the compactor moving to avoid breaking bricks or creating a low spot. If your stone is thick like ours, tamp it along with the bricks. Don’t tamp thinner stone (2 in. thick or less); it may break. With the border stones in place, it’s time to lay the bricks. Create the form Transfer these measurements to graph paper, letting each square equal 1 ft. Lay tracing paper over your plan and sketch in the stone border and bricks. Wood is used for decks, so I won’t discuss the pros and cons here. If you want to DIY, concrete is easy to pour and doesn’t require as much precision. You want your pavers to sit at or slightly above ground level. After you dig, use a hand tamper to compact the dirt and make a firm base. This step-by-step guide will make it easy to complete this outdoor project. Typically, pavers tend to be more expensive than concrete when it comes to patio installation. An important factor to keep in mind is long-term maintenance. Pavers can be easily (and cheaply) replaced without specialized equipment or skills, but concrete repairs are more involved (expensive). Make sure the patio is properly drained while building it to avoid water buildup and any damage. For effective drainage and to create a safe,
non-slip outdoor area, use landscaping fabric and a gravel base. Use concrete pavers or another edging material to define the patio's edge. Consider adding a border for aesthetics and stability, then fasten it with adhesive or spikes. With all the pavers set as you need them, you can start filling in the gaps. Use the square nosed shovel to scoop the sand or paver dust and place it into the joints, but only add about ½- ¾” of the paver dust/sand. Drive stakes into the corners of the patio area and adjust the area as needed. Remove all weeds, grass, roots, and topsoil from the area. After excavating, you will need to compact the earth if necessary and add a layer of gravel or crushed rock on top. Typically, this base layer should be about 4 inches (10 cm) deep.


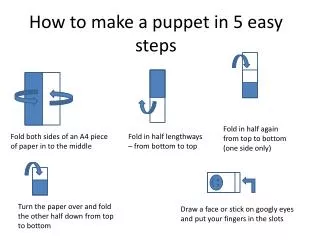


![Steps to Create A Stamped Concrete Patio [Infographic]](https://cdn5.slideserve.com/9942095/slide1-dt.jpg)