Download
1 / 6
60 likes | 78 Views
Learn about three methods for connecting a DSLR camera to your telescope - Piggyback Mount, Prime Focus, Variable Projection - with detailed instructions and accessories recommendations. Explore how to capture wide-field shots, deep sky objects, and high magnification targets effectively.

E N D
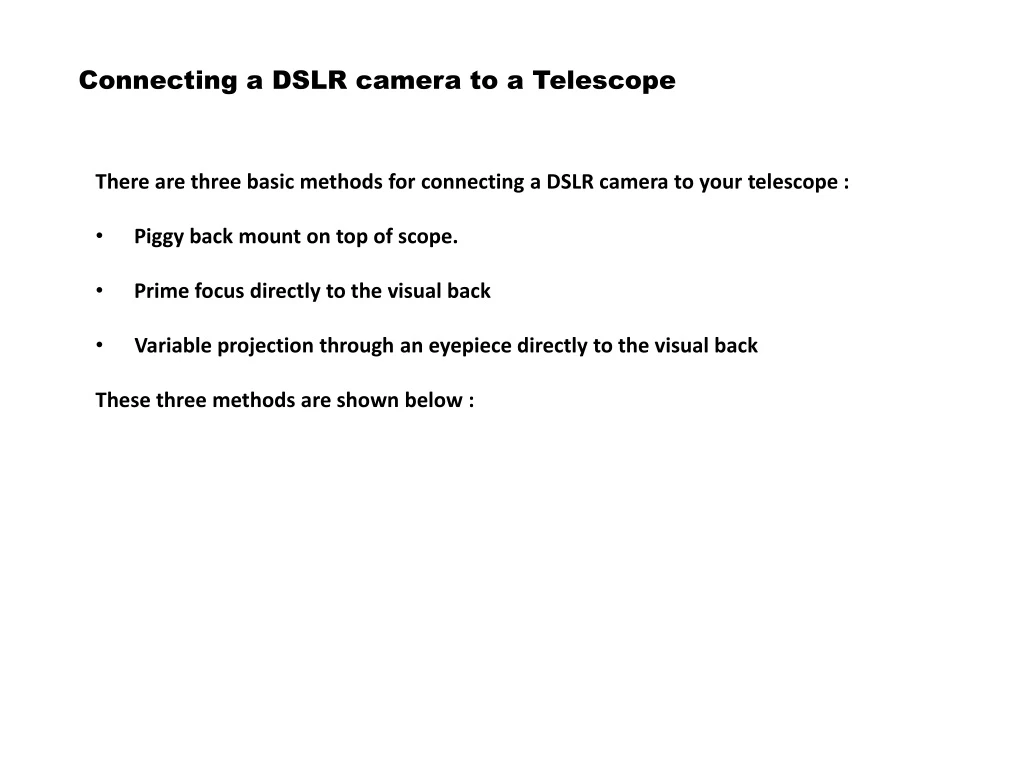
Connecting a DSLR camera to a Telescope • There are three basic methods for connecting a DSLR camera to your telescope : • Piggy back mount on top of scope. • Prime focus directly to the visual back • Variable projection through an eyepiece directly to the visual back • These three methods are shown below :
Piggy Back on top of scope Here we have a typical DSLR with a lens mounted on a simple bracket to the cameras ¼-20 tripod mount. These adapters are cheap and give very good results for widefield shots. The scopes drive keeps the scope AND camera tracking the sky while you shoot.
Prime focus directly to visual back or draw tube The best method for mounting the camera to the scope for deep sky and small targets like faint galaxies is the PRIME FOCUS method. Here we see the DSLR on the left, the T-RING adapter which mounts on the camera were the lens would go, and the variable length extension tube. The extension tube is required to place the focal plane of the camera the correct distance from the back of the scope so you can get the camera focused.
Variable eyepiece projection The best method for shooting planets or moon craters that require high magnification with a DSLR is the VARIABLE EYEPIECE PROJECTION method. The variable zoom projection adapter allows an eyepiece to be clamped inside the tube. The tube then screws onto the scopes visual back, and the camera looks through the eyepiece at the target. The tubes length can be adjusted to change the zoom effect of the image. Note that this method has a lot of Vignette (tunnel vision) for the camera. This method is for shooting small objects that you can center in the shot, and crop out the Vignetteing.
Prime focus with focal reducer/field flattener Here we see an optional prime focus set up with a .63 Focal reducer/field flattener. The focal reducer lens effectively reduces the magnification of the scope so that the camera can see a wider field of view. This also reduces the amount of star trailing during long exposures. This meade reducer shown here also provides an added benefit. It also corrects the image for elongated stars that normally occur in the 4 corners of an image caused by the SCT corrector plate. Refracting telescopes also have problems with curvature in the corners of an image. Special field flatteners can be purchased for use with refractors.
Parts is parts (some good places to get stuff at a reasonable price) • The following links are a few good places to purchase adapters and photo accessories for connecting your camera to the scope : • www.astronomics.com • www.telescopes.com • www.starizonia.com • www.telescope.com (orion products) • Typical pricing : • T-ring adapter for DSLR = $19.95 • Variable length extension tube = $30.00 • Variable length eyepiece projection tube = $40.00 • .63 Focal reducer/field flattener = $149.00