Download
1 / 26
260 likes | 277 Views
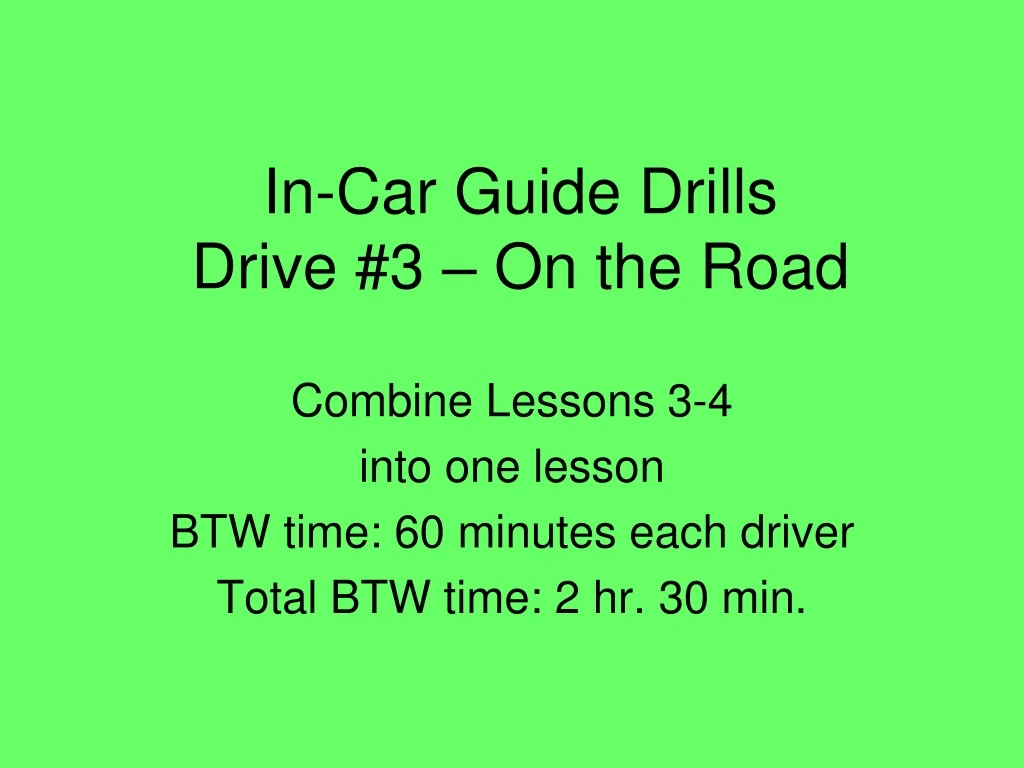
Combine lessons 3 and 4 into a single 2.5-hour session focusing on lane positioning, target tracking, pre-turn practices, LOS and POT drills, pivot maneuvers, and turnabouts. These drills are designed for beginners to enhance their driving skills and spatial awareness.

E N D
In-Car Guide DrillsDrive #3 – On the Road Combine Lessons 3-4 into one lesson BTW time: 60 minutes each driver Total BTW time: 2 hr. 30 min.
Lane Position Demonstration Drill In a simple environment: Have the student demonstrate • Lane position 1 • Uses Right 3 ft. Ref Pt in a 12 foot lane. • Lane position 2 • Left limit reference point • Lane position 3 • Right limit reference point • Lane position 4 & 5 • Best demonstrated in an off-street, but it is important that the instructor is assured that the student knows and can accomplish these if needed.
“Target or Tracking” Drill • Simple environment. • Kindergarten application • “Color between the lines” • Student is asked to enter and successfully navigate turns • Observer can call out the position that the driver “should” be in or the driver can use limited commentary driving. • Check for reference point and mirror use when targeting clearly isn’t possible.
Pre-Turn Drill • Instructor should make a definite point about checking “turn head before turn wheel” early and often in these first lessons. • On approach to the turn, the instructor simply asks “what do you think you target will be?” • If waiting until stopped, head check sufficient.
LOS Identification Drill • While driving in simple environments, ask the student to describe line-of-sight hazards as they come across them. • Note a tendency some students have to ignore the “small stuff” in deference to the big items • Traffic Signal intersections are big • Uncontrolled intersections may be quite small
POT Identification Drill • While driving in simple environments, ask the student to describe path-of-travel hazards as they come across them. • Residential neighborhoods at low speeds are an excellent environment for POT Restriction identification • Add variables to discussion (road/weather)
LOS – POT Observer Drills Both line-of-sight and path-of-travel restriction discovery can be delegated to the back seat observer. “I spy” game
Backing Straight Drill • Very similar to the targeting drill in first lessons, except this time backwards. • Parking lot only; perhaps after a driver before finishing for the day. • Reinforce proper seating/hand position. • Be ready to block the wheel to stop the student from turning too far out of the path while in reverse • Easy mistake, turning wheel backwards when driving backwards.
Backing Pivot Drill pt 1 • Need a parking lot with “poles” and space. • Have student pull up to the pole approximately 3 feet away on the side • Have them back around poles slowly
Backing Pivot Drill pt 2 • Parking lot application first • Set up “driveways” that the student should pull past and back into. • Correct forward and side position on approach. • Correct posture and hand placement. • Correct application of pivot point • Only back as far as necessary • Extra backing means extra risk!
Back-in Turnabout – Right Drill Right Side Driveway Turnabout • Have student pull past the driveway. (to Pivot point) • Shift to reverse. • 360 degree search • Back to pivot point if the student overshot. • Signal to the right? Or just back-up lights? • Back and turn to the right into driveway. • Back only to the front limit • Shift to Drive. • 180 degree search. Check related zones. • Re-enter traffic. Student should target to right.
Drive-in Turnabout – Left Drill Left Side Driveway Turnabout • Have student pull forward into the driveway. • Shift to reverse. • 360 degree search and back to the pivot point. • Stop before the sidewalk • check again to find a suitable gap in traffic. • Signal to the right? Or just back-up lights • Back and turn to the right into lane. • Shift to Drive. • Check related zones. • Re-enter traffic
3-Point Turnabout Drill Note: This type of turnabout is used in areas that are too narrow to make U-turns. The rules governing U-Turns apply to the three point turnabout as well. • Approach - Check traffic, move to LP-3 • Signal left, Check all zones, turn wheel completely left. • Move slowly stop at front limit reference point. • Reverse, 360 degree search, turn wheel completely right. • Back slowly and only as far as necessary. • When in position, shift to drive, zone check before moving.
U-Turn Drill • Determine that U-Turn is legal for location. • 360 degree check. Slow speed • Target new lane. • At transition peg for a left turn, student begins to straighten the wheel. • Accelerate smoothly out of the turn
End of Behind-the-Wheel Lesson 3 Drills
LOS-POT Identification Drill • Introduce the concept of space management by asking them to identify both line-of-sight and path-of-travel restrictions that occur within: • 15-20 Seconds • 10-12 Seconds • 4-6 Seconds
Zone Game (Drill) This game requires you to give part of the information by detecting LOS-POT restrictions. • The teen is to add information to confirm it. • For example, you may say “I FIND a LOS change in the left front zone” to cue the student to know what to search for. • His response may be “I see the truck in my left front zone”. • Provide positive feedback for the correct response.
Timing Drill (Game) • All occupants “play” • Instructor calls out a landmark. • Student has 2 seconds to state a number • The number is how many seconds from origination point to the landmark. • Student must answer in 2 seconds or “lose” • Rotate – ask Observer. For extra engagement; allow students to “test” instructor! ☺
Zone Game (Drill) Variation 1: • You may vary this game by switching roles, using the observer (or even the instructor) • You may also say “Front zone POT” to allow the student(s) to identify WHICH zone has the particular POT restriction. • Student would then search the zones and answer with the correct response, such as “I see the red traffic light”. • You can also say “red traffic light “ whereby the student would respond “POT closed front zone”.
Zone Game (Drill) Variation 2: • You may vary this game by asking for “other” zones to check when a particular zone is identified. • You may also say “Front zone POT” in order to elicit a “check rear zone” of some other correct zone. • This variation helps students to connect the “cause and effect” of good zone control and can be used in multiple driving envirnments.
Zone Control Peer Drill Advanced Lessons only • The instructor calls out an upcoming LOS or POT Restriction in the 12-15 second area. • The student responds by verbalizing the “Solve” and/or “Control” response to the stimulus. • After a few successful results, the observer takes over as both the caller and the “solver.”
Angle Parking Drill • On Approach, • Student checks all zone conditions • Signals and is 6–8 feet of side space away from the parking space1 • Reference right front corner of hood to end of space lines • Stop at Forward Position • Center of Space seen without vision cutting across parking line2 • Move slowly – turn wheel quickly • Line up with Target and Straighten car and tires • Stop at Forward Reference Point • When parked to the right as illustrated, the curb will appear forward of the right corner post3
1 2 3
Forward Parking Drill • To “Un-park” • Check Traffic (LOS-POT) • Back Slowly • Check All Corners • Clear Fender – Turn* • Straighten Car • Tires Straight • Shift to Drive
End of Behind-the-Wheel Lesson 4 Drills