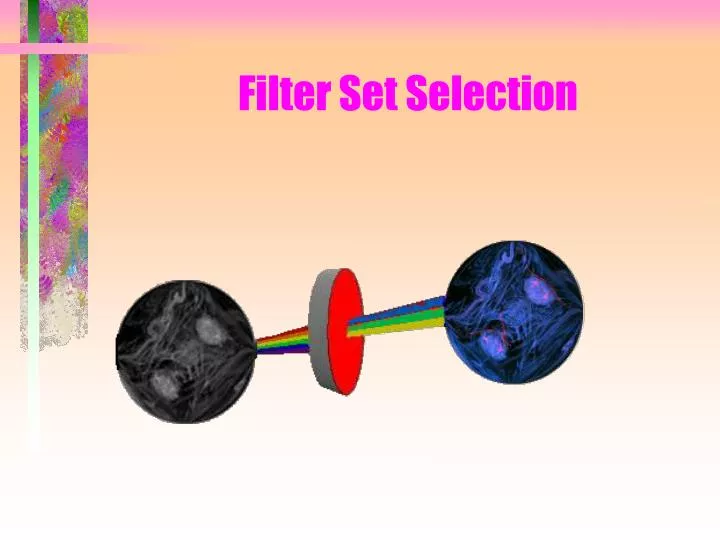

Filter Set Selection
E N D
Presentation Transcript
Filter Set Selection • It is best to follow this presentation with a Fluorophore excitation/emission maxima chart to hand.
Preliminary • The MRC series has two dichroics • They are numbered 1and2
Preliminary • Dichroic number 1 is to the rear of the scan head • It filters the excitation beam • They are identified with names such as K1 or I1 etc. Also VHS/BHS
Preliminary • Dichroic number 2 is to the front of the scan head • It filters the emissions from the sample • It is identified with a name such as K2 or I2 etc.
The MRC1000/1024 • The MRC1000/1024 has extra filters • They have excitation filters and emission filters as well as dichroics • The dichroics are changed manually • The extra filters are computer controlled
The Radiance • The Radiance has similar filters to the MRC1000/1024 series • They are all computer controlled. • No manual filter changes are necessary • Instead of changing dichroics, dichroic filter wheels are rotated by computer control.
To select the Correct Filter Set • First identify the fluorescent dye used in your sample
Spectra • The excitation and emission wavelengths of fluorophores are not single wavelengths • They have spectra
An example. Imaging CY3 • From the spectra, the useful excitation and emission ranges are seen to be: • Excitation = 470 - 580 nm • maximum at 550 nm • Emission = 540 - 660 nm • maximum at 565 nm
An example. Imaging CY3 • To successfully image CY3, first look to the left hand side of the chart. • Locate CY3 on the chart.
Excitation Filter Selection • This shows the excitation maximum
Excitation Filter Selection • Identify the laser line which is closest to and (if possible) has a shorter wavelength than the dye excitation maximum.
Excitation Filter Selection • Project the chosen laser line horizontally across the chart to the RIGHT hand side
Excitation Filter Selection • Note the dichroic number 1 it intercepts. • This determines which laser excitation filter and dichroic number 1 are best
Emission Filter Selection • From the excitation maximum, follow the solid white line on the chart from left to right • This will identify your emission maximum
Emission Filter Selection • Continue the line horizontally to the right of the chart • Note the emission filter and the dichroic number 2 it intercepts
Emission Filter Selection • Ensure the emission filter is NOT intercepted by the chosen laser line
Emission Filter Selection • If it is, you must choose an emission filter which passes longer wavelengths • Or a laser line which has a shorter wavelength • Or both
Conclusion • Once these conditions are met, you have successfully chosen the best filter set for your sample