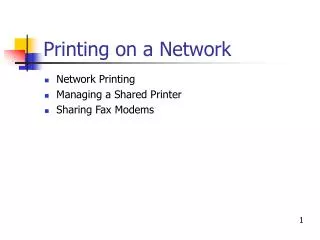
Network Printing
Network Printing. Windows XP. Setting Up a Network Printer.

Network Printing
E N D
Presentation Transcript
Network Printing Windows XP
Setting Up a Network Printer Before you begin this exercise you should configure your target printer with a static IP address if possible. At a minimum you will need the printer’s IP address. You can normally obtain this by using the panel on the front of the printer. If in doubt, check the back of the printer to see if it is on the network (has a Ethernet cable plugged in). Refer to the printer’s instruction manual to find out how to obtain its address. Keeping a spreadsheet of which printers have which static ip can make building wide trouble shooting easier in the future.
Changing your printer settings • To set up or configure a printer that has network capability. To make changes to the printer itself like changing the name or IP address you can use a web browser and put the current address in the URL field preceded by http:// for example: http://10.106.147.103 depending on the brand and model of printer you will get a configuration page where you can make changes to the printer that will affect everyone. For example, the default Apple Talk name may be “Lexmark 332 PPD”. Normally with Apple Talk you can see almost all the printers in the building so with a name like this someone could easily add the wrong printer. The Department of Education has reserved IP addresses for printers in your building. For each VLAN, there are 20 addresses starting with .20 and going to .40. If you are not sure if an IP address is available, ping it prior to assigning it to a printer.
Example For example, if I go to the printer to print out a test configuration page and see the printer has received the dynamic IP address: 10.106.147.103. I can now enter that into a web browser to get to the configuration utility where I can change the address to 10.106.147.27 (a static address in the reserved pool of addresses for printers). Notice that the first three octets remained the same: 10.106.147. Other sections of your building will have a different 3rd octet i.e. 10.106.146 or 10.106.145. You will see this when you print the configuration page. You change only the last octet ! Ok now our printer has a Static address
Network Printer • Follow the steps outlined earlier to give your printer a static IP address • To add a networked printer • Go to Start > Printers and Faxes, you will get a screen like this • Double click the Add Printer icon
After you click Add Printer you will get this screen • Select Local printer and uncheck Auto Detect
In this screen you want to select to “create a new port” • Select “TCP/IP from the selection list, click Next
This is where you will use the “static IP” • Enter the IP address from the printer and click Next
At the next screen you will get the driver page. • Windows XP (and Vista) come with a lot of drivers preinstalled • If you do not see the exact driver for your printer you should stop and go to the manufactures Web site and download it (or use the CD that came with the printer) • Click Finish to complete If driver is not listed