Download
1 / 16
170 likes | 719 Views
First Aid. Mr. Thornley’s Class By: Lisa Taheri. Table of Contents. 1. Introduction CPR step #1 CPR step #2 4. CPR step #3 5. CPR step #4 6. CPR step #5 CPR step #6 Conclusion for CPR instructions Facts on First Aid Choking Heimlich Maneuver Heart Attacks The End

E N D
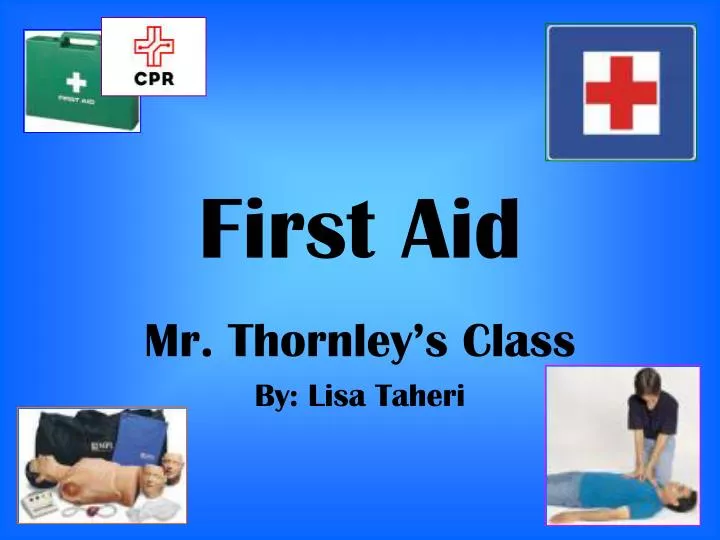
First Aid Mr. Thornley’s Class By: Lisa Taheri
Table of Contents 1. Introduction • CPR step #1 • CPR step #2 4. CPR step #3 5. CPR step #4 6. CPR step #5 • CPR step #6 • Conclusion for CPR instructions • Facts on First Aid • Choking • Heimlich Maneuver • Heart Attacks • The End • Bibliography
Introduction • CPR stands for Cardiopulmonary Resuscitation. It is a very helpful way to save a human’s life, and has been very successful for many years. There are about seven easy steps to administer CPR. • CPR can be used on all ages, but in some age areas, like infants, you must use a different and more gentle type of CPR. • CPR is engaged in an integrated agenda of development and research, advocacy, dispute resolution, and education. • CPR is a good and helpful thing to know how to accomplish.
Shake and Shout • The first thing to do when you suspect you should start CPR on someone is to shake and shout. • You should gently move the person, while checking if they are unconscious or not. • Ask them if they are okay. If you get no reply, you should start your next step.
Call 911 • Your next step in CPR is to call 911. • In any dangerous situation, calling 911 is extremely important. • If you want to call 911 and there are people around you, tell a person to call 911 for you. • You should point to that person while telling them to call and be very forward, because then they will know who you are talking to.
Open the Airway • Step number three is to open the airway. • To open the airway, you need to put your two fingers, (Index and middle) under the person’s chin. • With your other hand, put it on their forehead and tilt their head back. There chin should now be up in the air. (Note: keep your two fingers under their chin for the next step.)
Look, Listen, and Feel • Looking, listening, and feeling is a very important step. This step determines whether you should start breathing into that person or not. As I said in step three, your two fingers should still be under their chin, and their chin should still be tilted up. • Now, bring your head down so that your ear is above there mouth. Make sure that your nose is facing there chest so that you can see if they are breathing or not. All of this examination should last about 5-7 seconds. • So the three things you have to remember is what your examining for. You must listen for any breathing, you should feel for any air coming out of their mouth, and you are looking for breathing signs, such as their chest moving up and down.
Two Breaths • After you find no signs of breathing in step #4, you should start with the two breaths. • You need to plug the persons nose. (Make sure that you have plugged their nose all the way, and that there is no way air can come out of there nose.) • Now, place your mouth over theirs. (Make sure that your whole mouth is covering theirs and there is no way air can escape, otherwise you will not be able to get air into their chest.) • Now, with your fingers still plugging their nose, with your hand still under their chin, and with your mouth still over theirs, blow two breaths into them. Each breath should last about 2-3 seconds, and in between each breath you need to look, listen, and feel just as you did in your last step. • When you blow into the person you will see their chest rising. This will show you that you are correctly accomplishing CPR.
Chest Compressions • Your last step is to do your chest compressions. • You need to place one of your hands over the other. • Find the middle of the persons chest and do 15 fast compressions. • This may lead to broken ribs, but it’s worth it. Note: You should count out when you are doing your compressions.
You are all done with your steps to correctly perform CPR!! If the person that you are doing CPR on has not started to breath yet, and is still unconscious, don’t stop performing CPR on them until the paramedics or professional people with advanced equipment have arrived! Conclusion for CPR Instructions
Facts on First Aid Cardiopulmonary Resuscitation = CPR 21% = breath in > oxygen 16% = breath out > oxygen What’s the difference between… Clinically Dead and Biologically Dead? Clinically Dead: No heartbeat and no breathing Biologically Dead: No brainwaves Definitions BCLS: Basic Cardio Life Support ACLS: Advanced Cardio Life Support
Choking Causes for a Blocked Airway (Choking) #1 reason: Tongue #2 reason: Elevated Blood Alcohol #3 reason: Dentures #4 reason: Poorly Chewed Food If someone is coughing, leave the person alone. Do not perform the Heimlich maneuver on them until you are positive they are choking. Ask the person if they can talk. A really easy and obvious way you can tell someone is choking is when they have their two hands wrapped around their neck. How to perform Heimlich maneuver on next slide
Heimlich Maneuver To perform the Heimlich maneuver you must put your two hands together while you are wrapped around the choking victim. Put your hands about where the persons belly button is, and then trust up with your hands. 1 Person Compressions/Breaths: 15/2 Compressions per minute: 80 Baby Depth: 1½ - 2 inches Compressions/Breaths: 5/1 Compressions per minute: 80-120 2 PersonsDepth: ½ - ¾ Compressions/Breaths: 5/1 (use one hand) Compressions per minute: 60 Depth: 1½ - 2 inches
Heart Attacks Heart attack risk factors: • Nutrition • Smoking • Blood fats • High blood pressure • Exercise • Diabetes (once you have it, you can treat it)
The End Well, that is the end of my slide show on First Aid. I hope that you learned many new facts that will be helpful to you and others in the future. If you would like to find out more information on CPR or any kind of first aid, you can look it all up on the internet or in many books in the library. You can also consult a teacher in First Aid, and take classes. I hope that you enjoyed my slide show, and will now be able to help someone in a dangerous situation. -Lisa Taheri
Bibliography I already new most of the information I put in this slide show from experience. I also got an information sheet, with helpful tips on it, from Mr.Thornley. Also… Looked up little things on Google.com and Yahoo.com. I got most of my pictures off of Google Images!! I got a couple more pictures off of Clip Art!!