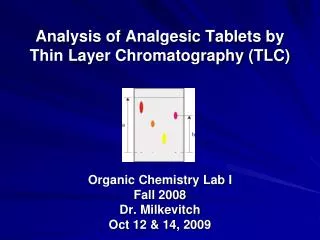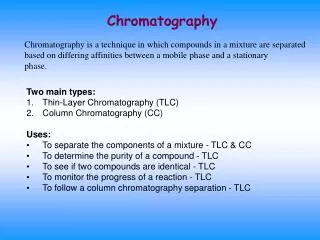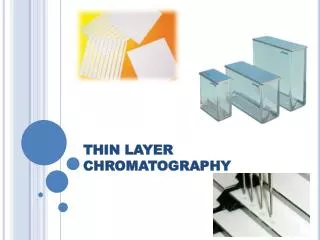
A Comprehensive Guide to Thin-Layer Chromatography (TLC) Technique**
Join Judith as she demonstrates the Thin-Layer Chromatography (TLC) technique step-by-step. Learn how to prepare your TLC chamber using a cut-off beaker, saturate it with solvent vapor, and create micropipets for sample application. Discover the precise method to mark, spot samples on the TLC plate, and properly position the plate in the chamber. Follow the solvent development process and visualize results using UV light or iodine. This practical guide is essential for mastering TLC in your laboratory experiments.


A Comprehensive Guide to Thin-Layer Chromatography (TLC) Technique**
E N D
Presentation Transcript
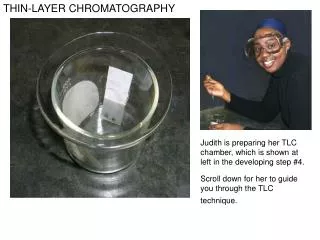
THIN-LAYER CHROMATOGRAPHY Judith is preparing her TLC chamber, which is shown at left in the developing step #4. Scroll down for her to guide you through the TLC technique.
TLC STEP #1 The TLC chamber is a cut-off 400-mL beaker. Fill the chamber to a depth of about 1/2 cm with the solvent you will be using. Place a half piece of filter paper around and touching the inside of the chamber. Cover with a watchglass and wait several minutes for the air space to become saturated with vapor.
MICROPIPETS (You can make micropipets, also called spotters, any time before you need need them to apply samples to the TLC plate. Use of a micropipet is shown in the next slide, TLC step #2.) Heat a capillary tube to melt the glass, pull it out, and break it to form two micropipets. Your TA will demonstrate the technique in lab.
TLC STEP #2 About 1 cm from the bottom of the TLC plate, make pencil marks at which you will spot your samples. Dip a micropipet into one sample; solution will be drawn into the pipet by capillary action. Transfer the solution to the plate by touching the pipet lightly to the surface of the adsorbent. Judith is now applying her second sample to position B.
TLC STEP #3 With forceps, place the TLC plate almost vertically in the chamber. In the chamber, the plate should not touch any surface along its side. It should rest against the glass at the top and bottom only. After the plate is in the chamber, replace the watchglass lid.
TLC STEP #4 watchglass lid Develop the plate by letting the solvent rise up to about 1/2 cm from the top. filter paper to saturate the air space with vapor solvent front rising up the plate
TLC STEP #5 At the same time as you remove the plate from the chamber, draw a pencil line across the solvent front. After the plate is dry, visualize the results by UV light or iodine.