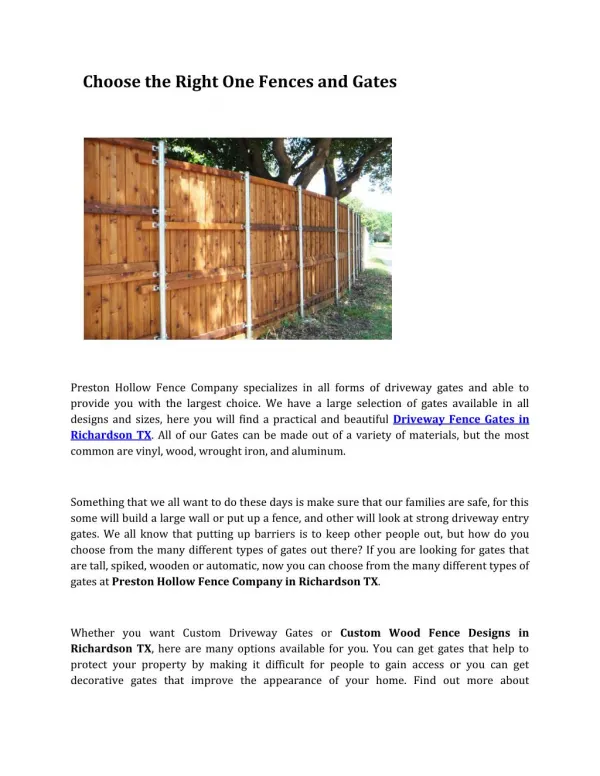
Automatic Gate Installation
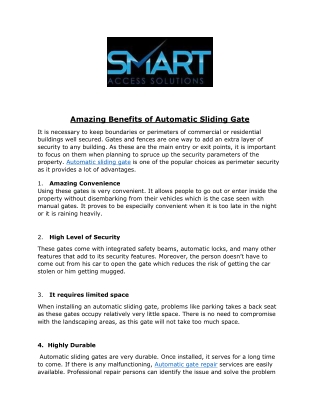
Even with the bigger gate leaf dimensions, a robust motor is needed for a heavily used gate, such as one in a business or workplace.Once the intended use is evident, you can select from one of these automatic gate installation models based on the available area and your preferred type of opening.<br><br>

Automatic Gate Installation
E N D
Presentation Transcript
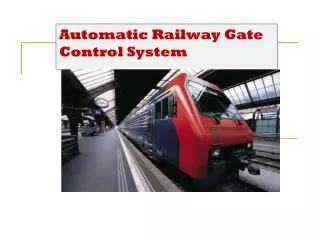
Meta Link Tx THE SOP FOR AUTOMATIC GATE INSTALLATION ·STAGE 1–FIXING THE LEVEL OF GATE The ideal level must first be set on your gate. Be sure to hang your gates evenly if you have two. To determine the level of the gate, use a spirit level gauge. Ensure that the gate is centered. Of course, it shouldn't be either too high or too low. Metalinktx.com
·STAGE2–UNDOINGAUTOMATIC GATE OPENER If you just bought the gate opener, make sure everything is included by opening the box. A controller box, a remote control, clamps, nuts, screws, and a gate opening arm should all be present. If you bought a solar-powered gate opener, you should also have received a small solar panel and a battery box. ·Stage3– Connect and check the controller box It's critical to comprehend the capabilities of your gate opener prior to installation. Connect the arm to the controller box first. Next, attach a power source to the controller box. To see how the gate opener genuinely operates, you can try the arm as well. Metalinktx.com
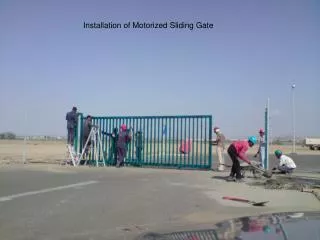
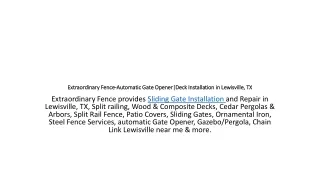
·STAGE4–AUTOMATIC GATE INSTALLATION OPENS ARM Installing the gate is very necessary. The arm can either "push to close" or "pull to close," depending on the situation. You may generally install your gate opener either way. Install a clamp or two first on each gate post. The centre of the gate post should have the clamps. The gate opener arm can then be installed after that.The mouth of the gate opener arm will hold the gate, and the clamps on the gate post will hold the gate opener arm's back side in place. Make sure the clamps and mouth are securely fastened to the gate before carefully installing the gate opener. Metalinktx.com
·STAGE 5 – INSTALL AND POWER UP THE CONTROLLER BOX The controller box installation comes next. Install the controller box on the gate post using screws, and then attach it to the gate opener arm. You must mount any battery boxes or solar panels you have on the gate post as well. Connect the battery box and solar panel to the controller panel next.Some automated gate openers allow you to connect the power source to the controller box directly using AC or direct electricity. You can now use the system as a whole. Metalinktx.com
·STAGE 6 – SET UP THE CONTROLLER BOX The controller box still needs more polish. Set the open/close limit by opening the controller box. You are able to choose the "open and close" automatic gate. Check those out as well. Your controller box may have more features. timing for your Business Name: Meta Link Tx Address: 9201 US Hwy 183 South Austin, TX 78747 Website: https://www.metalinktx.com/ Zip Code: 78747 Email: Info@MetalinkTX.com Phone: 512-243-2900 Metalinktx.com