Download
1 / 9
80 likes | 103 Views
http://LloydDobsonArtist.com

E N D
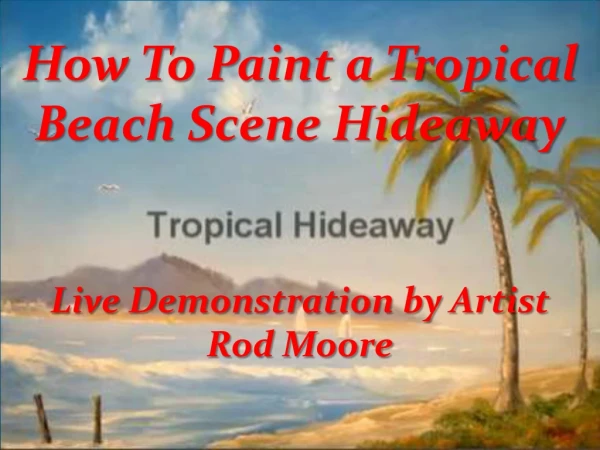
How To Paint a Tropical Beach Scene Hideaway Live Demonstration by Artist Rod Moore
How to paint a tropical beach scene hideaway is a very popular subject matter for many artist. There are many times we have dreamed of living in a tropical paradise and learning how to paint an oil painting depicting on canvas our visual excitement of such a paradise is extremely invigorating.
So where should we begin? •Step 1) Painting the Sky This is the fundamental step for any landscape or seascape painting. The sky and water can meet anywhere on the canvas. If the horizon line is lower on the canvas, the sky will be the emphasis, likewise, if the horizon line is high on the canvas, there will be more water, and this will be the emphasis.
•Step 2) Painting the Water Now it is time to paint the water in your beach scene. Always use the same colors in the water as you used in the sky. You will want to darken the colors however. Starting at the horizon line, paint in a straight horizontal horizon.
•Step 3) Painting the Beach The easiest way to begin a beach is to add browns to the water area as you approach where the land begins. Remember that water is transparent so begin to add the sand color while decreasing the blue water color. Now you should be almost to the bottom or front of the canvas.
•Step #4) Waves, Rocks and Final Touches Waves can be indicated by adding small choppy strokes of dark and or light colors. Variety is the key when it comes to indicating that water is in motion. If you want to create some dramatic movement of waves, you might want to add some white wave tops by dabbing spots of white
in wave shapes near the front of the painting where the water would be hitting land or rocks. To add rocks, paint some dark "rock" forms near the front of the canvas. Keep the bottom of the rocks nice and horizontal. Lighten the dark rock color and highlight each rock, but be careful not to paint over all of the base color.
Now let’s watch a live demonstration by Australian artist Rod Moore