Download
1 / 12
180 likes | 682 Views
Introduction to Soldering. ENGR 1101 – Introduction to Engineering ECE Deparment – Fall 2012 Dr. John J. Helferty. Basic Tools, Materials and Procedure of Hand Soldering. Basic Elements of Hand Soldering:. Temperature controlled Soldering Iron with stand and sponge

E N D
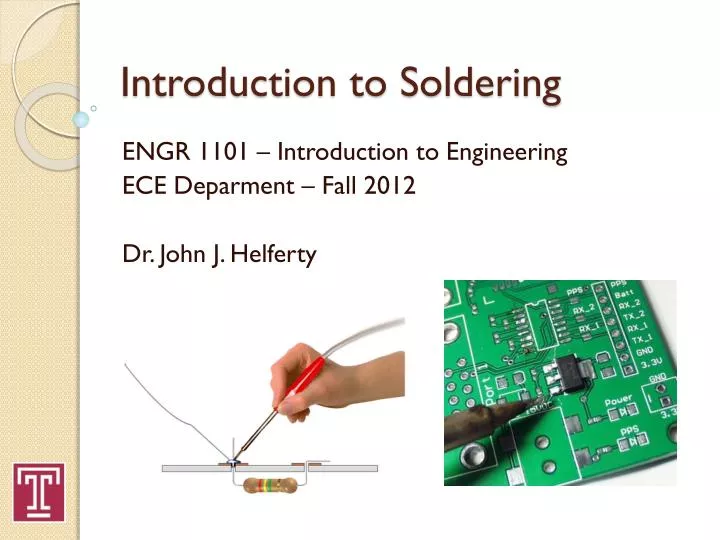
Introduction to Soldering ENGR 1101 – Introduction to Engineering ECE Deparment – Fall 2012 Dr. John J. Helferty
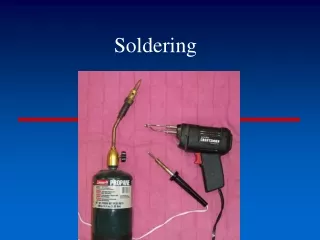
Basic Tools, Materials and Procedure of Hand Soldering • Basic Elements of Hand Soldering: • Temperature controlled Soldering Iron with stand and sponge • Solder Material (will be provided by TAs) • Turn on the Soldering Iron and wait for the iron to heat up (Medium setting will be fine) • Make sure your sponge is wet!
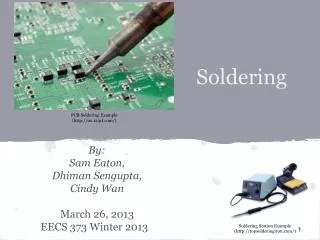
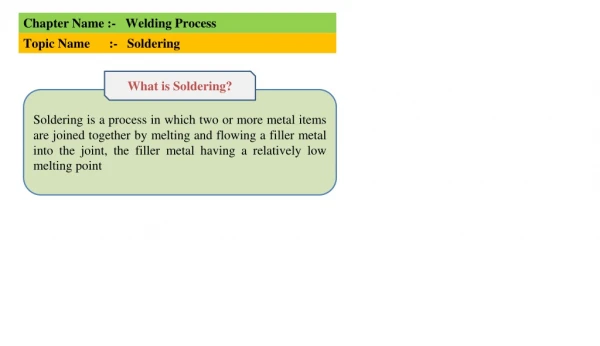
What is Soldering? • The process of making an electrical connection by melting low-temperature metal alloys around component leads • Soldering is just as much an “Art” as it is a “Science” • We will: • Go over some soldering vocabulary • Illustrate graphically soldering techniques • Show how to create a “perfect” solder joint • Begin the Hovercraft Construction (ECE section)
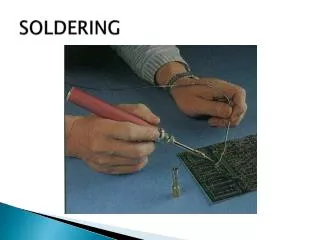
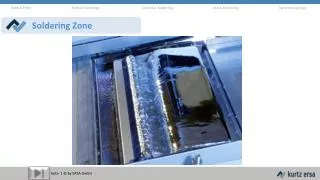
Basic Procedures for Soldering: • Clean the surfaces to be soldered (dirt free, grease free and oxide-free) • Put two target objects (to be soldered) together • Wet the joint area with flux, if needed • Pre-heat the joint area with soldering iron • Apply solder at the joint and remove when sufficient solder has flowed down to the joint • Remove solder wire and then soldering iron, and allow the joint to cool down
Basic Procedures for Soldering: • Touch the tip to the component lead AND the pad • Apply just enough heat • TLAR (That Looks About Right) Your join should look something like this one.You should only need a small amount of solder for each joint.
Good and Bad Attempts: GOOD:The join is complete and will hold in place. BAD:Not enough solder applied. No join.
The PCB (Printed Circuit Board) • A PCB (Printed Circuit Board) is used to mechanically support and electrically connect electronic components using conductive pathways, tracks or signal traces etched from copper sheets laminated onto a non-conductive substrate. • Think of it as a breadboard, in which the traces are already mapped out.
PCB Schematic Please Note: Barrel Plug: Solid Black Wire is GND Striped Black Wire is +12V
Safety Concerns: • Don’t solder while circuit is powered • Use well ventilated and lighted work space • Don’t touch the solder tip – it’s hot (dahhh) • Watch for flying leads when clipping excess