
Formulas
E N D
Presentation Transcript
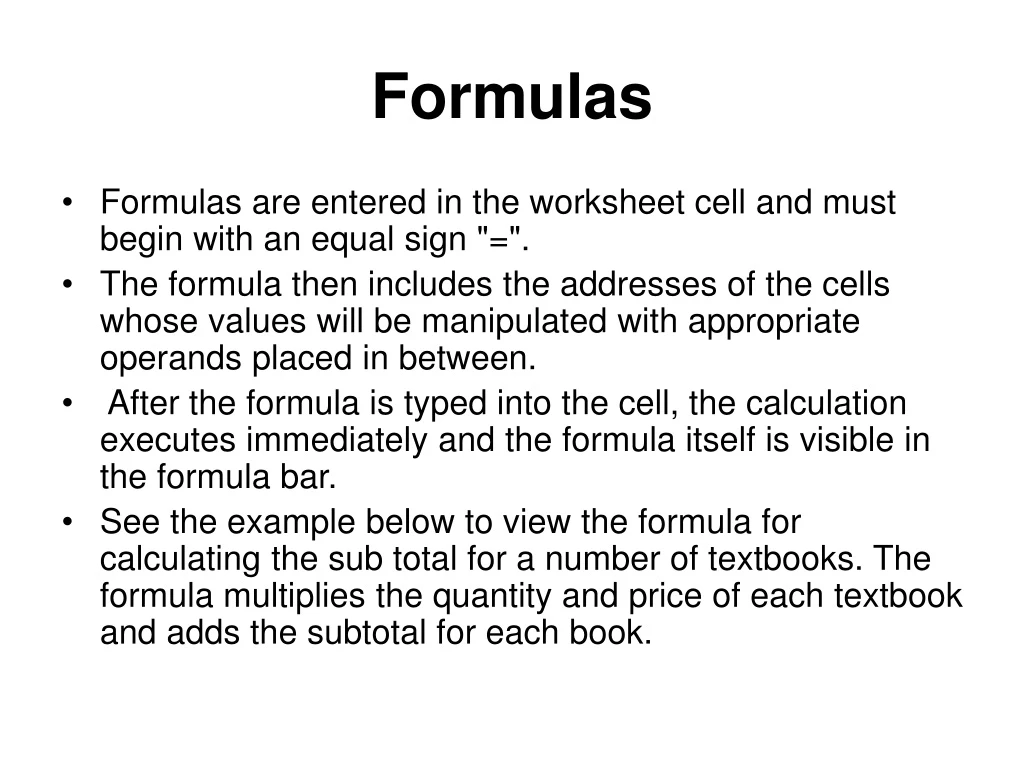
Formulas • Formulas are entered in the worksheet cell and must begin with an equal sign "=". • The formula then includes the addresses of the cells whose values will be manipulated with appropriate operands placed in between. • After the formula is typed into the cell, the calculation executes immediately and the formula itself is visible in the formula bar. • See the example below to view the formula for calculating the sub total for a number of textbooks. The formula multiplies the quantity and price of each textbook and adds the subtotal for each book.
Linking Worksheets • You may want to use the value from a cell in another worksheet within the same workbook in a formula. • For example, the value of cell A1 in the current worksheet and cell A2 in the second worksheet can be added using the format "sheetname!celladdress". • The formula for this example would be "=A1+Sheet2!A2" where the value of cell A1 in the current worksheet is added to the value of cell A2 in the worksheet named "Sheet2".
Relative, Absolute, and Mixed Referencing • Calling cells by just their column and row labels (such as "A1") is called relative referencing. • When a formula contains relative referencing and it is copied from one cell to another, Excel does not create an exact copy of the formula. • It will change cell addresses relative to the row and column they are moved to. For example, if a simple addition formula in cell C1 "=(A1+B1)" is copied to cell C2, the formula would change to "=(A2+B2)" to reflect the new row. To prevent this change, cells must be called by absolute referencing and this is accomplished by placing dollar signs "$" within the cell addresses in the formula. • Continuing the previous example, the formula in cell C1 would read "=($A$1+$B$1)" if the value of cell C2 should be the sum of cells A1 and B1. Both the column and row of both cells are absolute and will not change when copied. • Mixed referencing can also be used where only the row OR column fixed. For example, in the formula "=(A$1+$B2)", the row of cell A1 is fixed and the column of cell B2 is fixed.
Basic Functions • Functions can be a more efficient way of performing mathematical operations than formulas. • For example, if you wanted to add the values of cells D1 through D10, you would type the formula "=D1+D2+D3+D4+D5+D6+D7+D8+D9+D10". • A shorter way would be to use the SUM function and simply type "=SUM(D1:D10)". Several other functions and examples are given in the table below
Function Example Description SUM =SUM(A1:100) finds the sum of cells A1 through A100 AVERAGE =AVERAGE(B1:B10)finds the average of cells B1 through B10 MAX =MAX(C1:C100) returns the highest number from cells C1 through C100 MIN =MIN(D1:D100) returns the lowest number from cells D1 through D100 SQRT =SQRT(D10) finds the square root of the value in cell D10 TODAY =TODAY()returns the current date (leave the parentheses empty) NOW =NOW()return Returns the serial number of the current date and time
Function Wizard • View all functions available in Excel by using the Function Wizard. • Activate the cell where the function will be placed and click the Function Wizard button on the standard toolbar. • From the Paste Function dialog box, browse through the functions by clicking in the Function category menu on the left and select the function from the Function name choices on the right. As each function name is highlighted a description and example of use is provided below the two boxes.
Click OK to select a function. • The next window allows you to choose the cells that will be included in the function. In the example below, cells B4 and C4 were automatically selected for the sum function by Excel. The cell values {2, 3} are located to the right of the Number 1 field where the cell addresses are listed. If another set of cells, such as B5 and C5, needed to be added to the function, those cells would be added in the format "B5:C5" to the Number 2 field.
Click OK when all the cells for the function have been selected.
Autosum Use the Autosum function to add the contents of a cluster of adjacent cells. • Select the cell that the sum will appear in that is outside the cluster of cells whose values will be added. Cell C2 was used in this example. • Click the Autosum button (Greek letter sigma) on the standard toolbar. • Highlight the group of cells that will be summed (cells A2 through B2 in this example). • Press the ENTER key on the keyboard or click the green check mark button on the formula bar
Basic Sorts • To execute a basic descending or ascending sort based on one column, highlight the cells that will be sorted and click the Sort Ascending (A-Z) button or Sort Descending (Z-A) button on the standard toolbar.
Complex Sorts • Highlight the cells, rows, or columns that will be sorted. • Select Data|Sort from the menu bar. • From the Sort dialog box, select the first column for sorting from the Sort By drop-down menu and choose either ascending or descending. • Select the second column and, if necessary, the third sort column from the Then By drop-down menus.
If the cells you highlighted included the text headings in the first row, mark My list has...Header row and the first row will remain at the top of the worksheet. • Click the Options button for special non-alphabetic or numeric sorts such as months of the year and days of the week
Autofill • The Autofill feature allows you to quickly fill cells with repetitive or sequential data such as chronological dates or numbers, and repeated text. • Type the beginning number or date of an incrementing series or the text that will be repeated into a cell. • Select the handle at the bottom, right corner of the cell with the left mouse button and drag it down as many cells as you want to fill. • Release the mouse button.
Alternating Text and Numbers with Autofill • The Autofill feature can also be used for alternating text or numbers. For example, to make a repeating list of the days of the week, type the seven days into seven adjacent cells in a column. Highlight the seven cells and drag down with the mouse.
Autofilling Functions • Autofill can also be used to copy functions. In the example below, column A and column B each contain lists of numbers and column C contains the sums of columns A and B for each row. The function in cell C2 would be "=SUM(A2:B2)". This function can then be copied to the remaining cells of column C by activating cell C2 and dragging the handle down to fill in the remaining cells. The autofill feature will automatically update the row numbers as shown below if the cells are reference relatively.