Download
1 / 3
30 likes | 39 Views
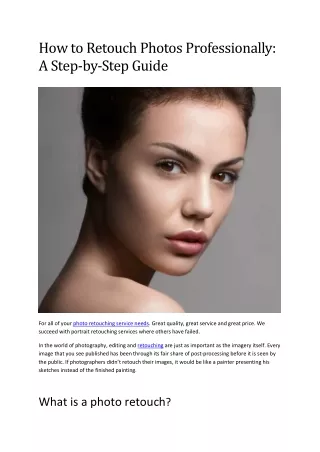
For all of your photo retouching service needs. Great quality, great service and great price. We succeed with portrait retouching services where others have failed.

E N D
How to Retouch Photos Professionally: A Step-by-Step Guide For all of your photo retouching service needs. Great quality, great service and great price. We succeed with portrait retouching services where others have failed. In the world of photography, editing and retouching are just as important as the imagery itself. Every image that you see published has been through its fair share of post-processing before it is seen by the public. If photographers didn’t retouch their images, it would be like a painter presenting his sketches instead of the finished painting. What is a photo retouch?
The Basics of Retouching When it comes to retouching, there are four basic steps that you should follow, which include: 1. Crop: Most images are already cropped by the publisher, so this step is redundant. However, if you want to be able to print your images at a larger size without loosing quality, you’ll need to crop your images. 2. Luminosity & Contrast: A simple adjustment of contrast and brightness can improve a photograph dramatically. 3. Tone-mapping: Tone mapping is a relatively new adjustment, but can dramatically improve an image. Tone mapping is like a mask, and it can be applied to any color filter or layer within Photoshop. 4. Vignette: Vignette is one of the oldest retouching techniques that dates back to the 1950s. Essentially it can be used to make an image look old or worn. How to Retouch Skin The first step in retouching skin is removing any blemishes or imperfections. Most “retouchers” will do this by using some form of Photo Truffle before retouching the skin. Photo Truffle is a pre- processing tool that helps remove any imperfections. However, you will need to use some basic processing tools in order to effectively remove blemishes on your skin. First, make sure that the hair is not in your way. Be sure to have some light or a mirror handy for reflection. Step One: Take a photo with the camera in landscape mode. Find the blemish in your image. Lightly touch the blemish with a tool. Move the tool back and forth until the blemish is completely gone. The more blemishes that you remove, the more areas that you will have to retouch. Step Two: Apply a Clear Amp. How to Retouch Hair Headshots: Free Online Course for Career-Ready Hair Designers What’s the difference between retouching and smoothing? First, let’s talk about smoothing. This is the easiest of the two to explain. When you’re editing photos, the majority of what you’ll do is smooth out the action. If you can look at an image of a waterfall, for example, you’ll see that it’s still running down the rocks. However, if the rock that is directly in front of the camera is the biggest rock in the waterfall, you’ll want to smooth it out a little bit. So, the difference between smoothing and retouching is that smoothing is dealing with the texture of an image, while retouching is more about color correction. How to Retouch Bodies The most important body parts to retouch are the head and the hands. Conclusion We hope you’ve learned some new techniques of photoshop retouching that will help you in your own post-processing workflows. With all that said, don’t feel like you can’t share your work with the
world. Post-processing is all about the final result, so show off your photographs without worrying about the technical aspect of what’s in them.